



More information about Light Green Matte Furniture Film with Fine Texture
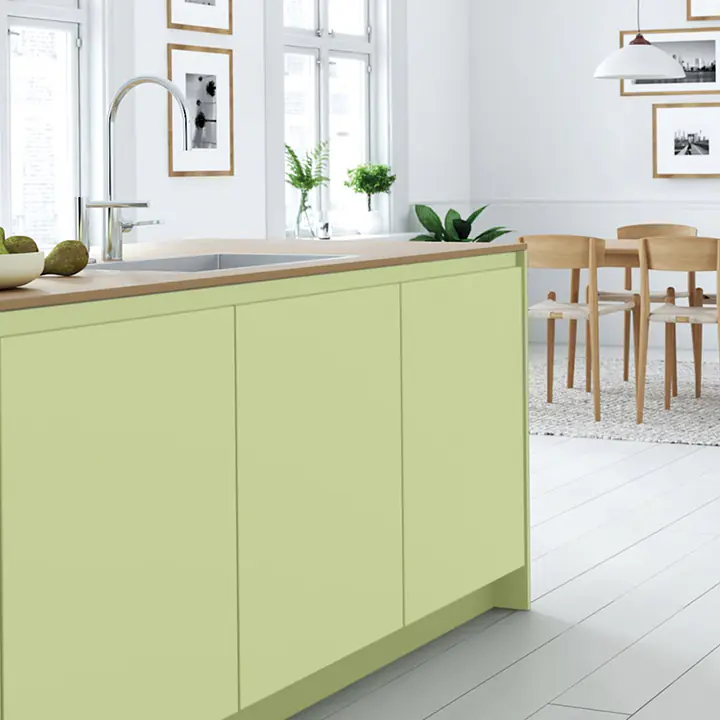
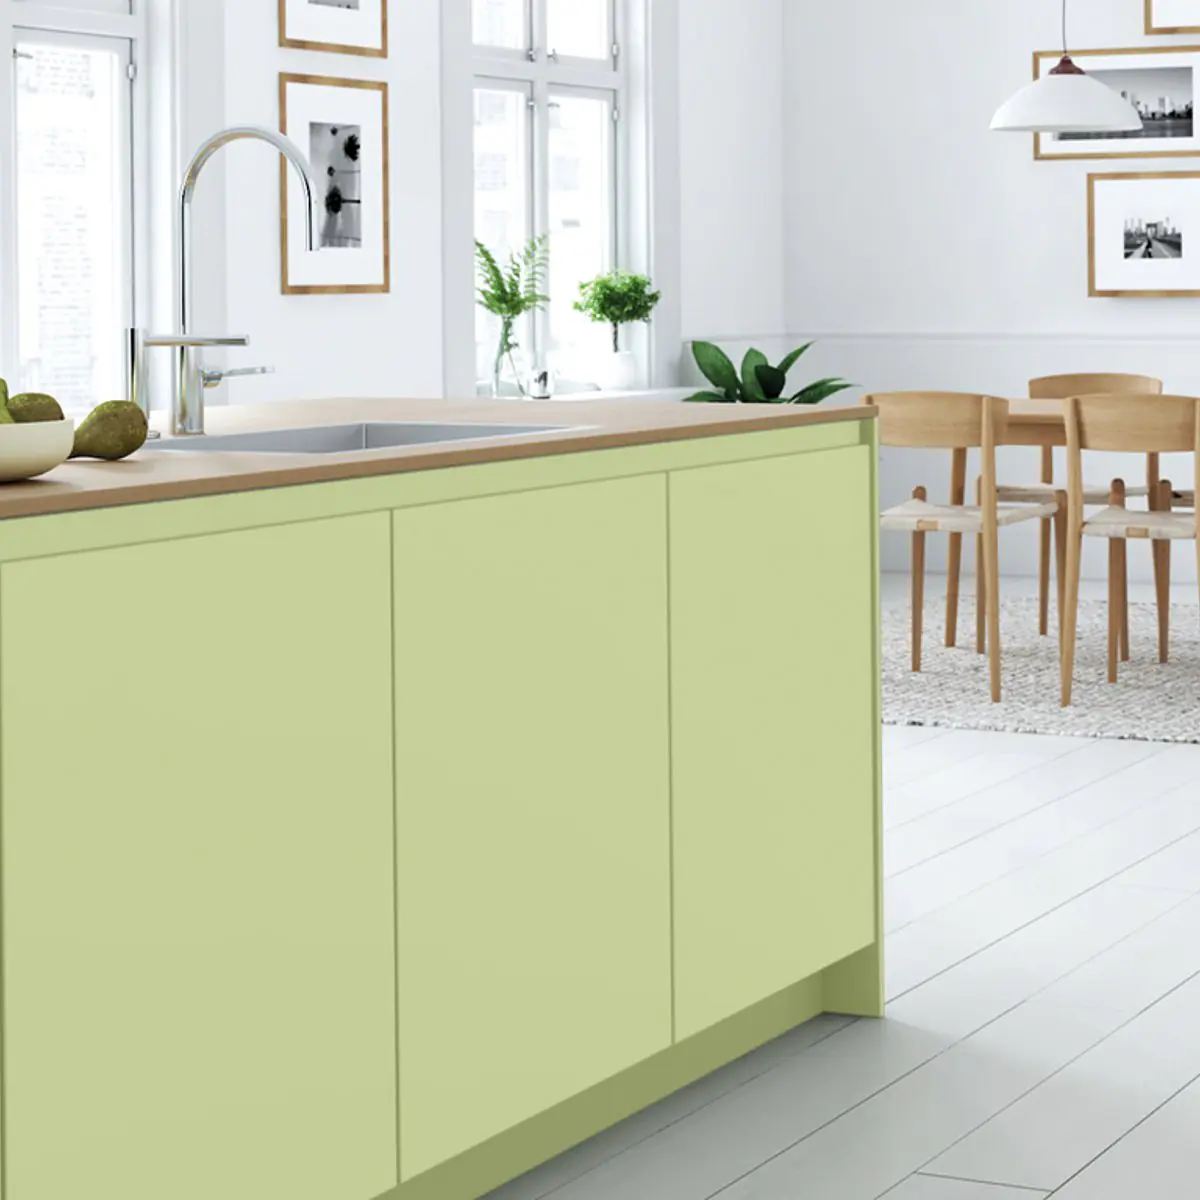
Our light green matte furniture film features an even, pastel color effect with a fine, tangible texture. The color appears fresh and subtle, making it ideal for bright, Scandinavian-inspired living spaces or modern kitchen islands. The surface is matte and does not reflect strongly, allowing the soft green to stand out with nuanced elegance.
The textured look is clearly visible: a fine grain that gives the decor depth and creates a textile impression. This effect is especially suitable for smooth furniture fronts such as cabinet doors, countertop edges, and drawers, where a calm, uniform surface design is desired.
Areas of Application
Use the film to wrap furniture in the kitchen, living area, or hallway. Combined with light wood or white tones, it creates a gentle contrast; paired with natural accessories, the Scandinavian style is further enhanced. The film is an easy solution to visually upgrade fronts without extensive renovation.
Available Sizes
The furniture film is offered in a width of 122 cm. Graduated length options are available: 1 Lfm, 2 Lfm, 3 Lfm, 4 Lfm, 5 Lfm, 10 Lfm, 15 Lfm, 20 Lfm, 25 Lfm, 30 Lfm, 35 Lfm, 40 Lfm, 45 Lfm, and 50 Lfm. This allows you to order the perfect amount for small surfaces or larger projects.
When planning, pay attention to the direction of the fine texture and possible joining areas at the edges. The film is intended for designing smooth indoor furniture surfaces. Before applying, make sure surfaces are clean, dry, and free of grease so the film adheres well and creates an even look.
Use this matte, textured light green adhesive film as a subtle color accent or for large-scale makeovers. It offers a modern, understated alternative to glossy decors and pairs well with natural interior tones.
Frequent Questions on Light Green Matte Furniture Film with Fine Texture
What furniture surfaces is furniture film suitable for?
Suitability depends on the specific product and the existing surface. Compare the material, coating and condition of the surface with the product specifications.
How do I measure a piece of furniture for furniture film?
Measure the fronts, sides, panels and visible edges individually. Note any cut-outs, handle holes and the desired direction of the design, rather than using only the overall dimensions of the furniture.
How much furniture film should I order?
Add up the dimensions of all the intended sections and take into account the edges required for the product and project, as well as a reasonable cutting allowance. Check the format and scope of delivery on the product page.
How do I plan the decor direction across multiple fronts?
Before cutting, define a direction and number the doors and drawers. This makes it possible to continue wood, stone or linear looks consistently across adjacent surfaces.
Do I need to remove doors and handles before applying the film?
That depends on the furniture and the project. Removable parts often make it easier to measure and work on edges; follow the assembly instructions for the furniture and the product.
How do I prepare a furniture surface?
The surface should be suitable according to the product specifications, clean, dry, and free of any residue that could interfere. Always test sensitive or unclear surfaces first in an inconspicuous area.
Can I simply cover damaged furniture with adhesive film?
Film does not automatically compensate for structural damage. Loose coatings, raised areas or deep damage may remain visible and must be professionally assessed beforehand.
Where can I find the installation instructions for my furniture film?
The binding instructions are provided with the respective product. The pages on measuring furniture, choosing the right film and planning the installation also provide helpful information.
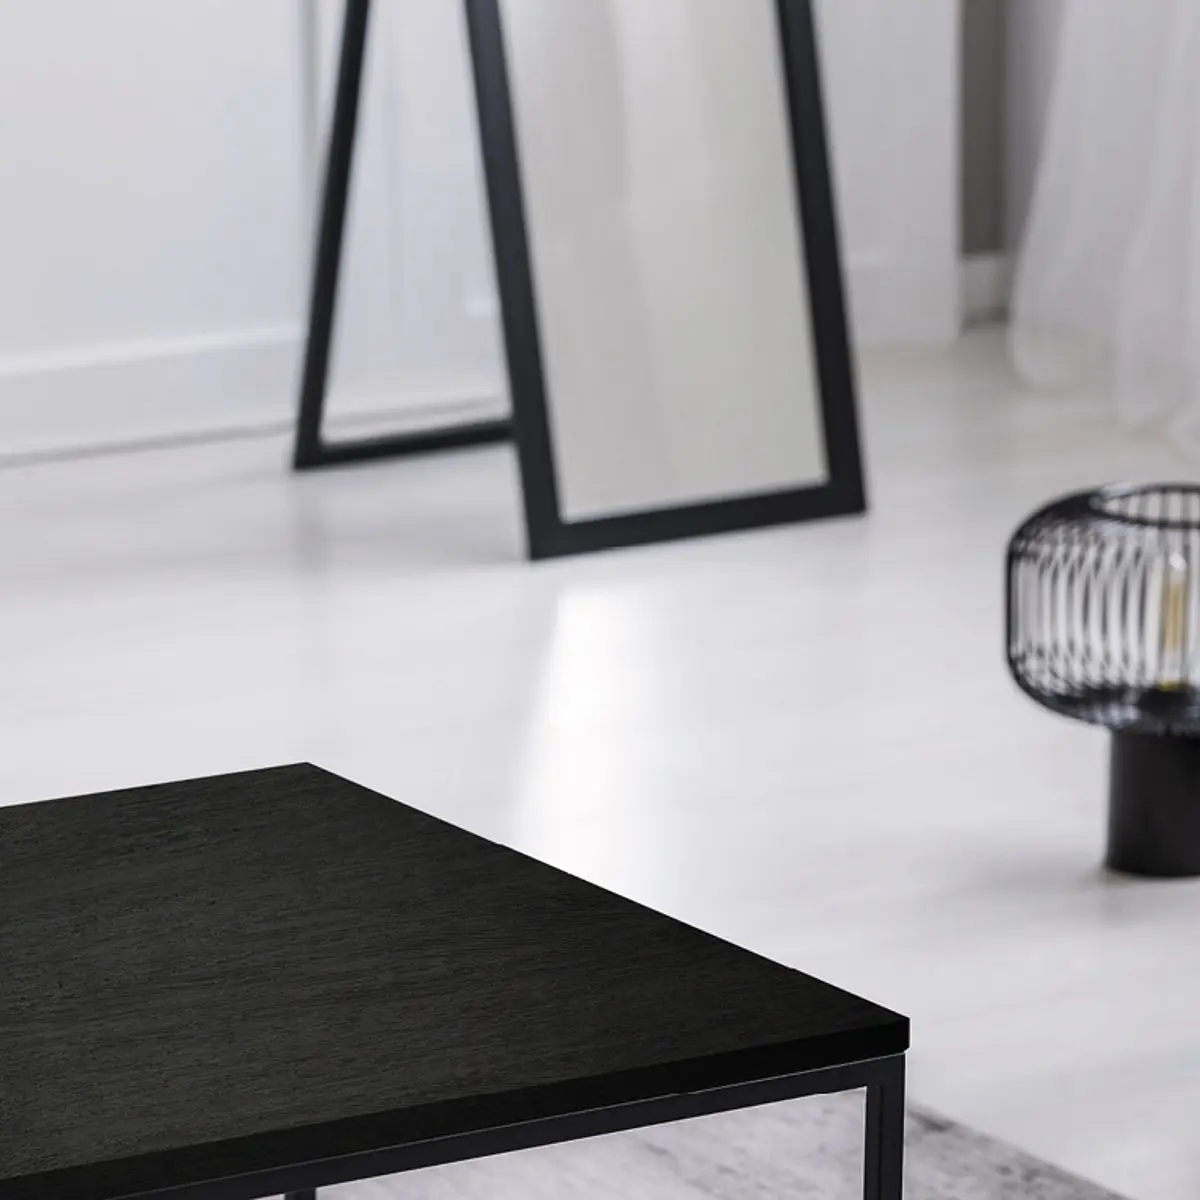
Planning Furniture Film: Consider Surface, Pattern Direction and Edges Together
A successful furniture film project begins before cutting. Mentally divide the furniture into fronts, sides, panels, edges and cut-outs. Measure each part individually and note which surfaces will remain visible. Then check the product information for the existing substrate.
For wood, stone and linear patterns, establish a consistent pattern direction. Number doors and drawers so that the cut pieces and pattern flow can be clearly assigned later. Include visible edges, handle holes and transitions in the quantity calculation from the outset.
- measure each front, side and panel separately
- establish the pattern direction before cutting and installation
- prepare the substrate clean, dry and in accordance with the product information
- take edges, cut-outs and allowances into account during planning