
Before & After: Makeover Ideas
A good makeover starts with a clear before and a realistic vision of the result. Discover options for furniture, tiles and selected IKEA series.
- Put inspiration into context
- Open the right product category
- Prepare your project in detail
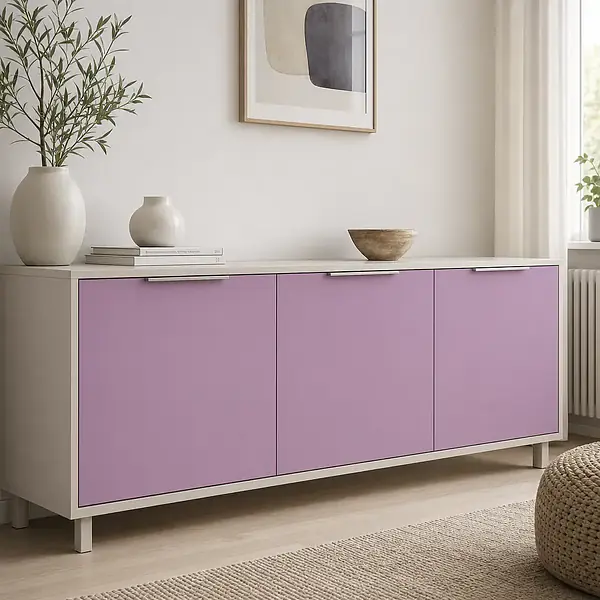
Furniture Makeovers
.webp "Fliesen-Makeovers – Inspiration für Vorher & Nachher: Makeover-Ideen")
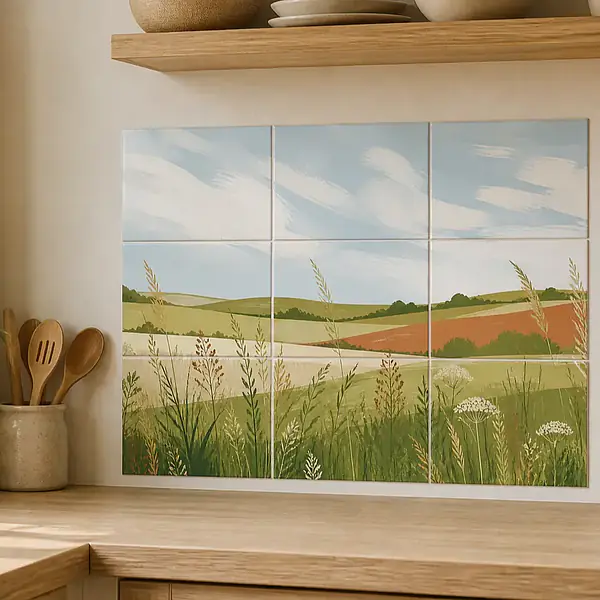
Tile Makeovers
.webp "Küchenfronten vorher/nachher – Inspiration für Vorher & Nachher: Makeover-Ideen")
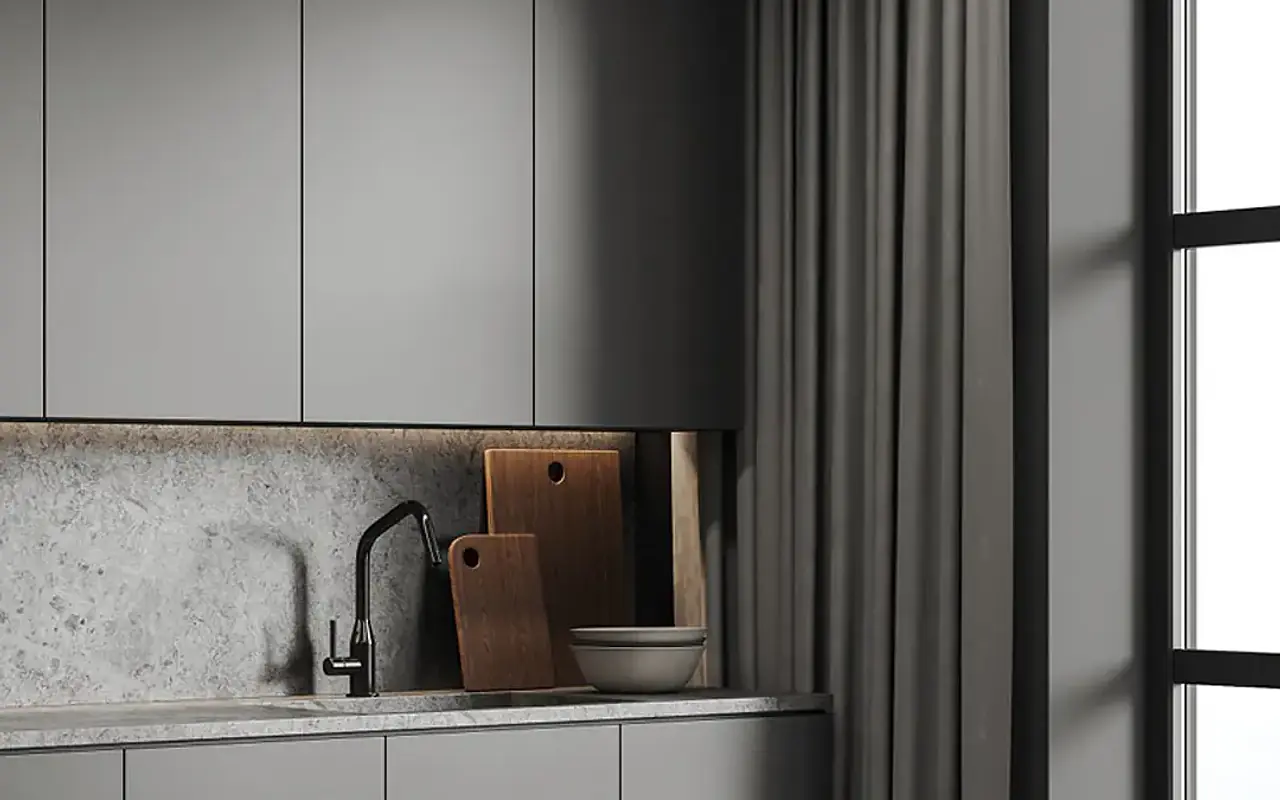
Kitchen Fronts Before/After
Not simply different, but consciously planned
Before-and-after shows more than a change of color. What matters is the effect you want to create in the room and which existing elements will remain.
Use the examples as a planning approach: describe the starting point, choose a suitable surface, take measurements and coordinate the result with the floor, walls and furnishings.
Suitable Categories for Your Project

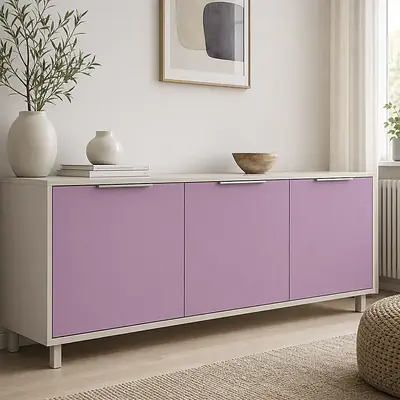
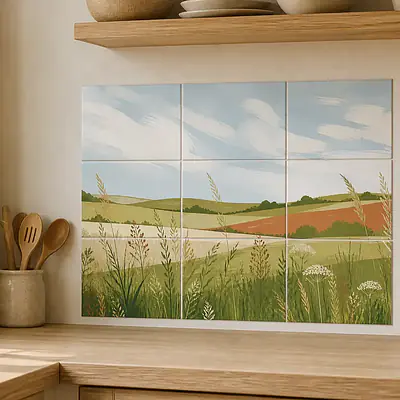
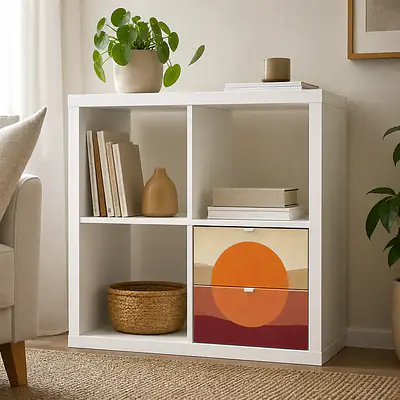

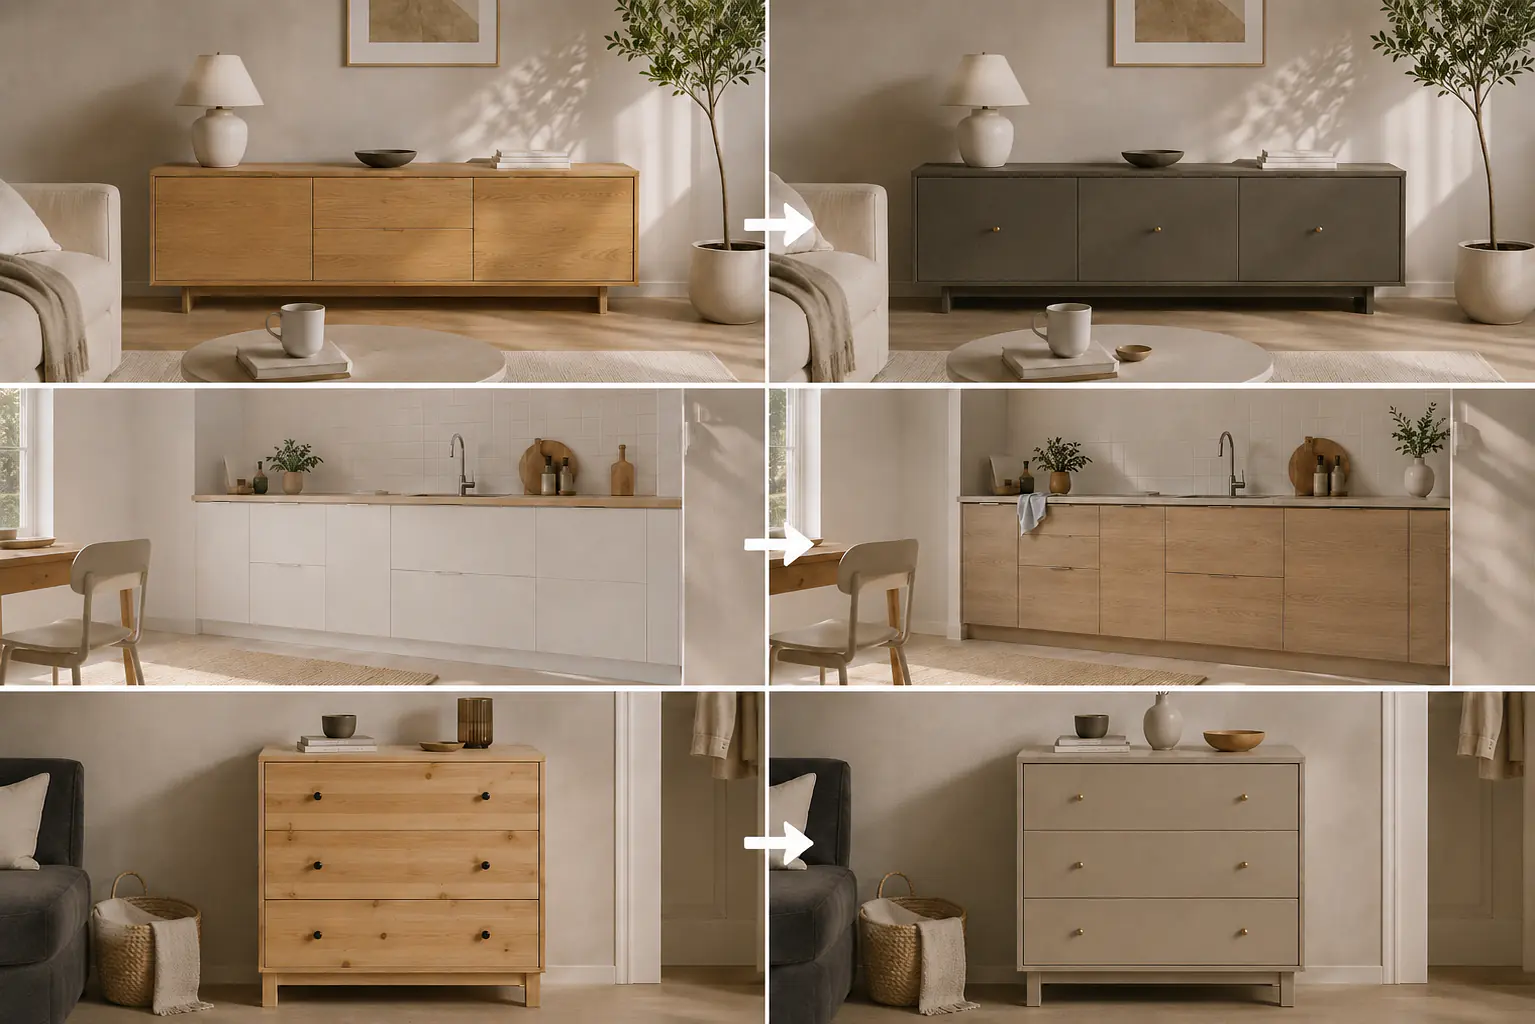
Not simply different, but consciously planned: understanding the starting point correctly
Before-and-after examples are most helpful when you look beyond the décor. Also pay attention to which surfaces have been changed, which elements have deliberately remained and how colors are repeated throughout the room.
For Before & After: Makeover Ideas, the first step is very specific: What is bothering you—color, surface, a lack of cohesion or one dominant area? Then define which elements will remain and what change should actually become visible in the room.
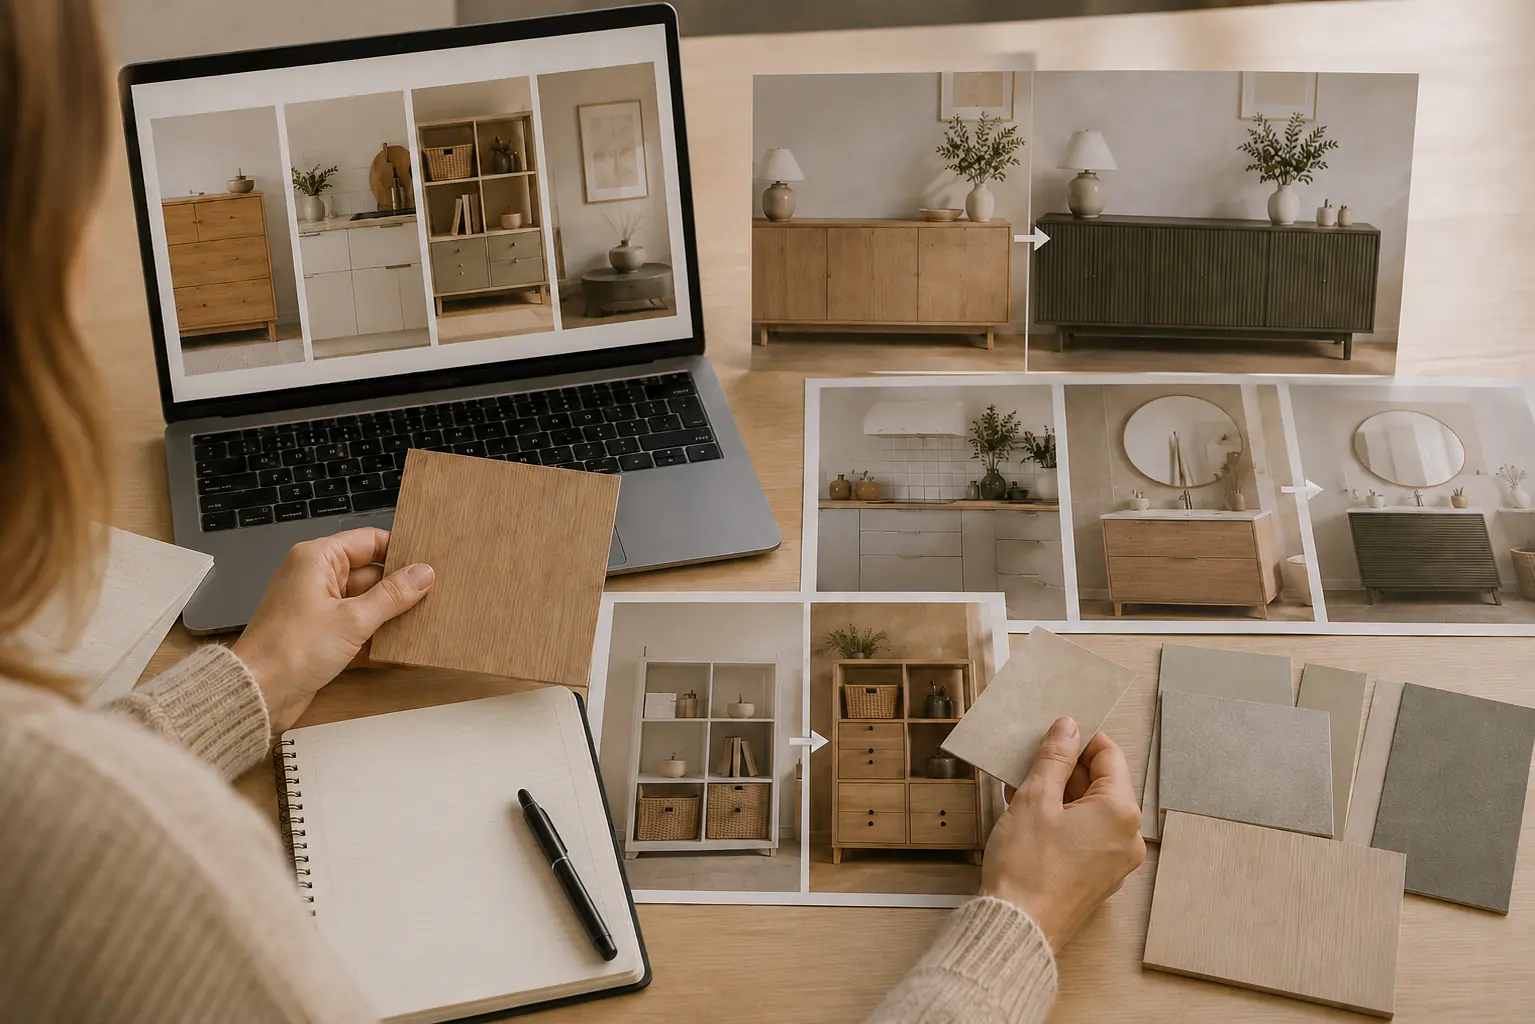
Compare furniture makeovers and alternatives meaningfully
Don't transfer an idea one-to-one; adapt it to the shape, size and lighting of your own piece of furniture or room. This turns a reference into a harmonious, individual design concept.
Furniture makeovers, tile makeovers, IKEA makeovers and wall design are particularly relevant for this page. Open the categories individually and compare not only colors, but also textures, size options and the information for each product.
- Furniture Makeovers: Discover furniture films for fronts, panels and carcasses.
- Tile Makeovers: Compare designs for kitchens, bathrooms and tiled backsplashes.
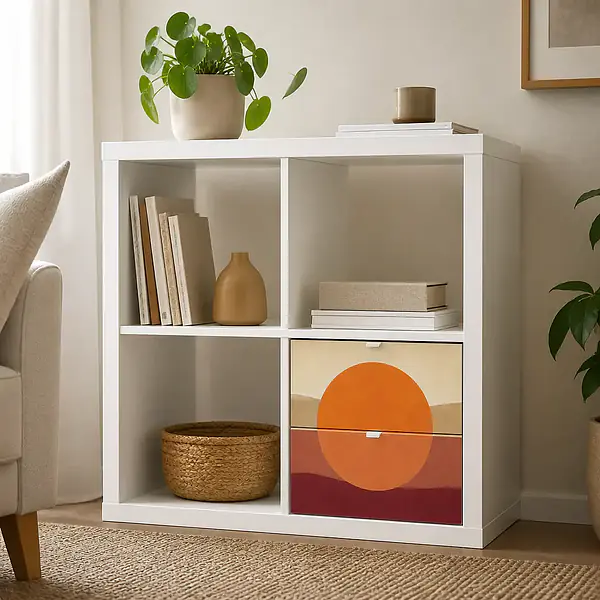
- IKEA Makeovers: Go from existing series to suitable products.
- Wall Design: Complement rooms with suitable wall art.
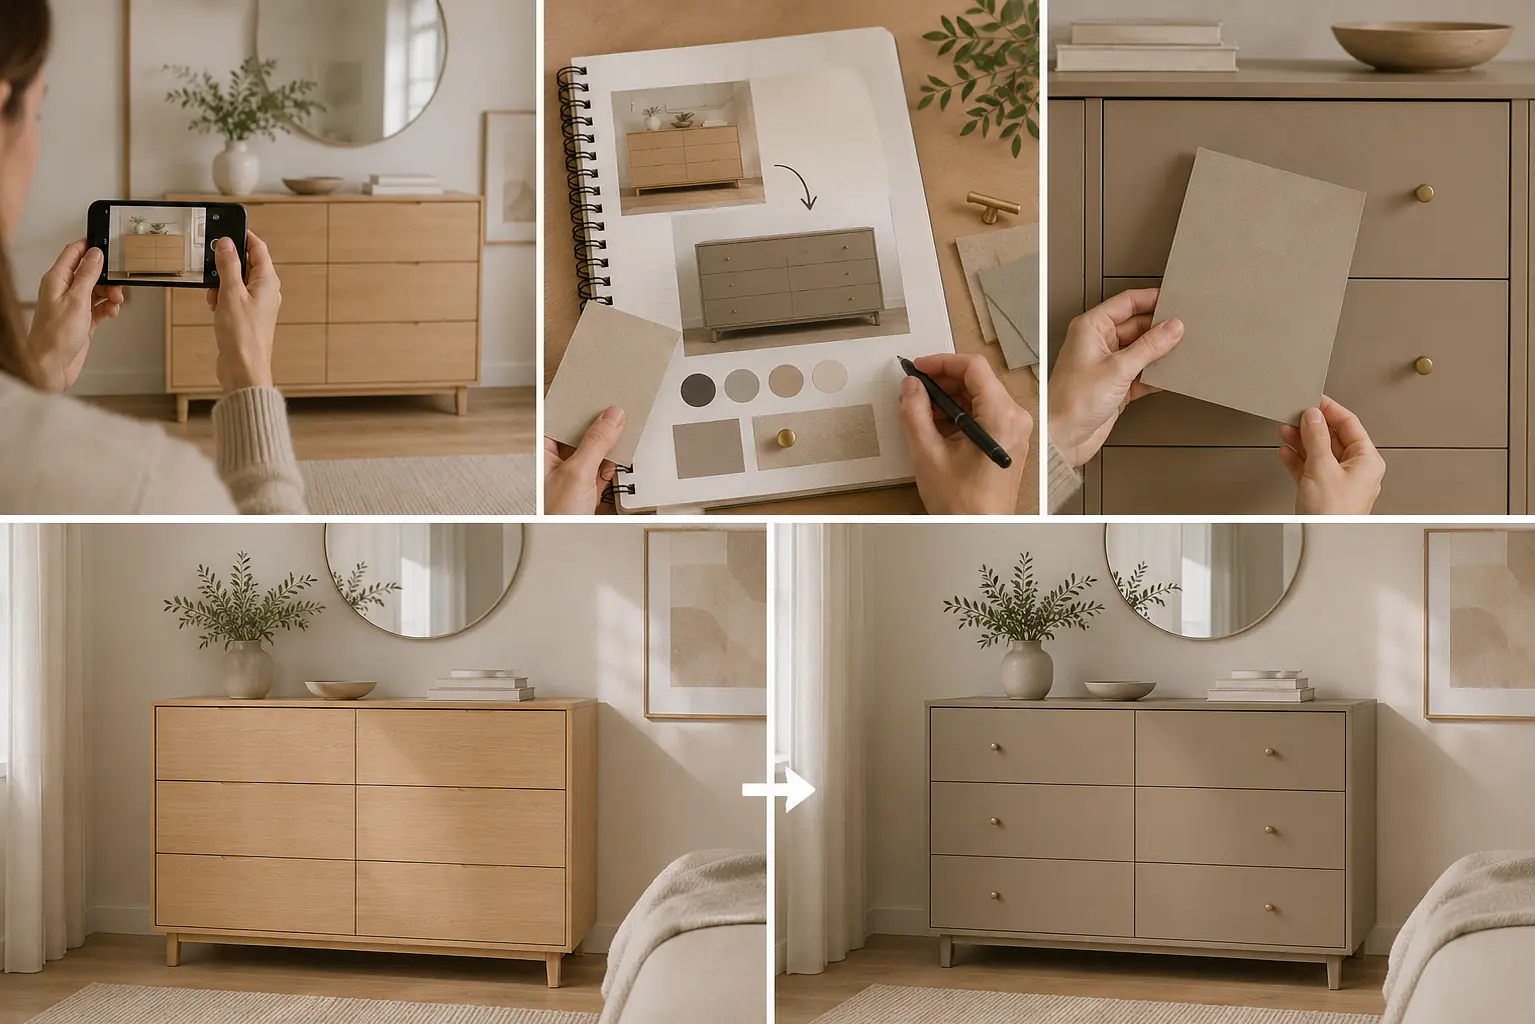
The before-and-after formula: from detail to overall picture
Before starting, take a photo of the initial situation and define the desired result in just a few words. This comparison helps you choose décor more deliberately and avoid unnecessary changes in style.
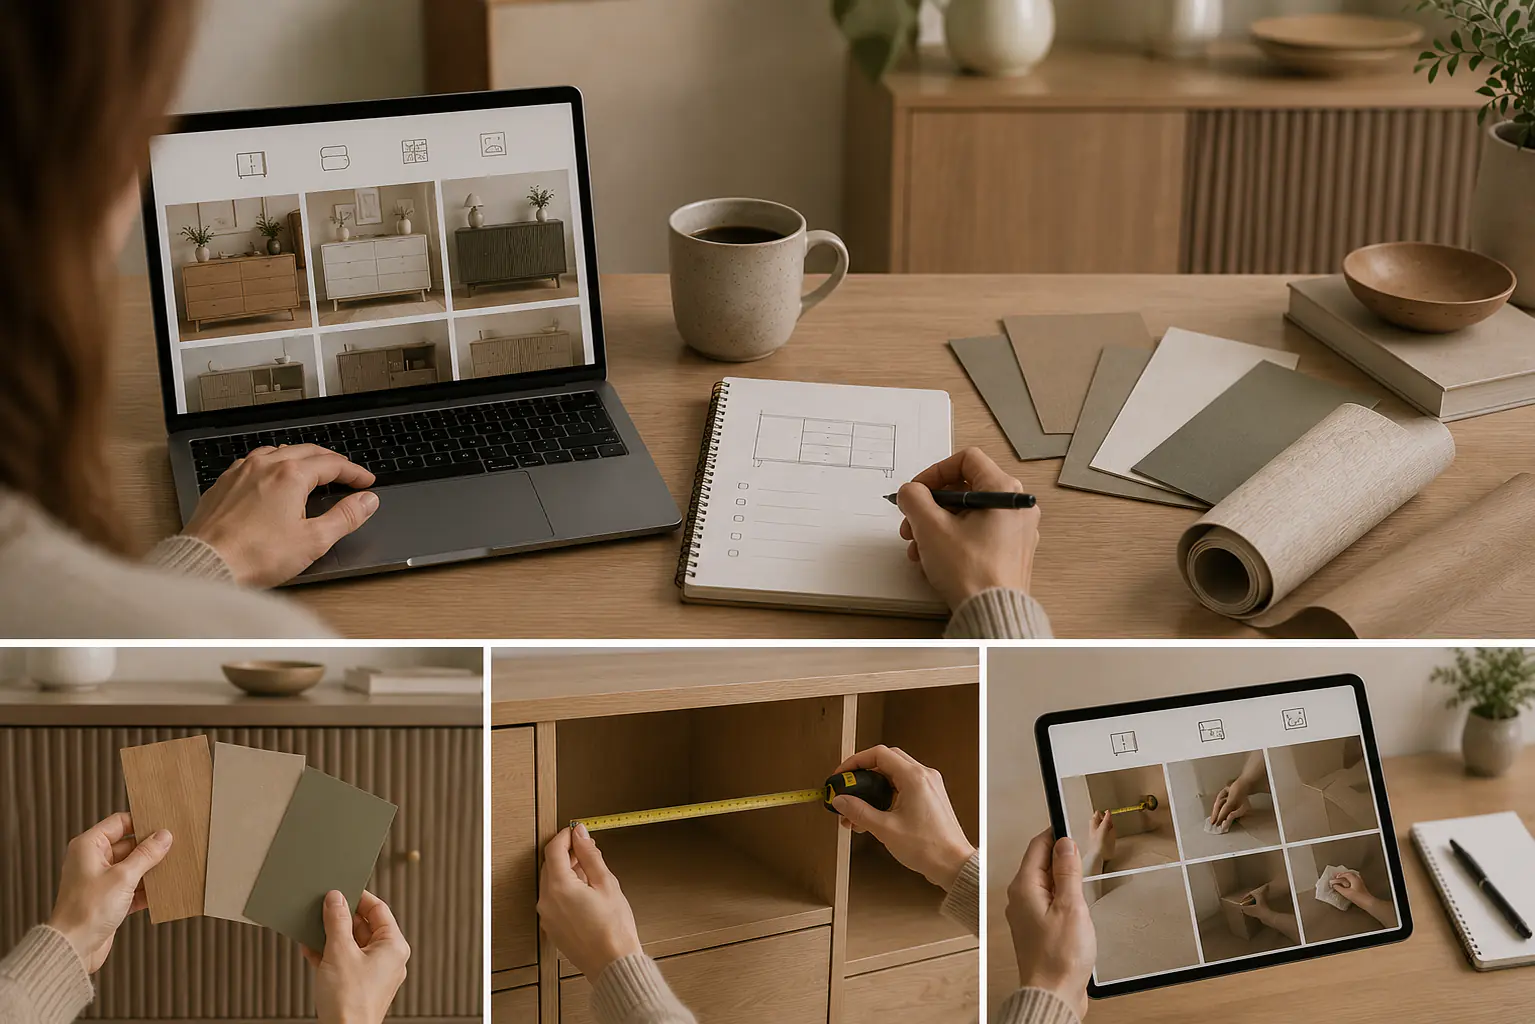
The middle step of the project is this: First choose the surface that has the greatest impact on the room. For the desired result, assess the new décor together with the lighting, materials and remaining furniture as a complete picture. Review this vision of the result once more alongside the chosen décor before finalizing measurements or quantities.
The Before-and-After Formula
These three steps help you plan the initial situation, selection and desired result as one cohesive project.
Step 1
Understand the Before
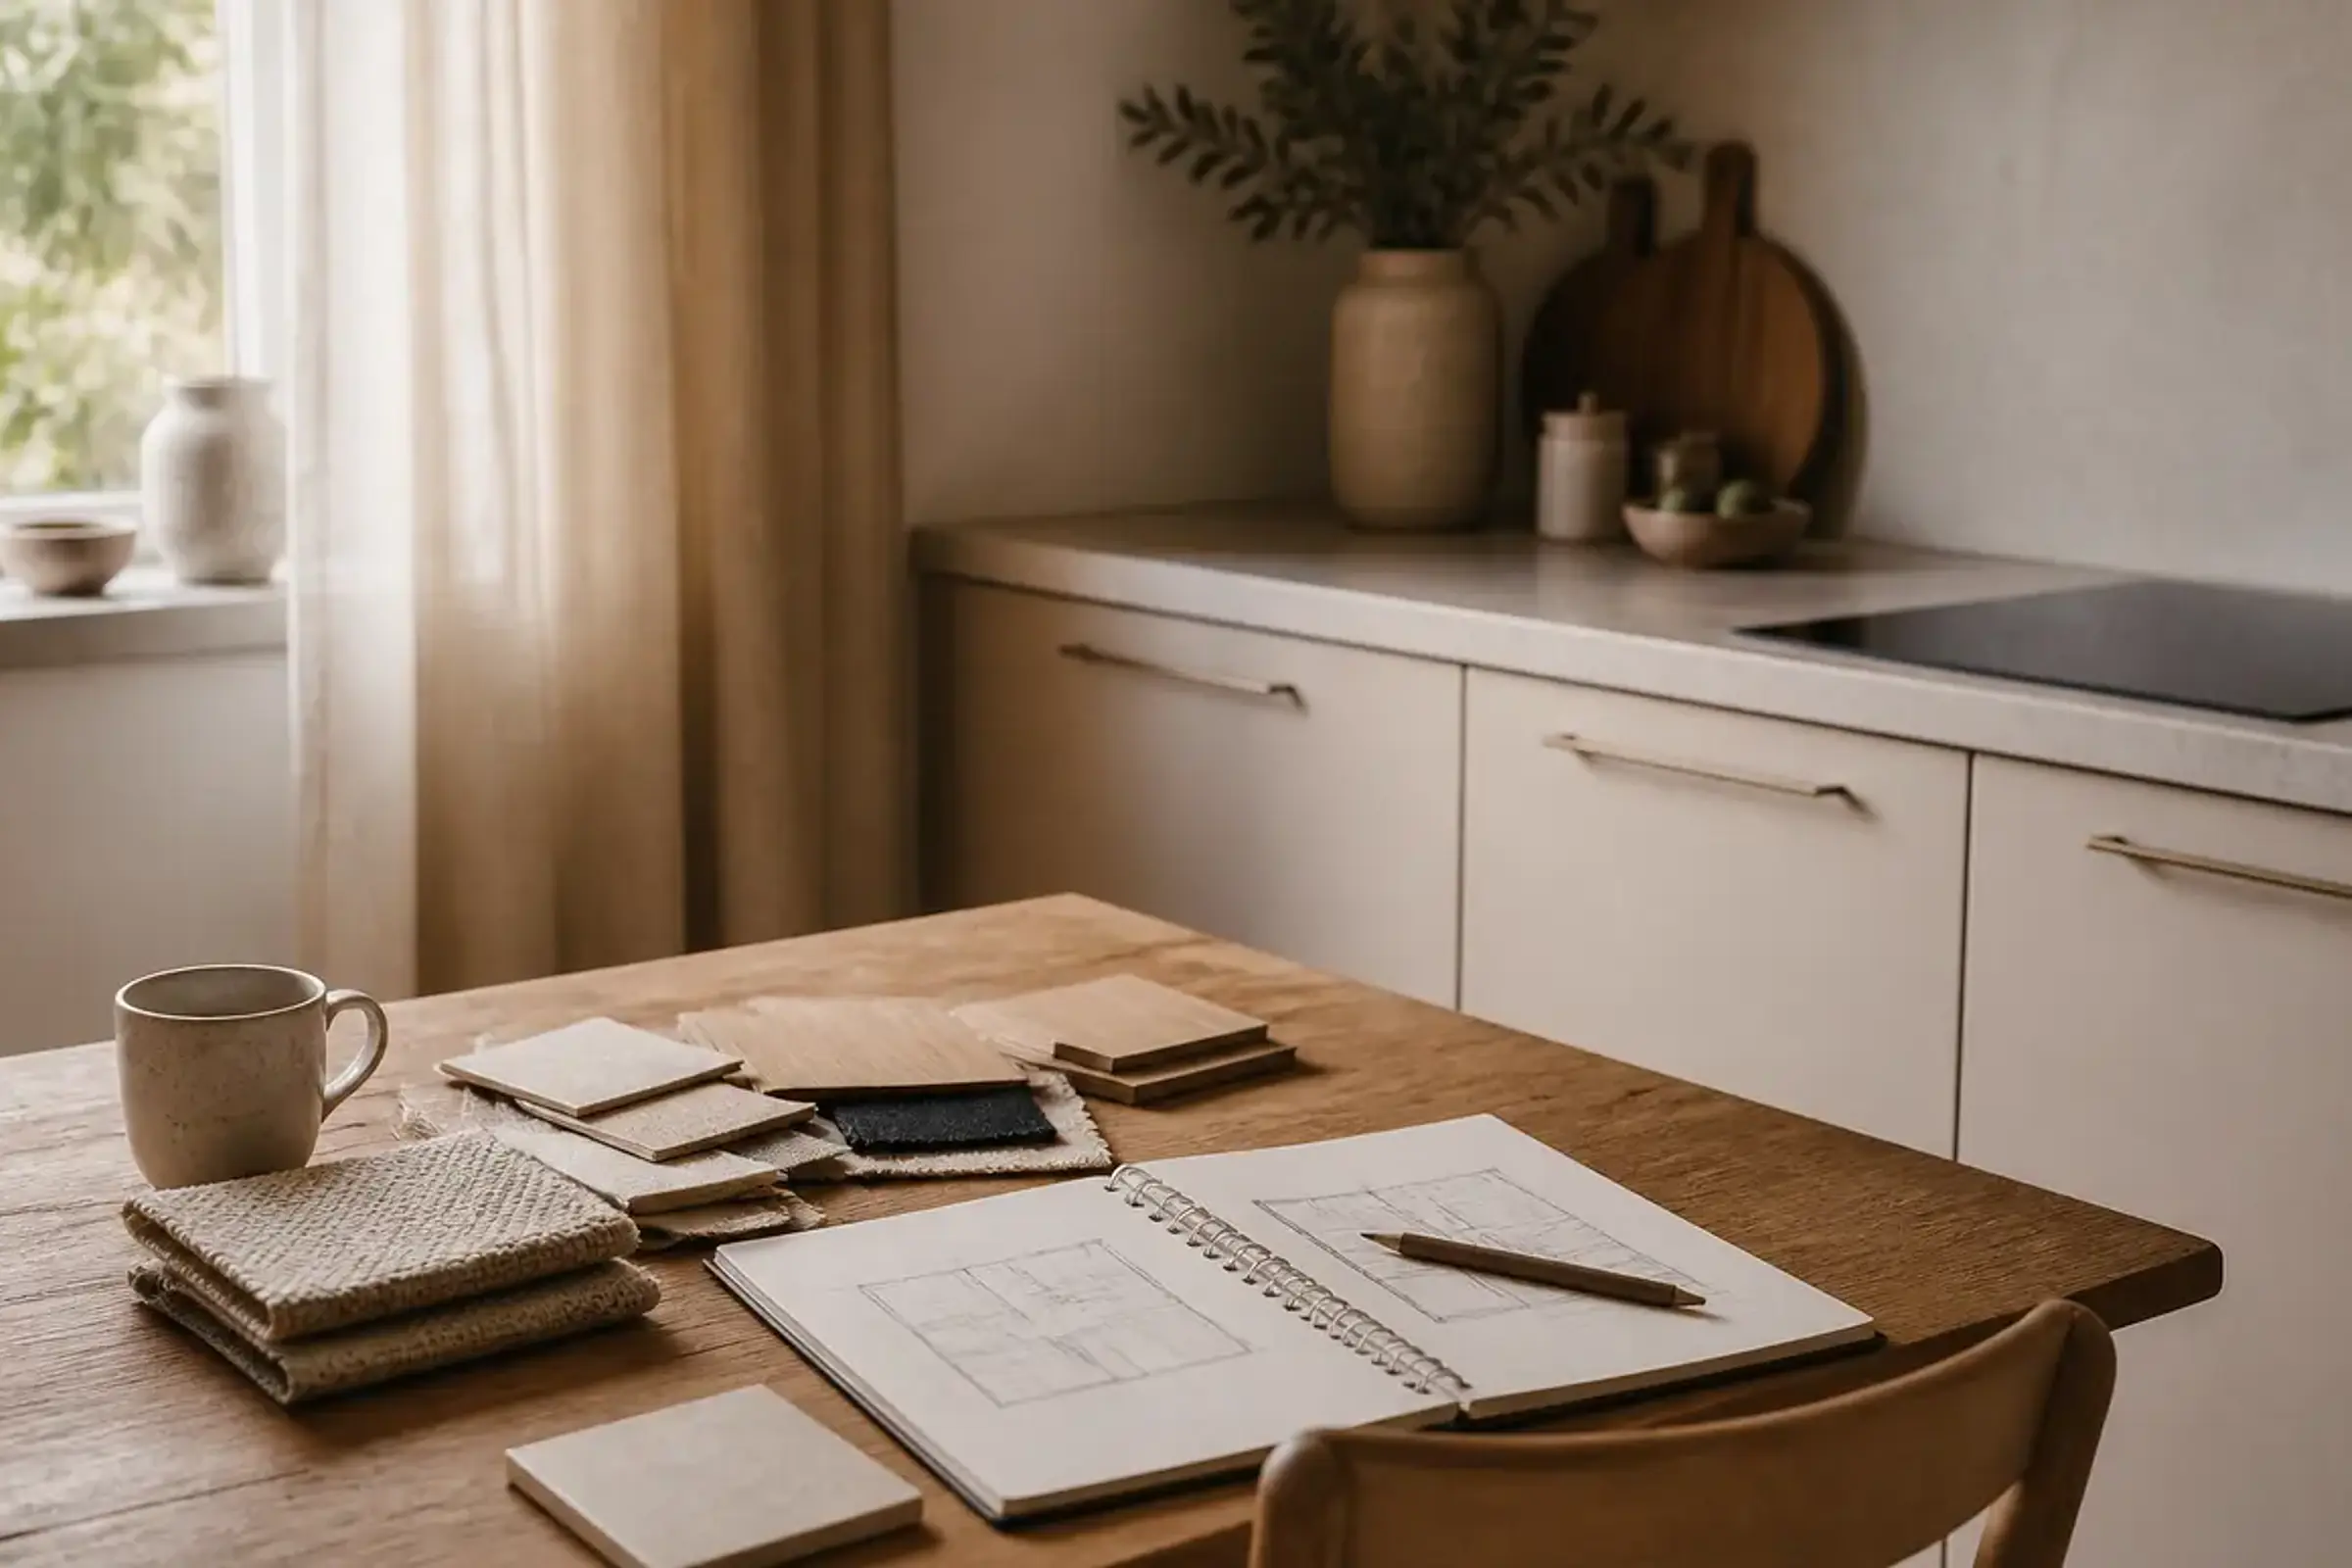
Step 2
Prioritize One Change
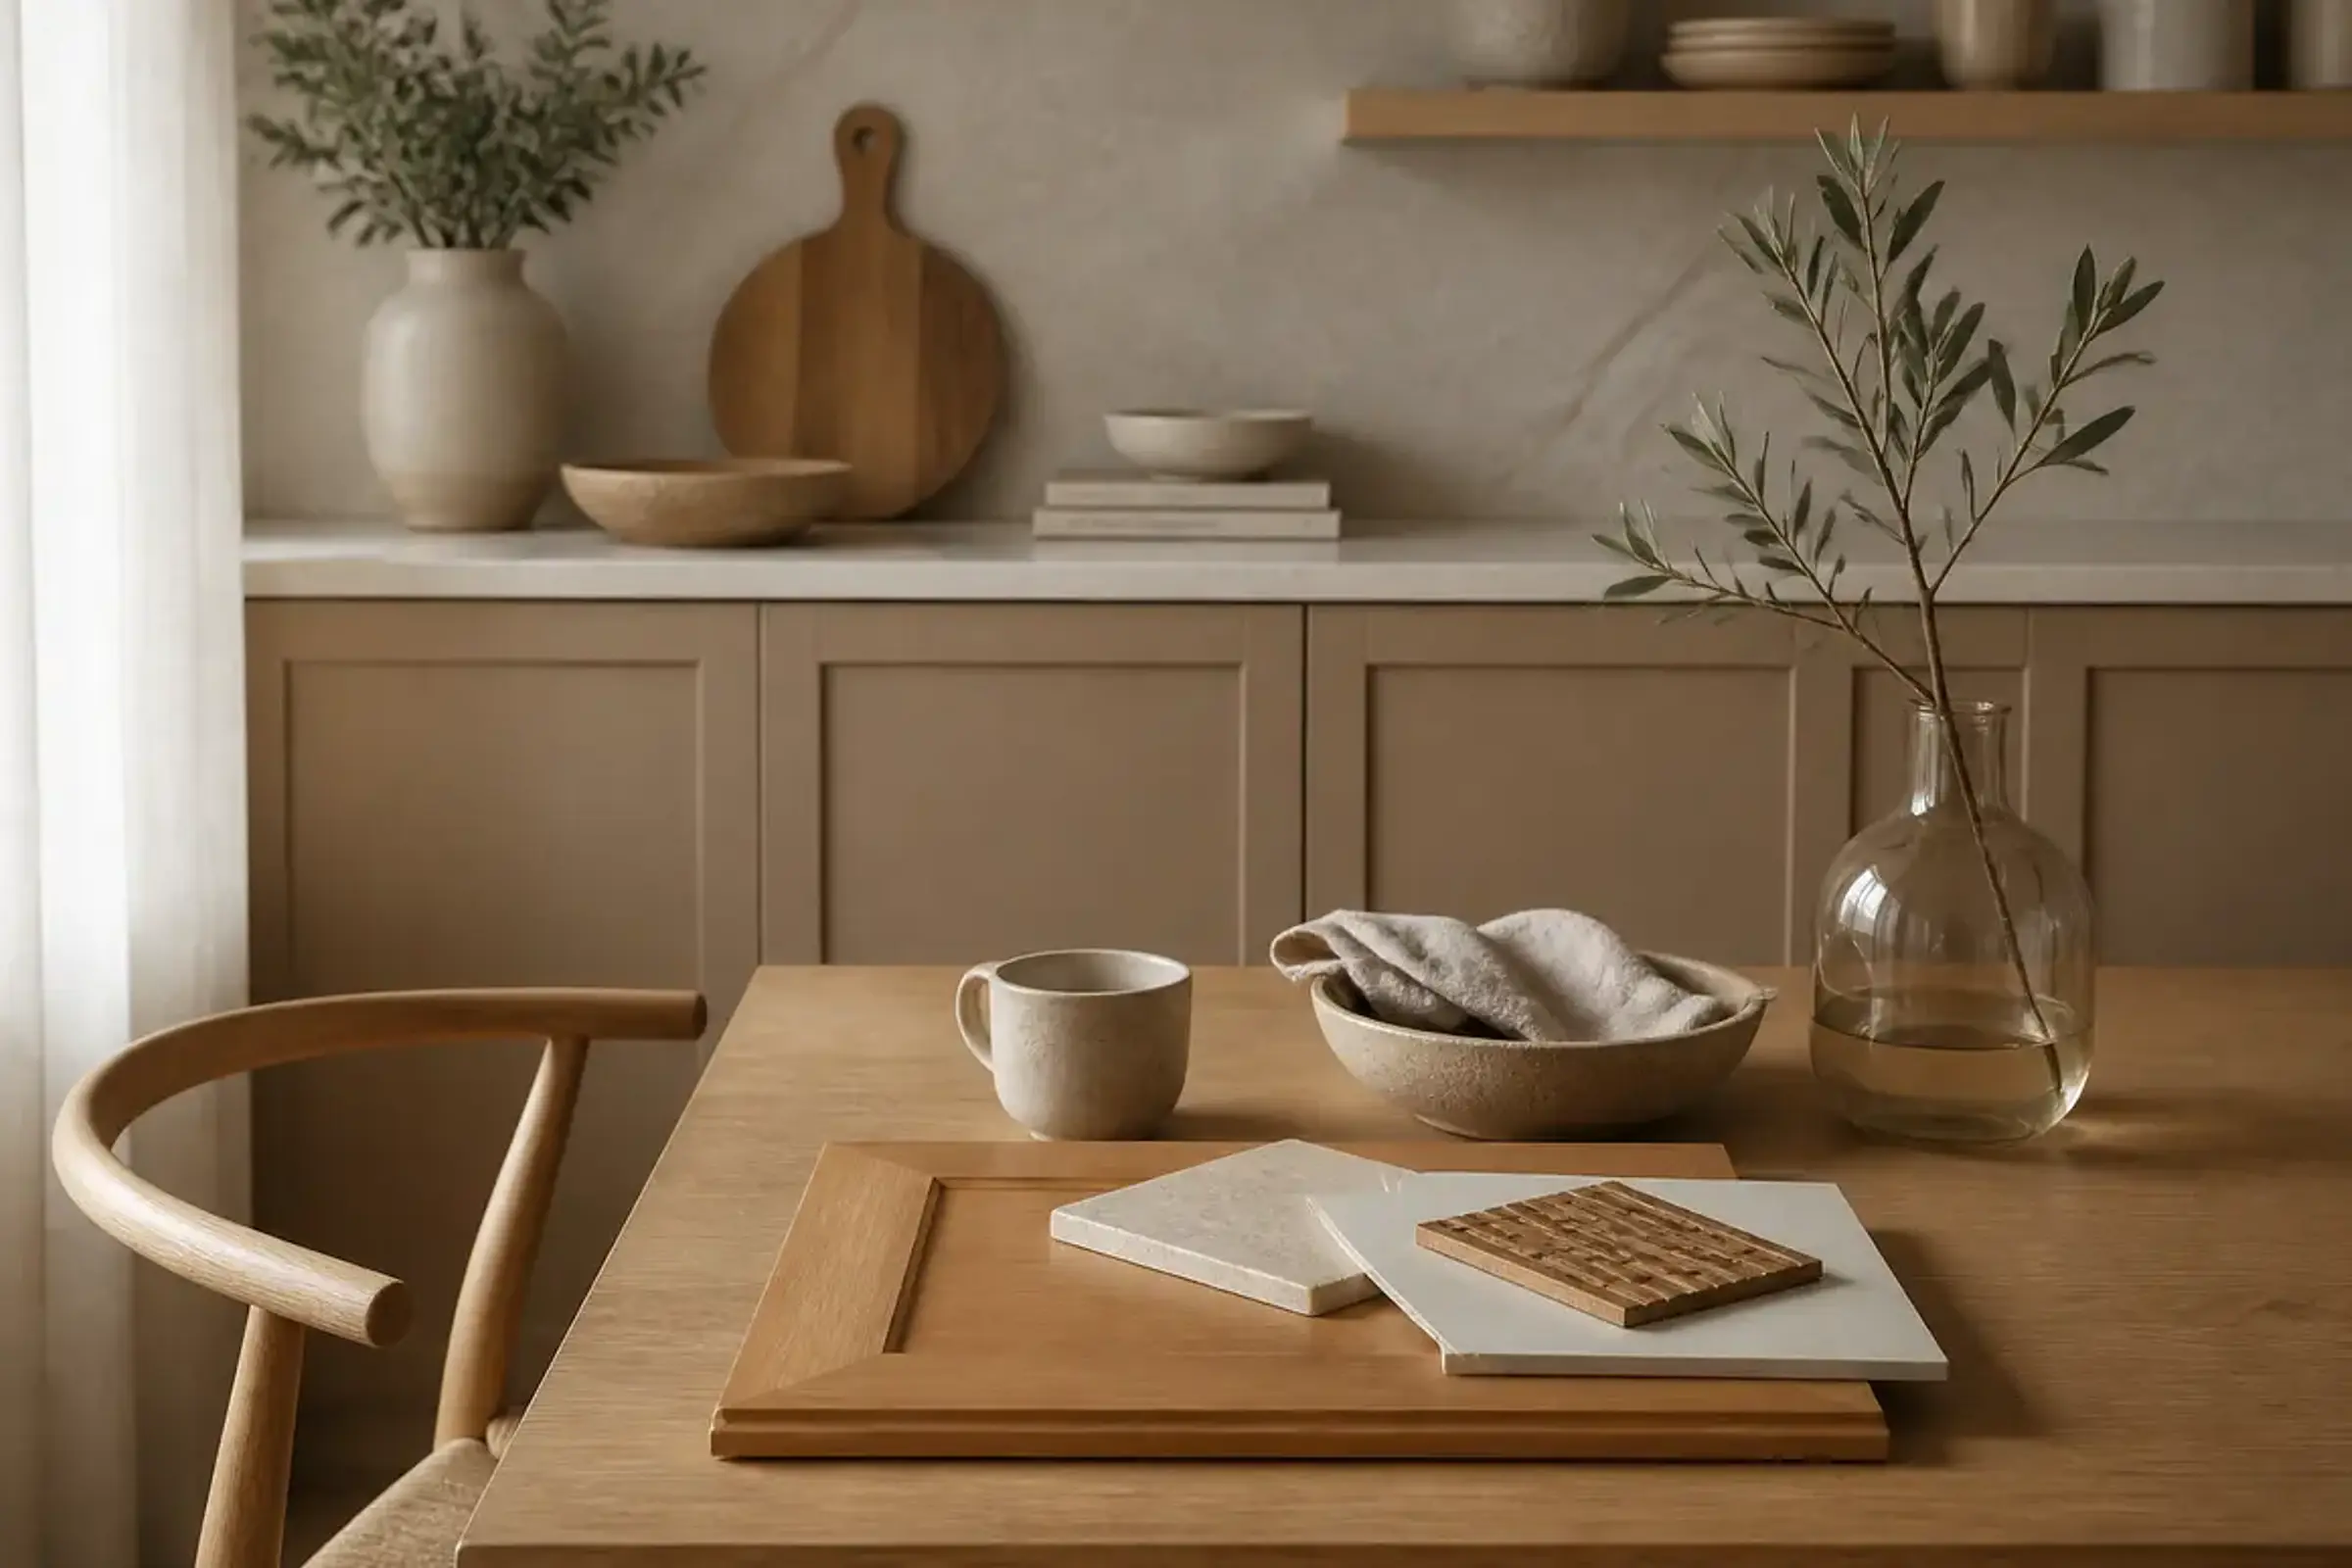
Step 3
Coordinate the After
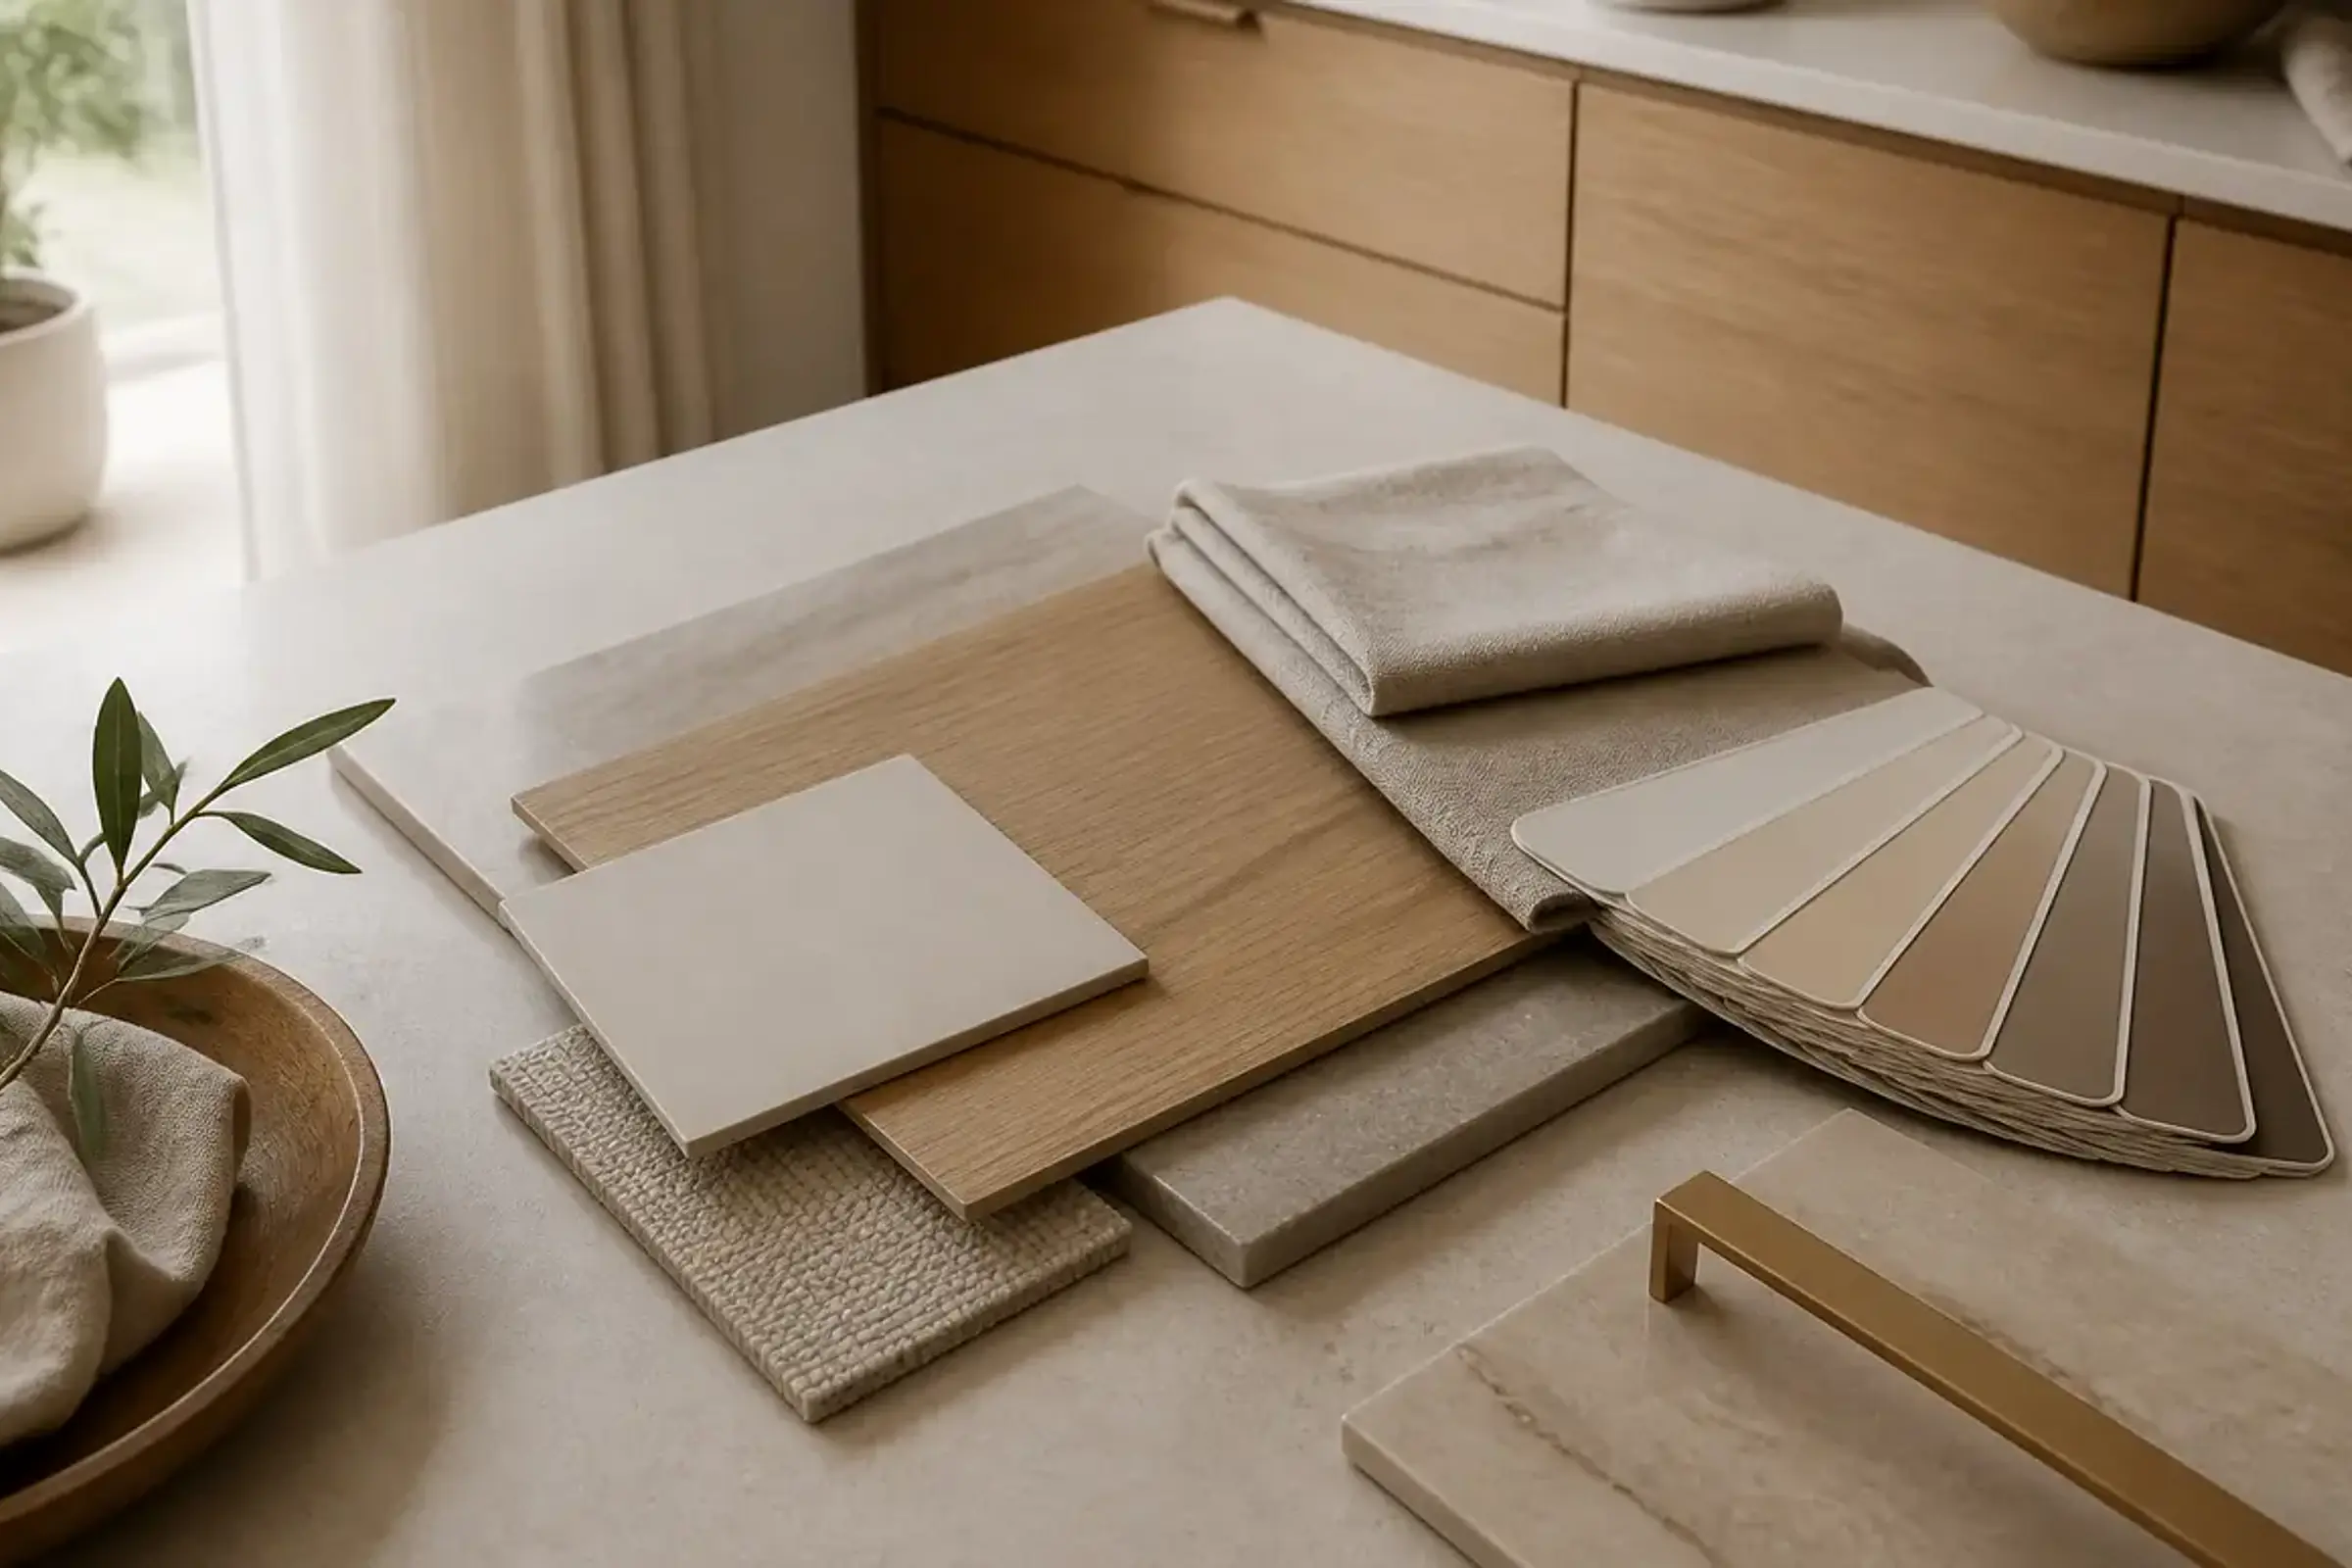
Which makeover is right for you?
Kitchen fronts and large cabinets change the room across broad surfaces. Dressers, tables or a tiled backsplash are suitable for a clearly defined project. IKEA makeovers are best started with the exact series and version.
Choose your starting point based on your project and go from there to the right category. The linked guides will help with selection and preparation.
- Large surface or individual accent?
- Calm look or visible statement?
- Custom furniture dimensions or a defined IKEA series?
- Surface only or entire room concept?
Suitable Guides and Next Steps
Explore the outstanding questions about your project in more depth or go directly to the next suitable application.
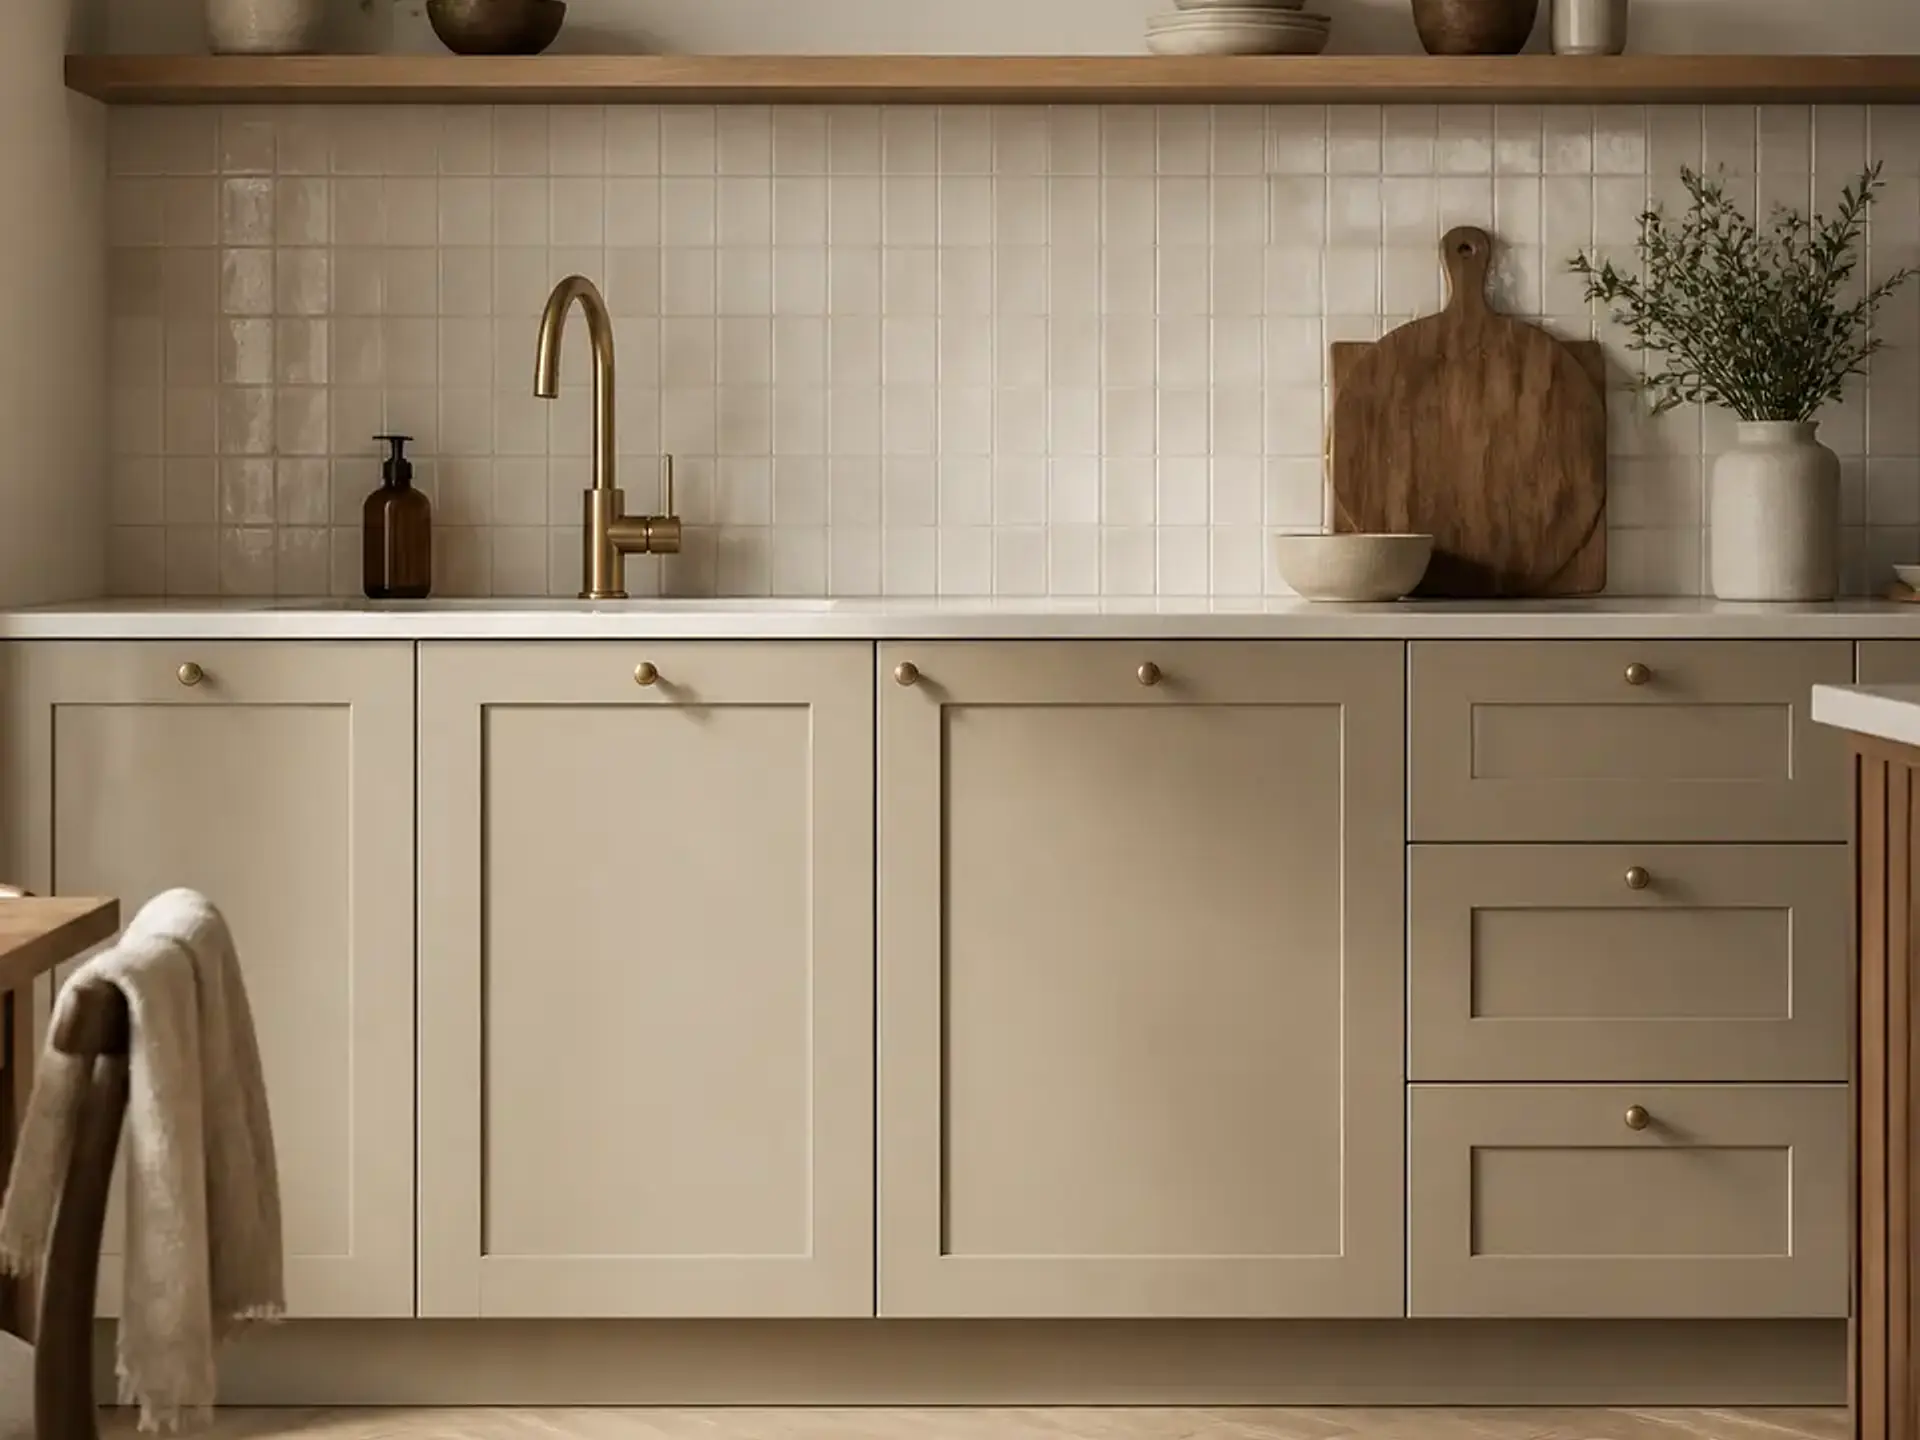
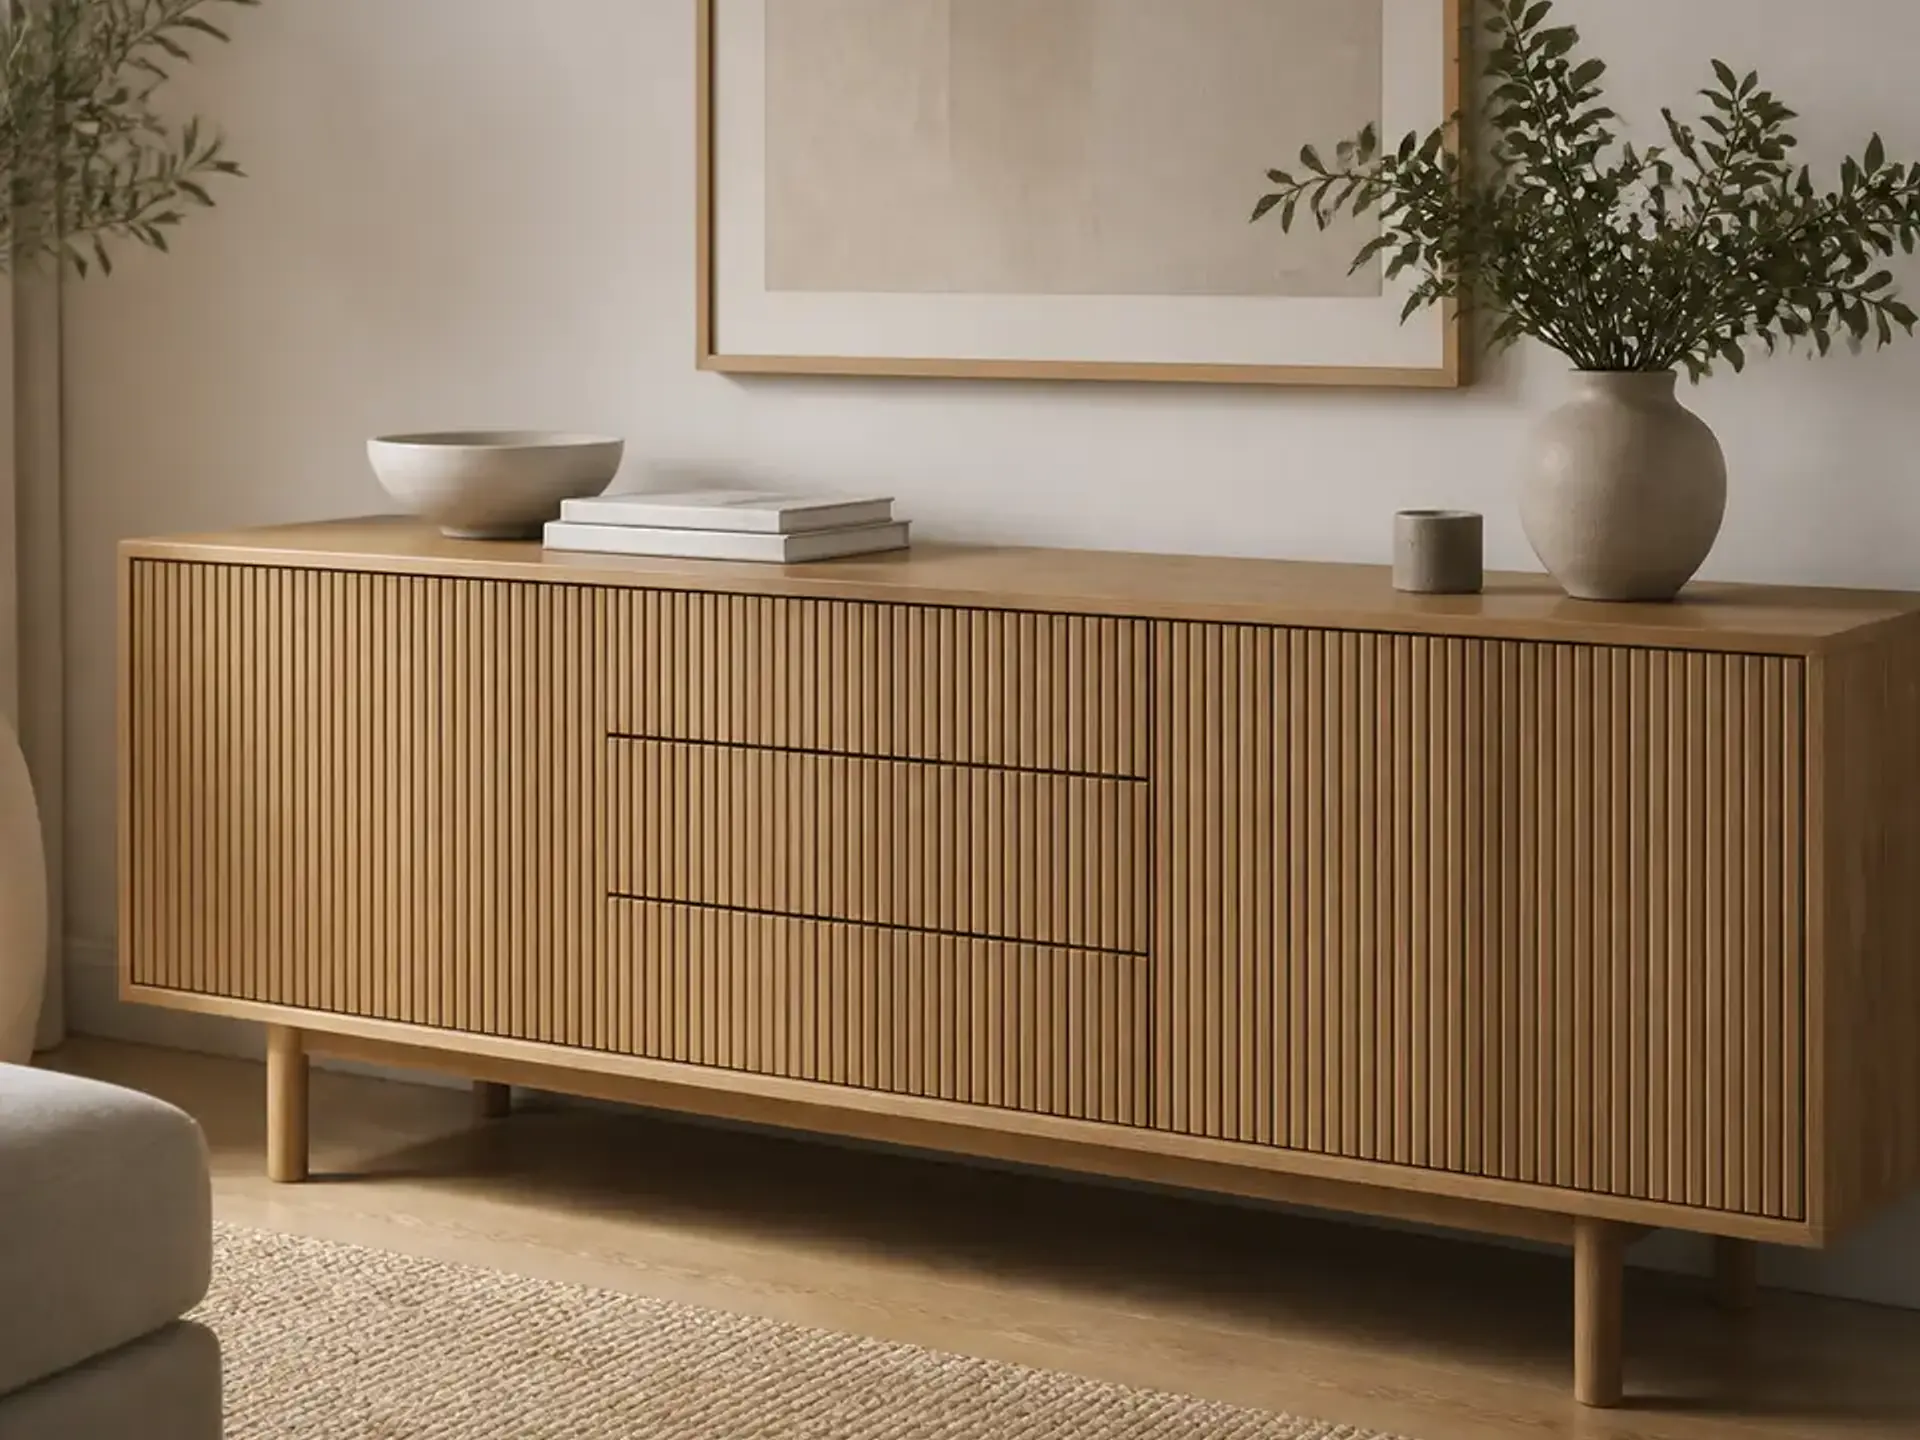
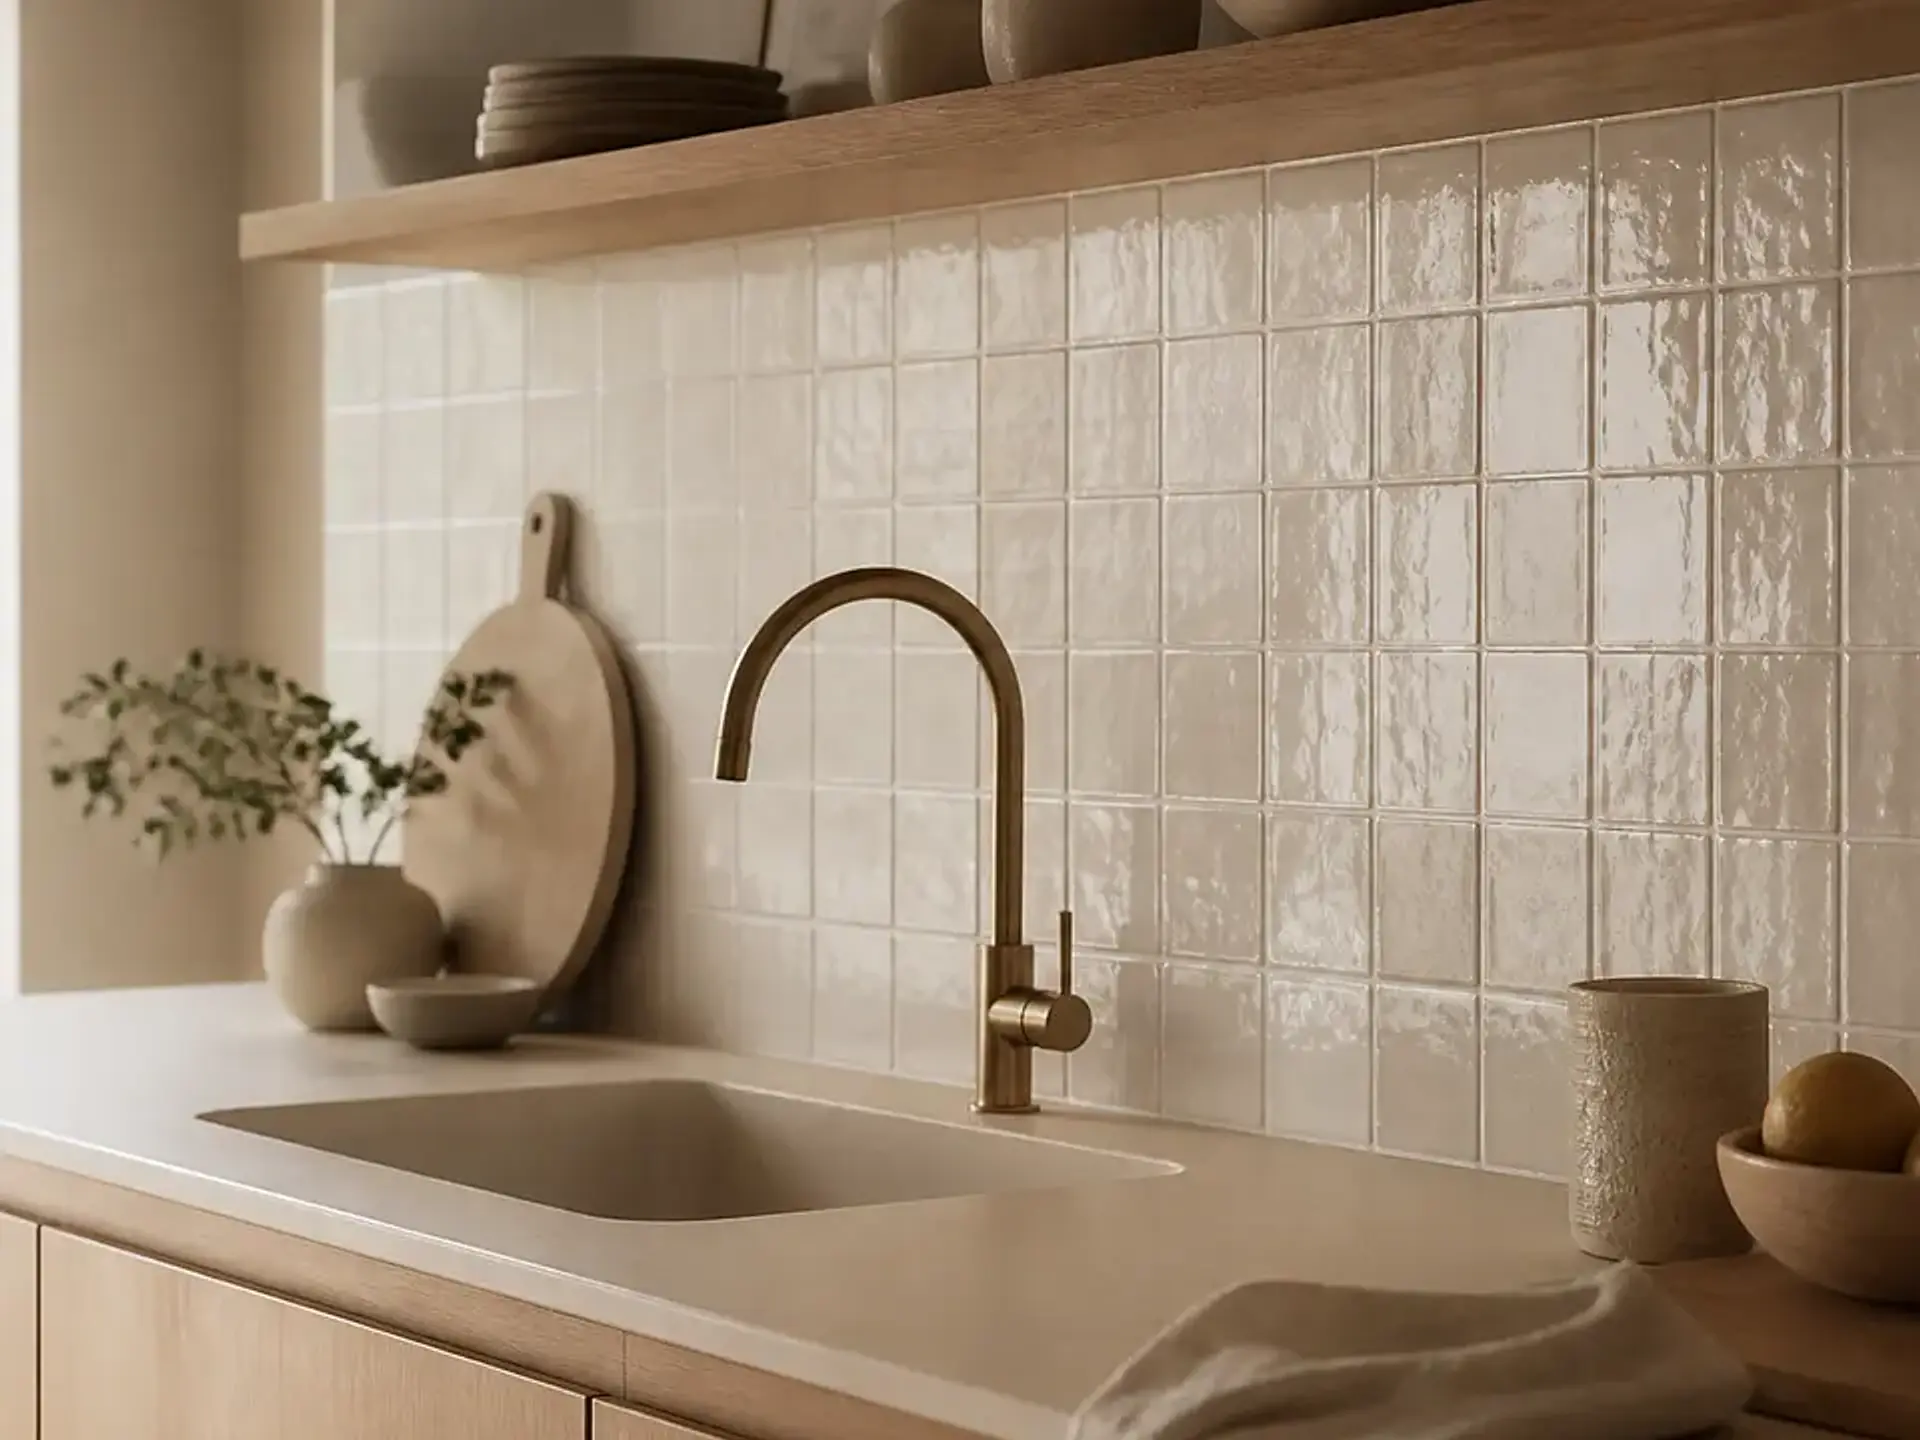
Home decor benefits
Easy to apply
A strong result for quick furniture, wall, and decor updates.
Premium quality
Made in the EU with durable materials for everyday interiors.
For furniture and walls
Designed for cabinets, doors, walls, surfaces, and more.
Lasting look
Refresh rooms instead of replacing pieces, with long-lasting style.
Room inspiration
Soft colors and textures for every room concept.