
Measure Furniture Correctly
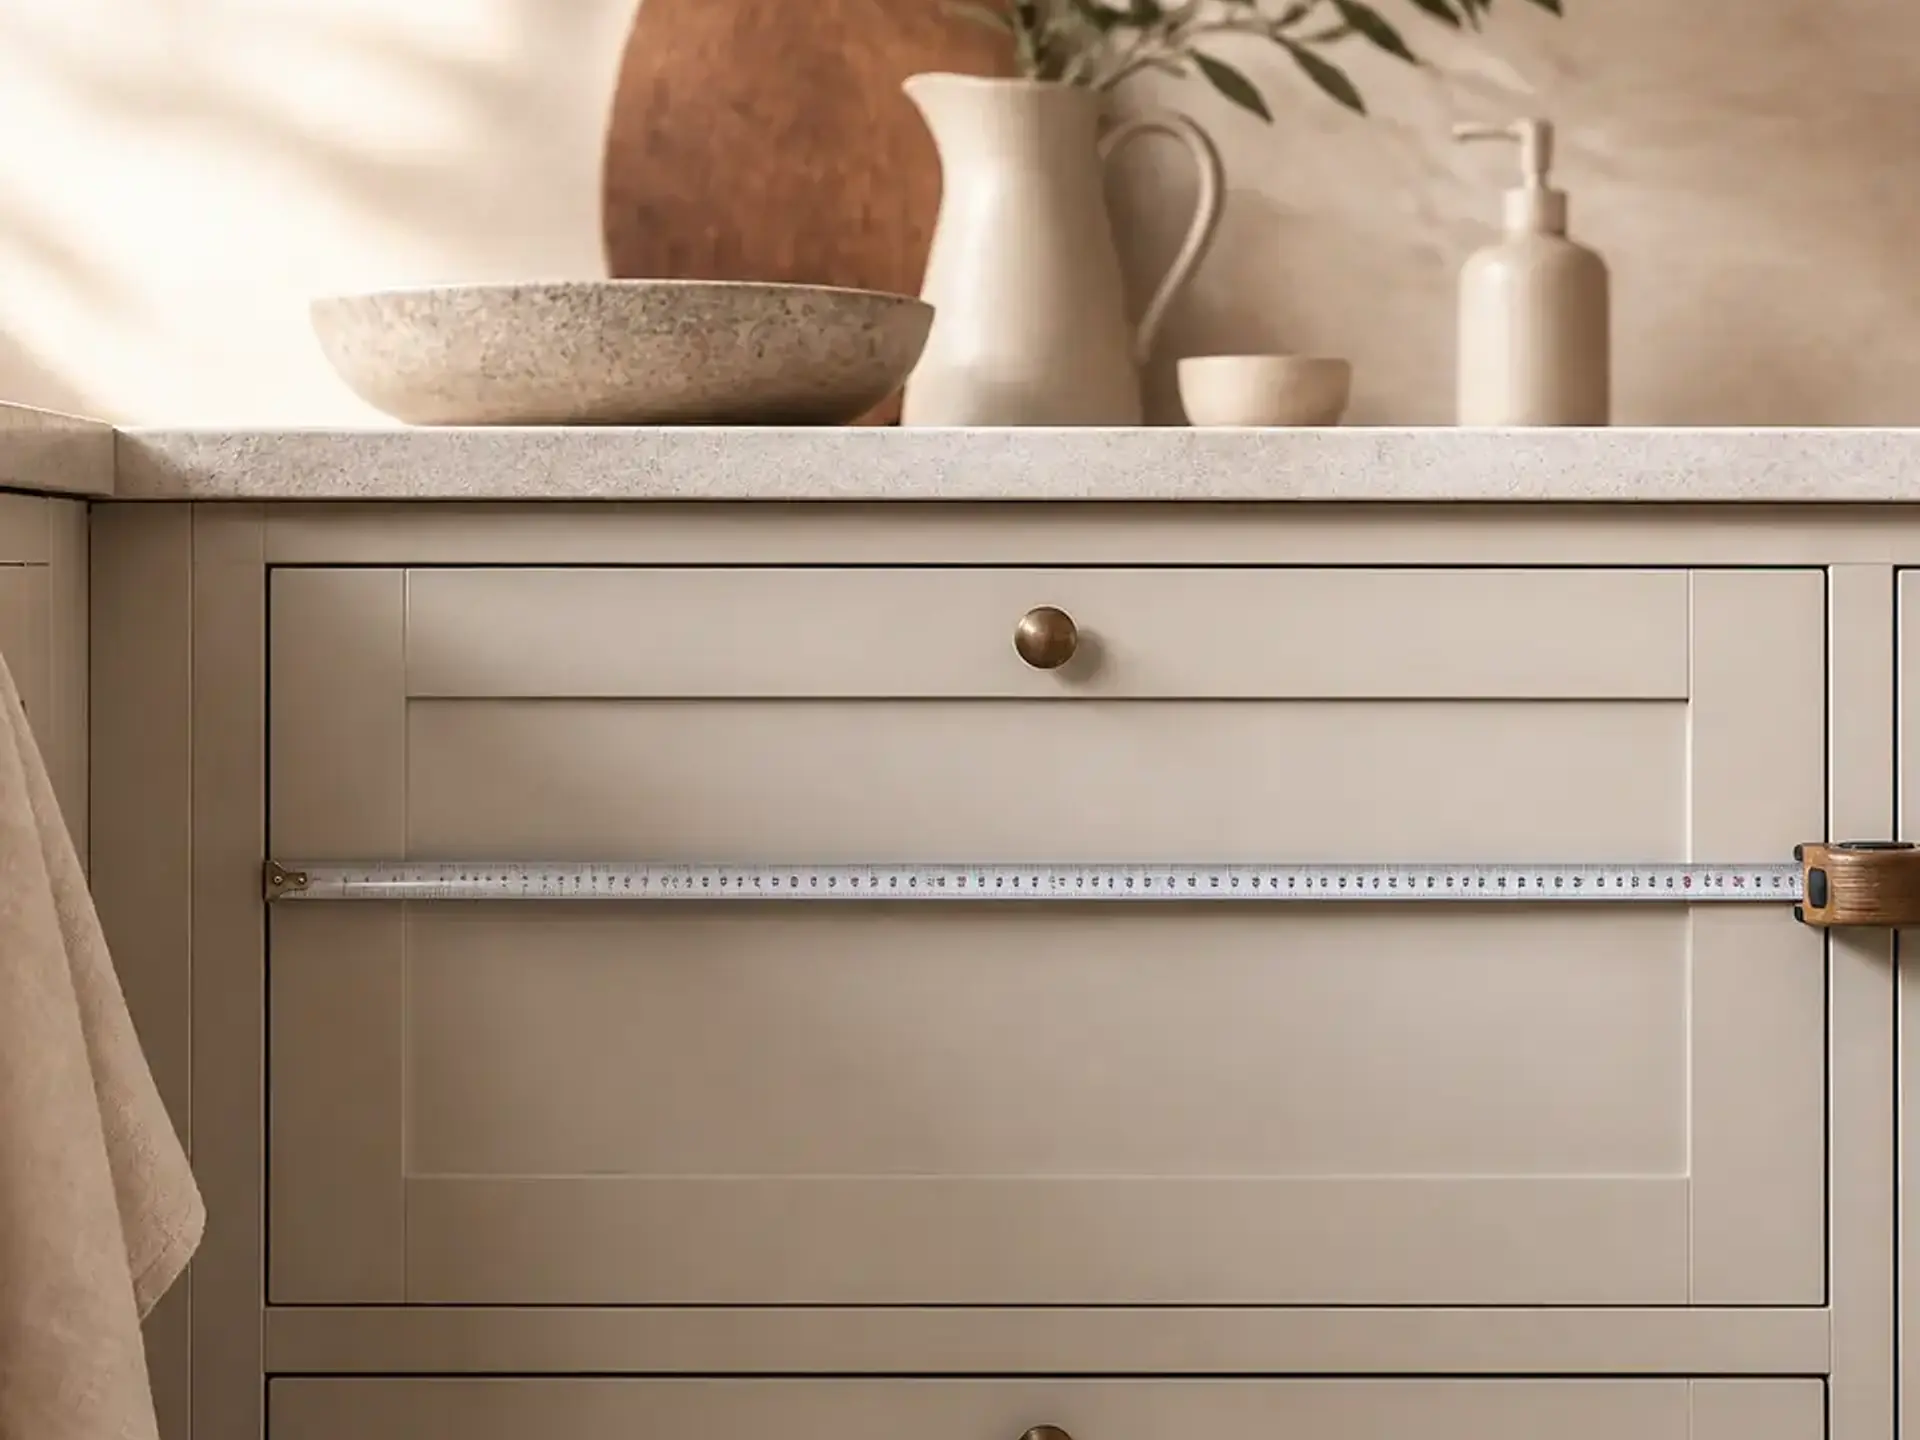
Accurate measurements are the foundation of every film project. With a simple measurement list, you can keep track of fronts, edges, cut-outs and the direction of the design.
All Furniture Films
Choose the right design after measuring.
Ideal for: Compare furniture films
Start here if you already know which surface or application you want to work on.
Wood Looks
Plan the design direction and grain pattern at an early stage.
Ideal for: Discover wood looks
Choose this option if you want to compare designs or an adjacent application area.
Before measuring: Break the project down into surfaces
Do not view your piece of furniture as one single measurement. Doors, drawers, sides, top panel and visible edges are recorded separately. This makes it easier to determine later which film is intended for which surface.
Use a sketch and assign clear labels. Measure each surface in several places, especially on older furniture or furniture with irregular edges.
Suitable categories for your project
%20(1).png "Discover wood looks")
%20(1).png "Discover stone & mineral looks")
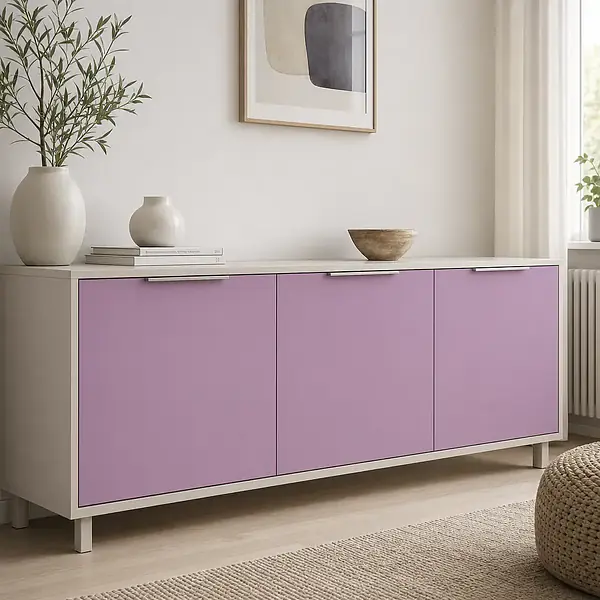
.png "Discover solids & colors")
%20(1).png "Discover wood looks")
%20(1).png "Discover stone & mineral looks")
.png "Discover solids & colors")
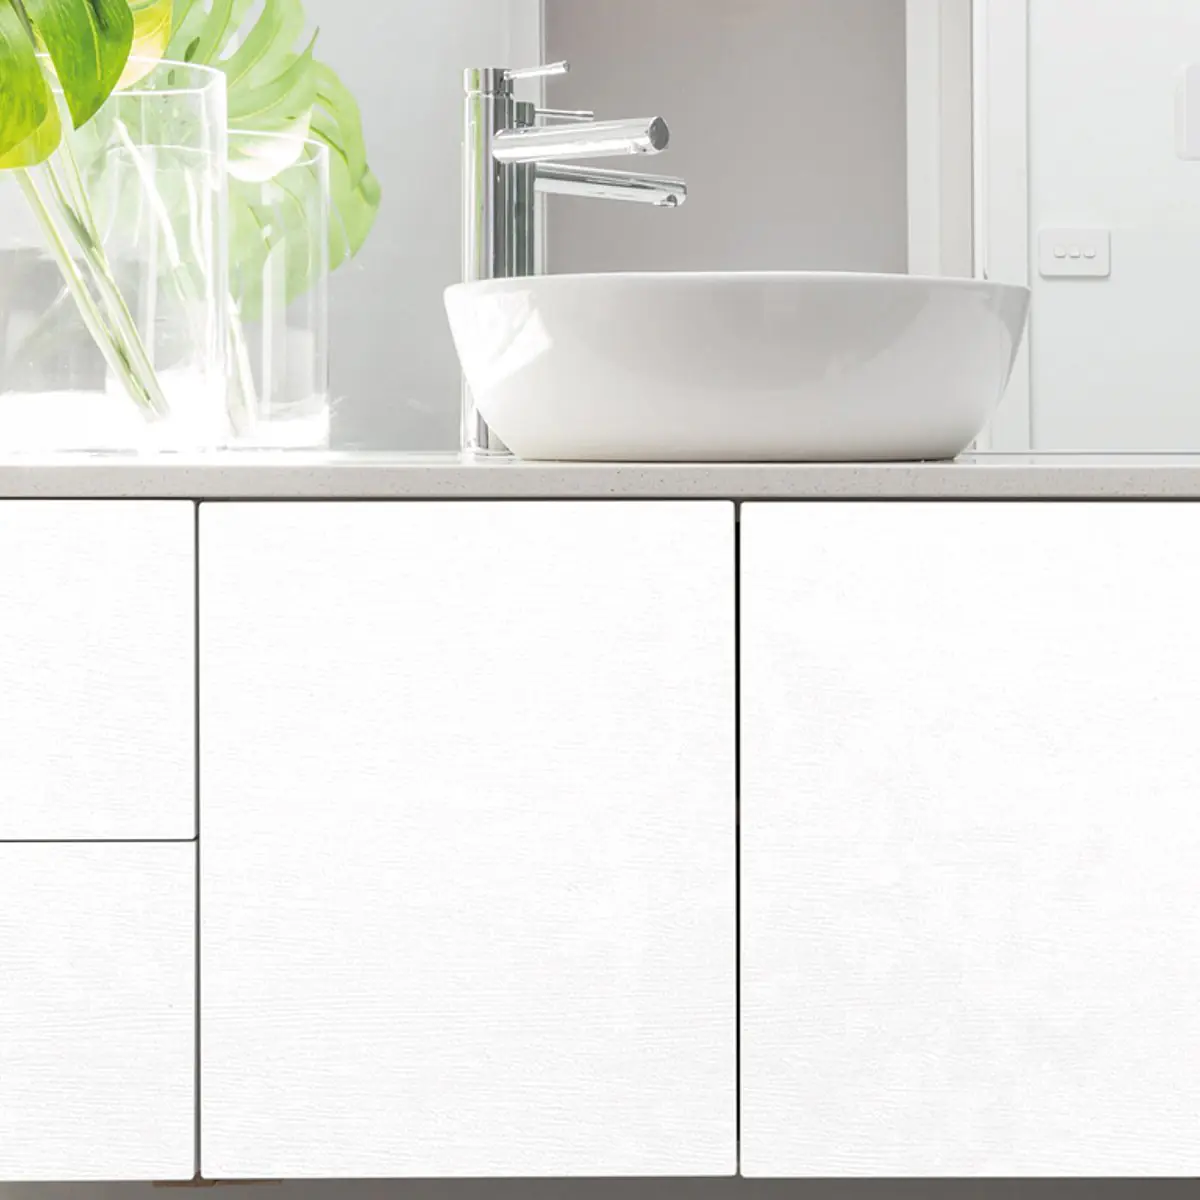
Before measuring: Break the project down into surfaces: correctly assess the initial situation
Good preparation separates design from technical checks. First record the measurements, substrate and area of use; then decide on the color, pattern and desired effect in the room.
When measuring furniture correctly, the first concrete step is to name all fronts, sides, panels and edges individually. Then define which elements will remain unchanged and which change should actually be visible in the room.

Compare all furniture films and alternatives sensibly
Use categories as a preselection and then check the details of the specific product. This keeps inspiration open without losing sight of important details such as format, surface or application.
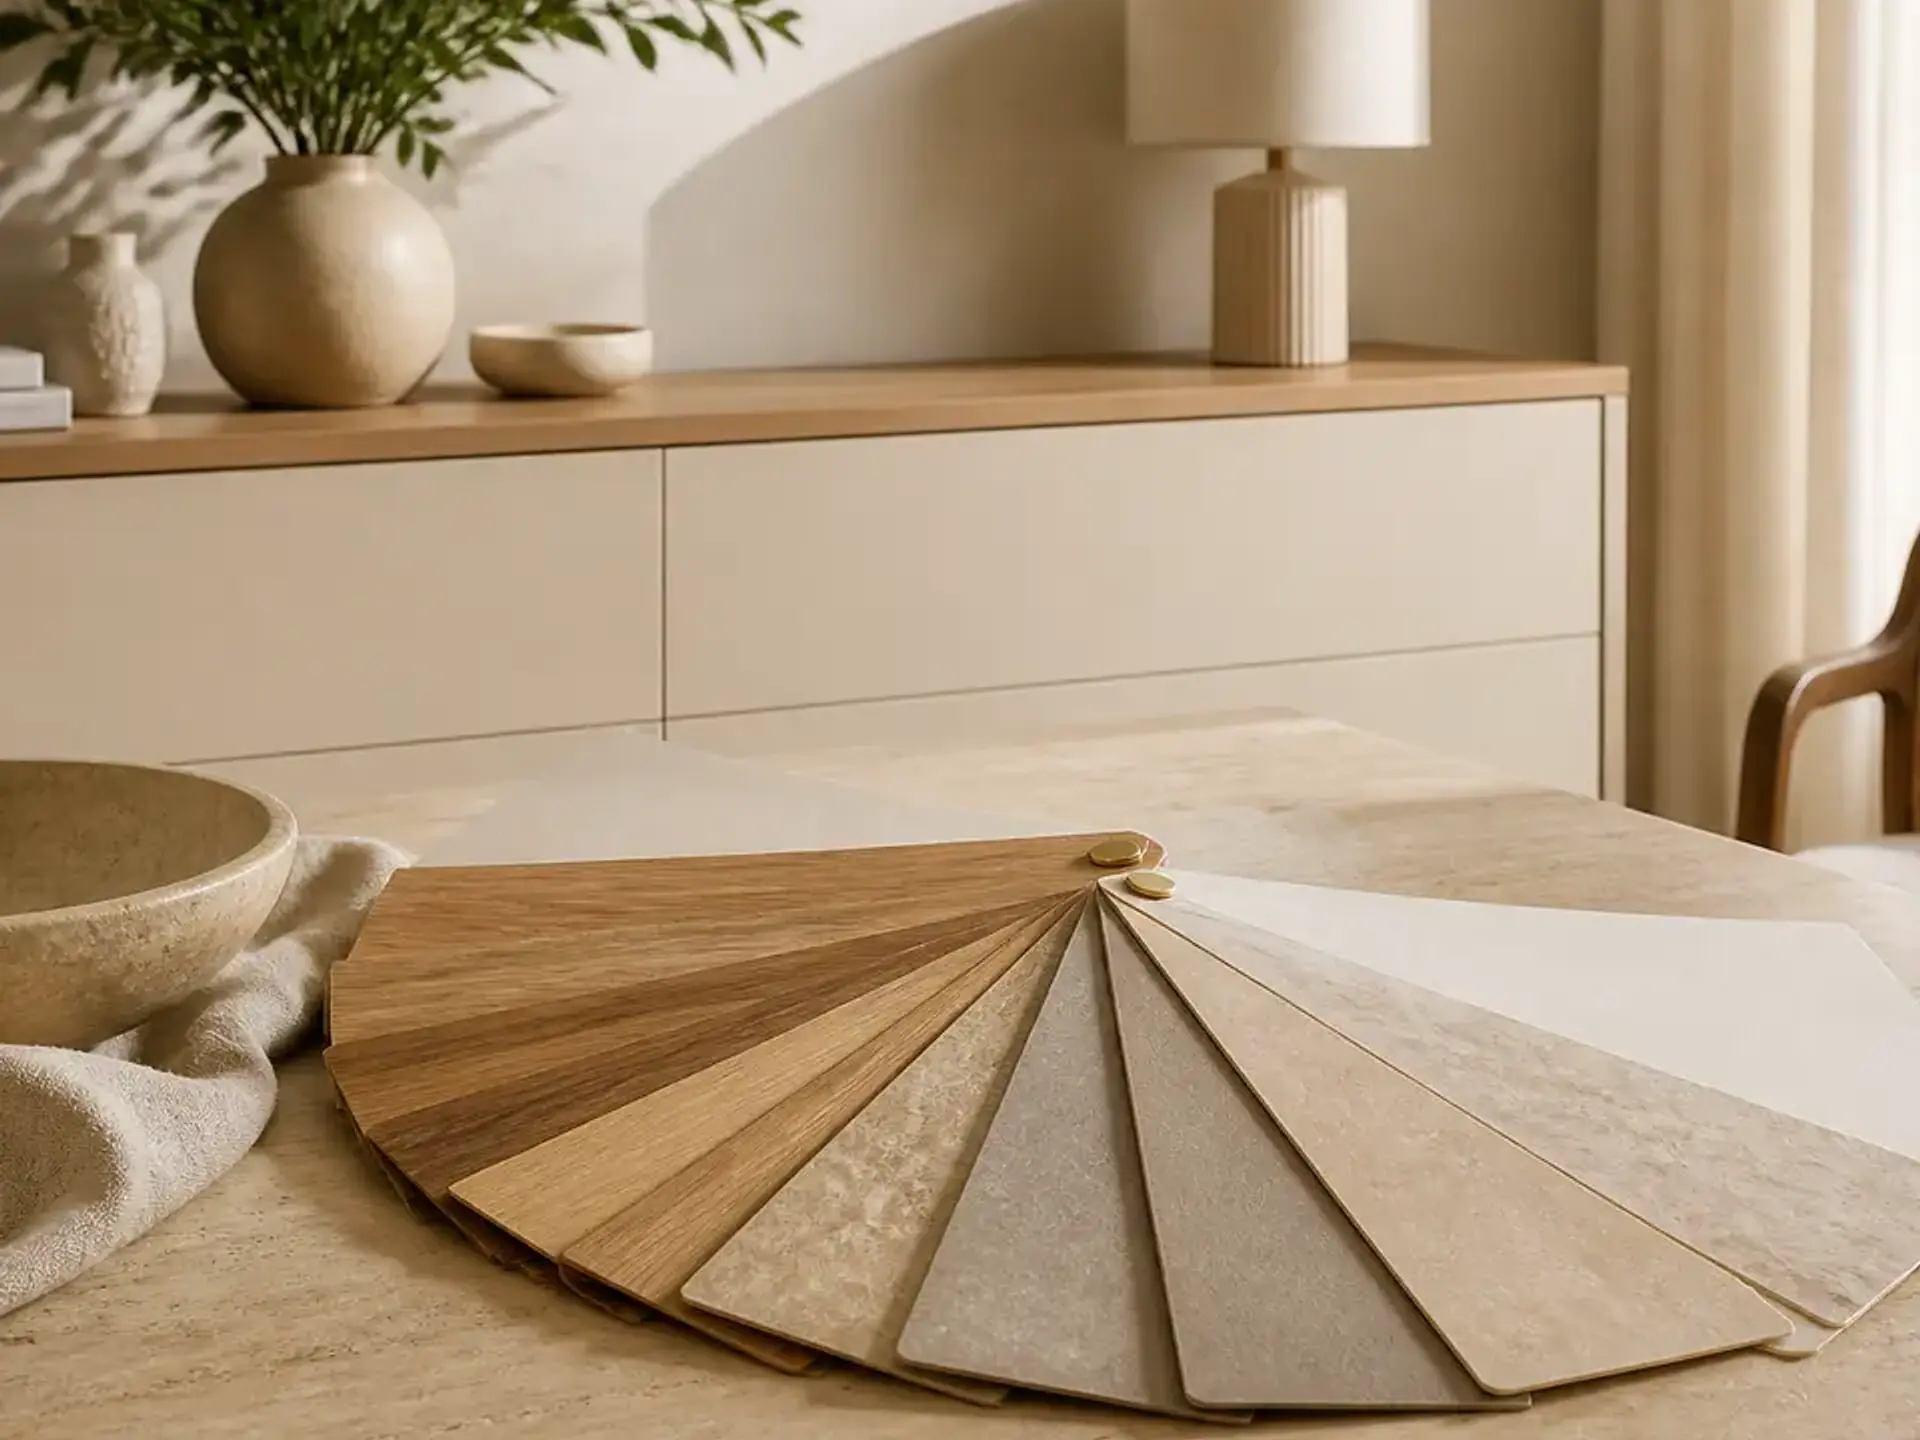
For this page, All Furniture Films, Wood Looks, Stone & Mineral and Solids & Colors are particularly relevant. Open the categories individually and compare not only colors, but also texture, size options and the details of the respective product.
- All Furniture Films: Choose the right design after measuring.
- Wood Looks: Plan the design direction and grain pattern at an early stage.
- Stone & Mineral: Cut and align large-format designs to fit.
- Solids & Colors: Create calm surfaces without a striking pattern direction.
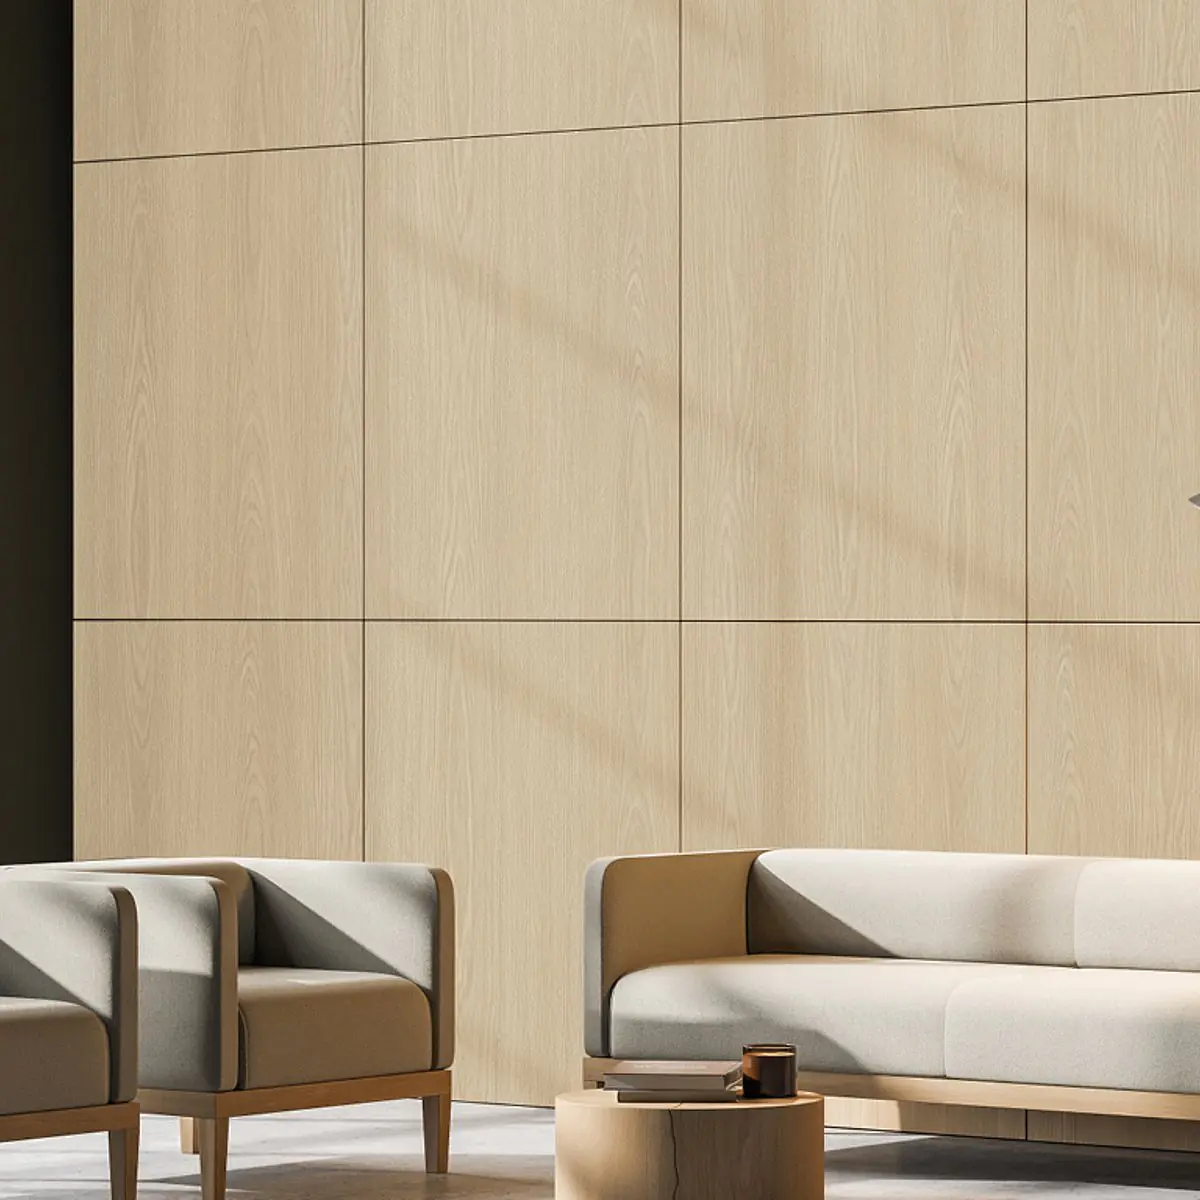
Measure in three steps: from detail to overall picture
Work with a brief project list and document outstanding decisions. This prevents spontaneous changes to the design, orientation or cutting and makes the process from the first measurement to the finished result easy to follow.
The middle project step here is to measure the width and height in several places and record cut-outs separately. For the desired result, take the design direction, order and product-specific application instructions into account. Check this intended result once again alongside the selected design before finalizing measurements or quantities.
Measure in Three Steps
These three steps help you plan the initial situation, selection and desired result as one cohesive project.
Before
1. Surface List

Examination
2. Check Measurements
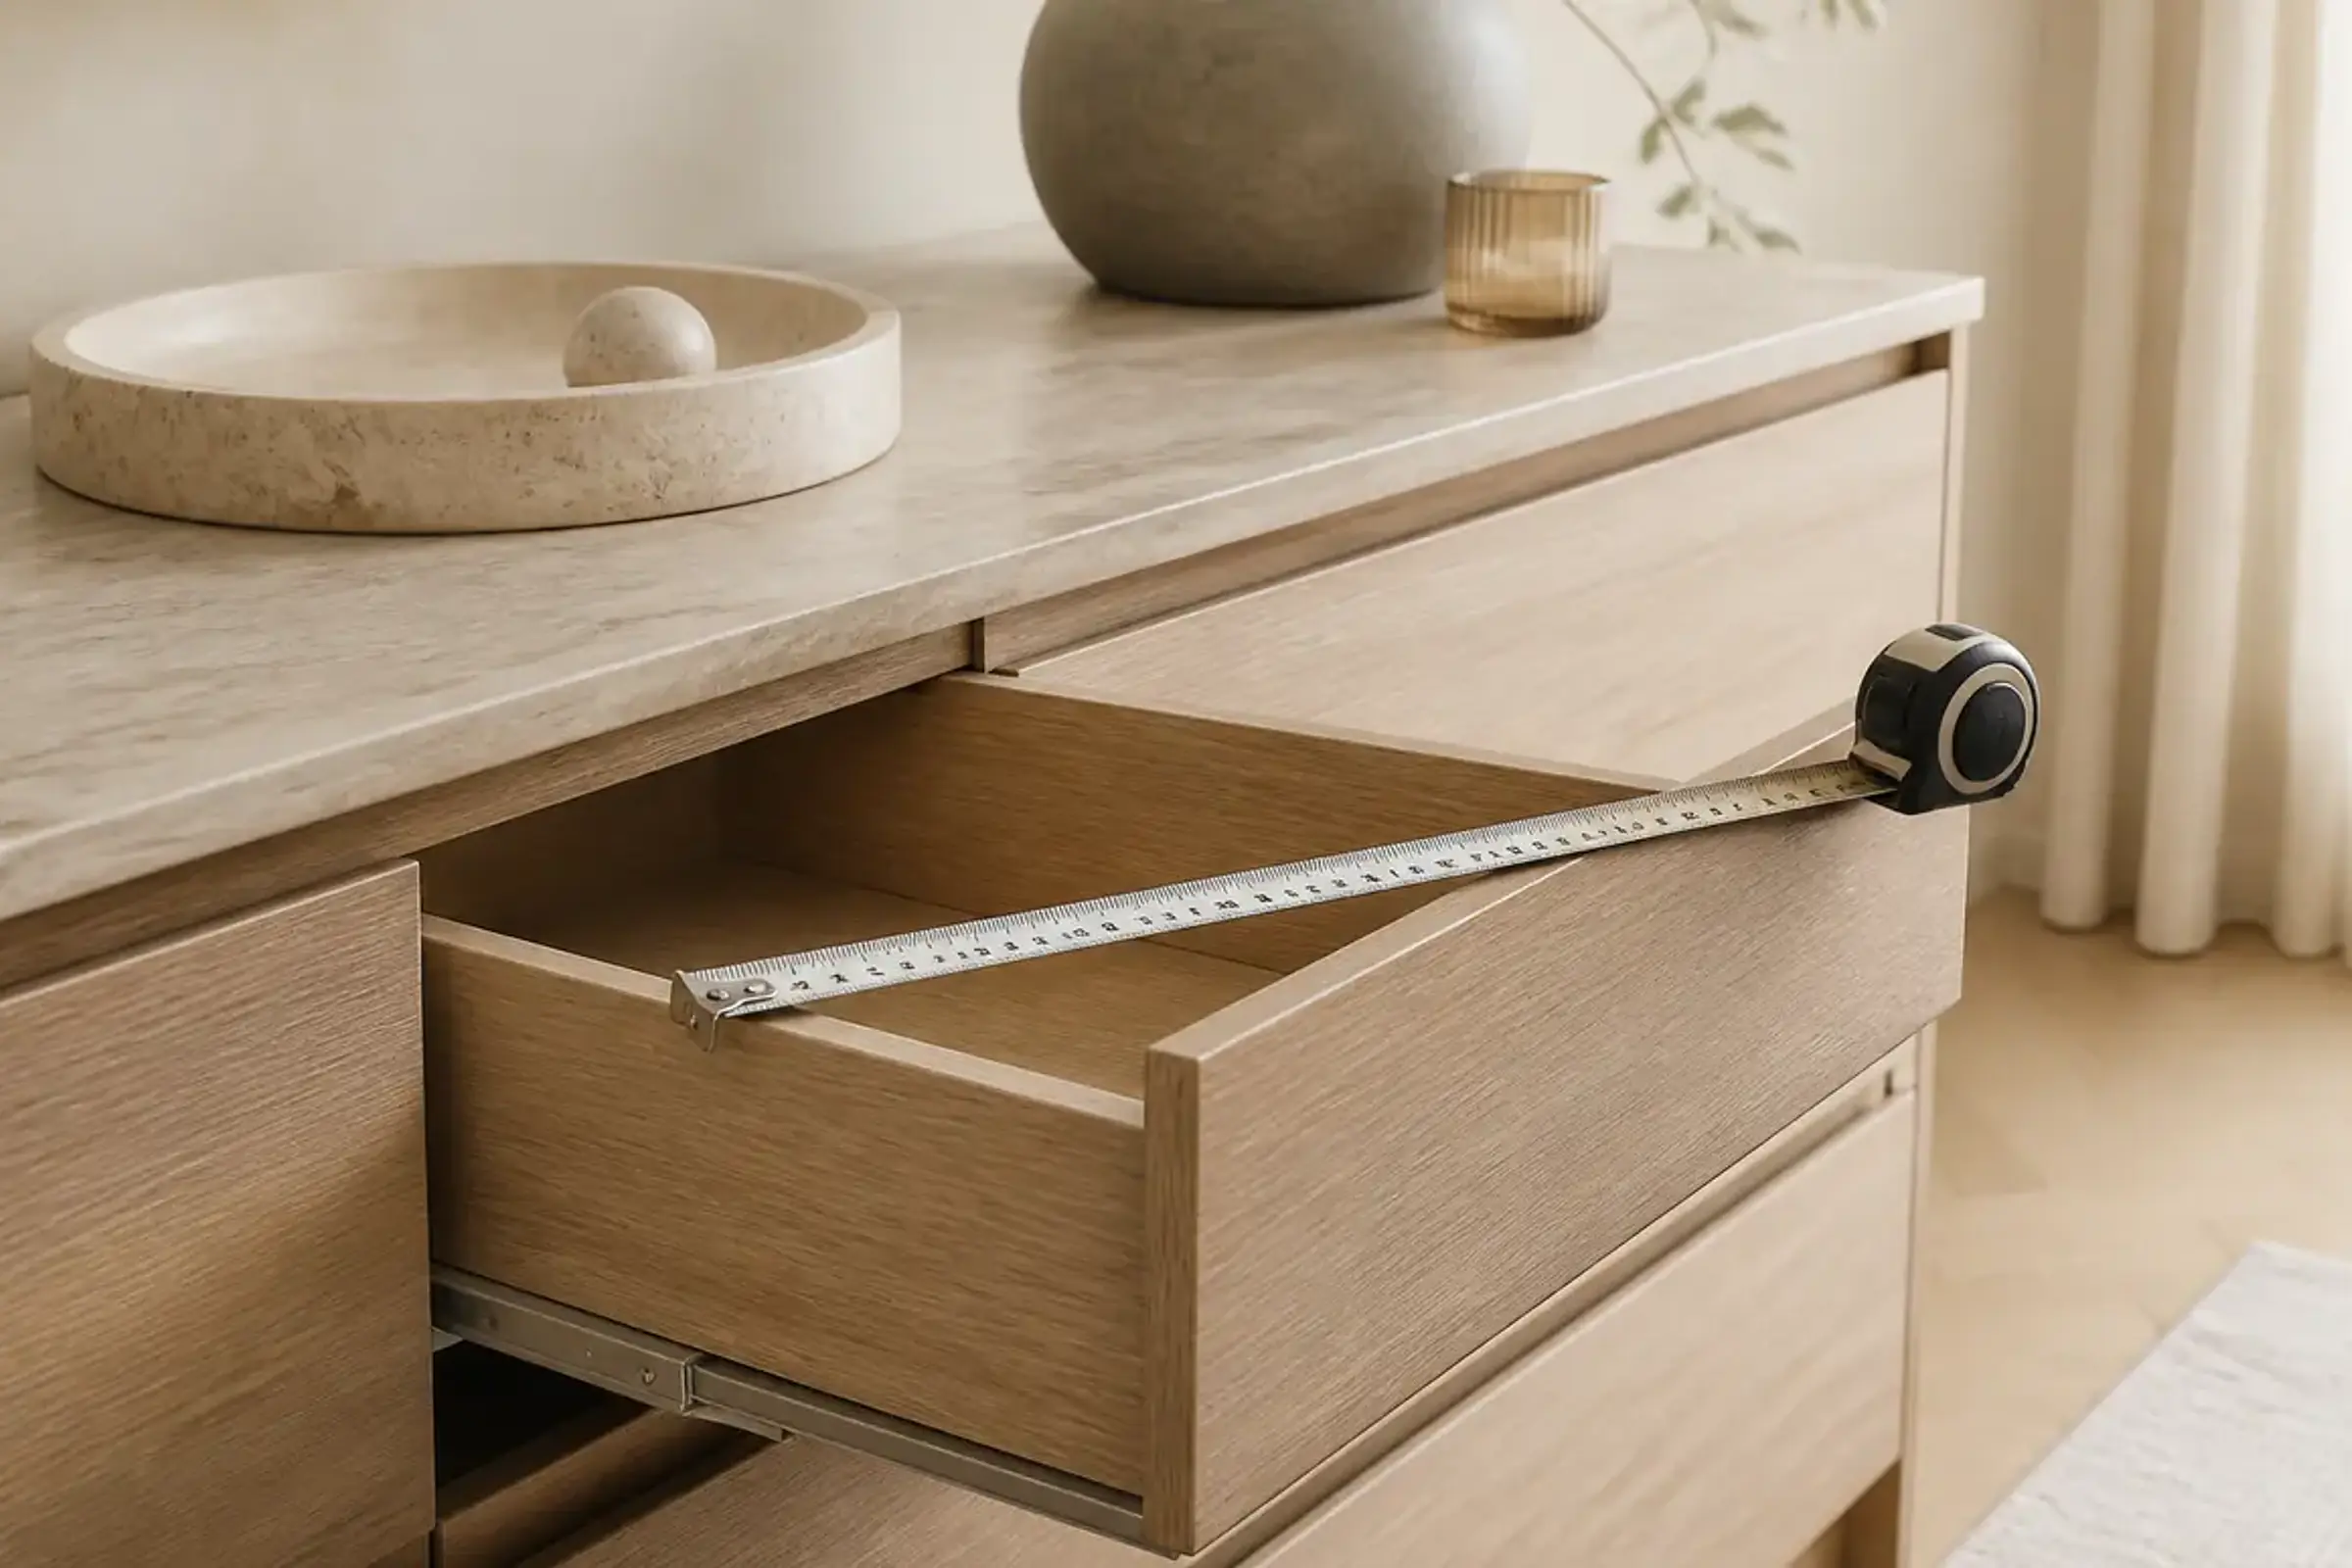
Planning
3. Plan the Cutting
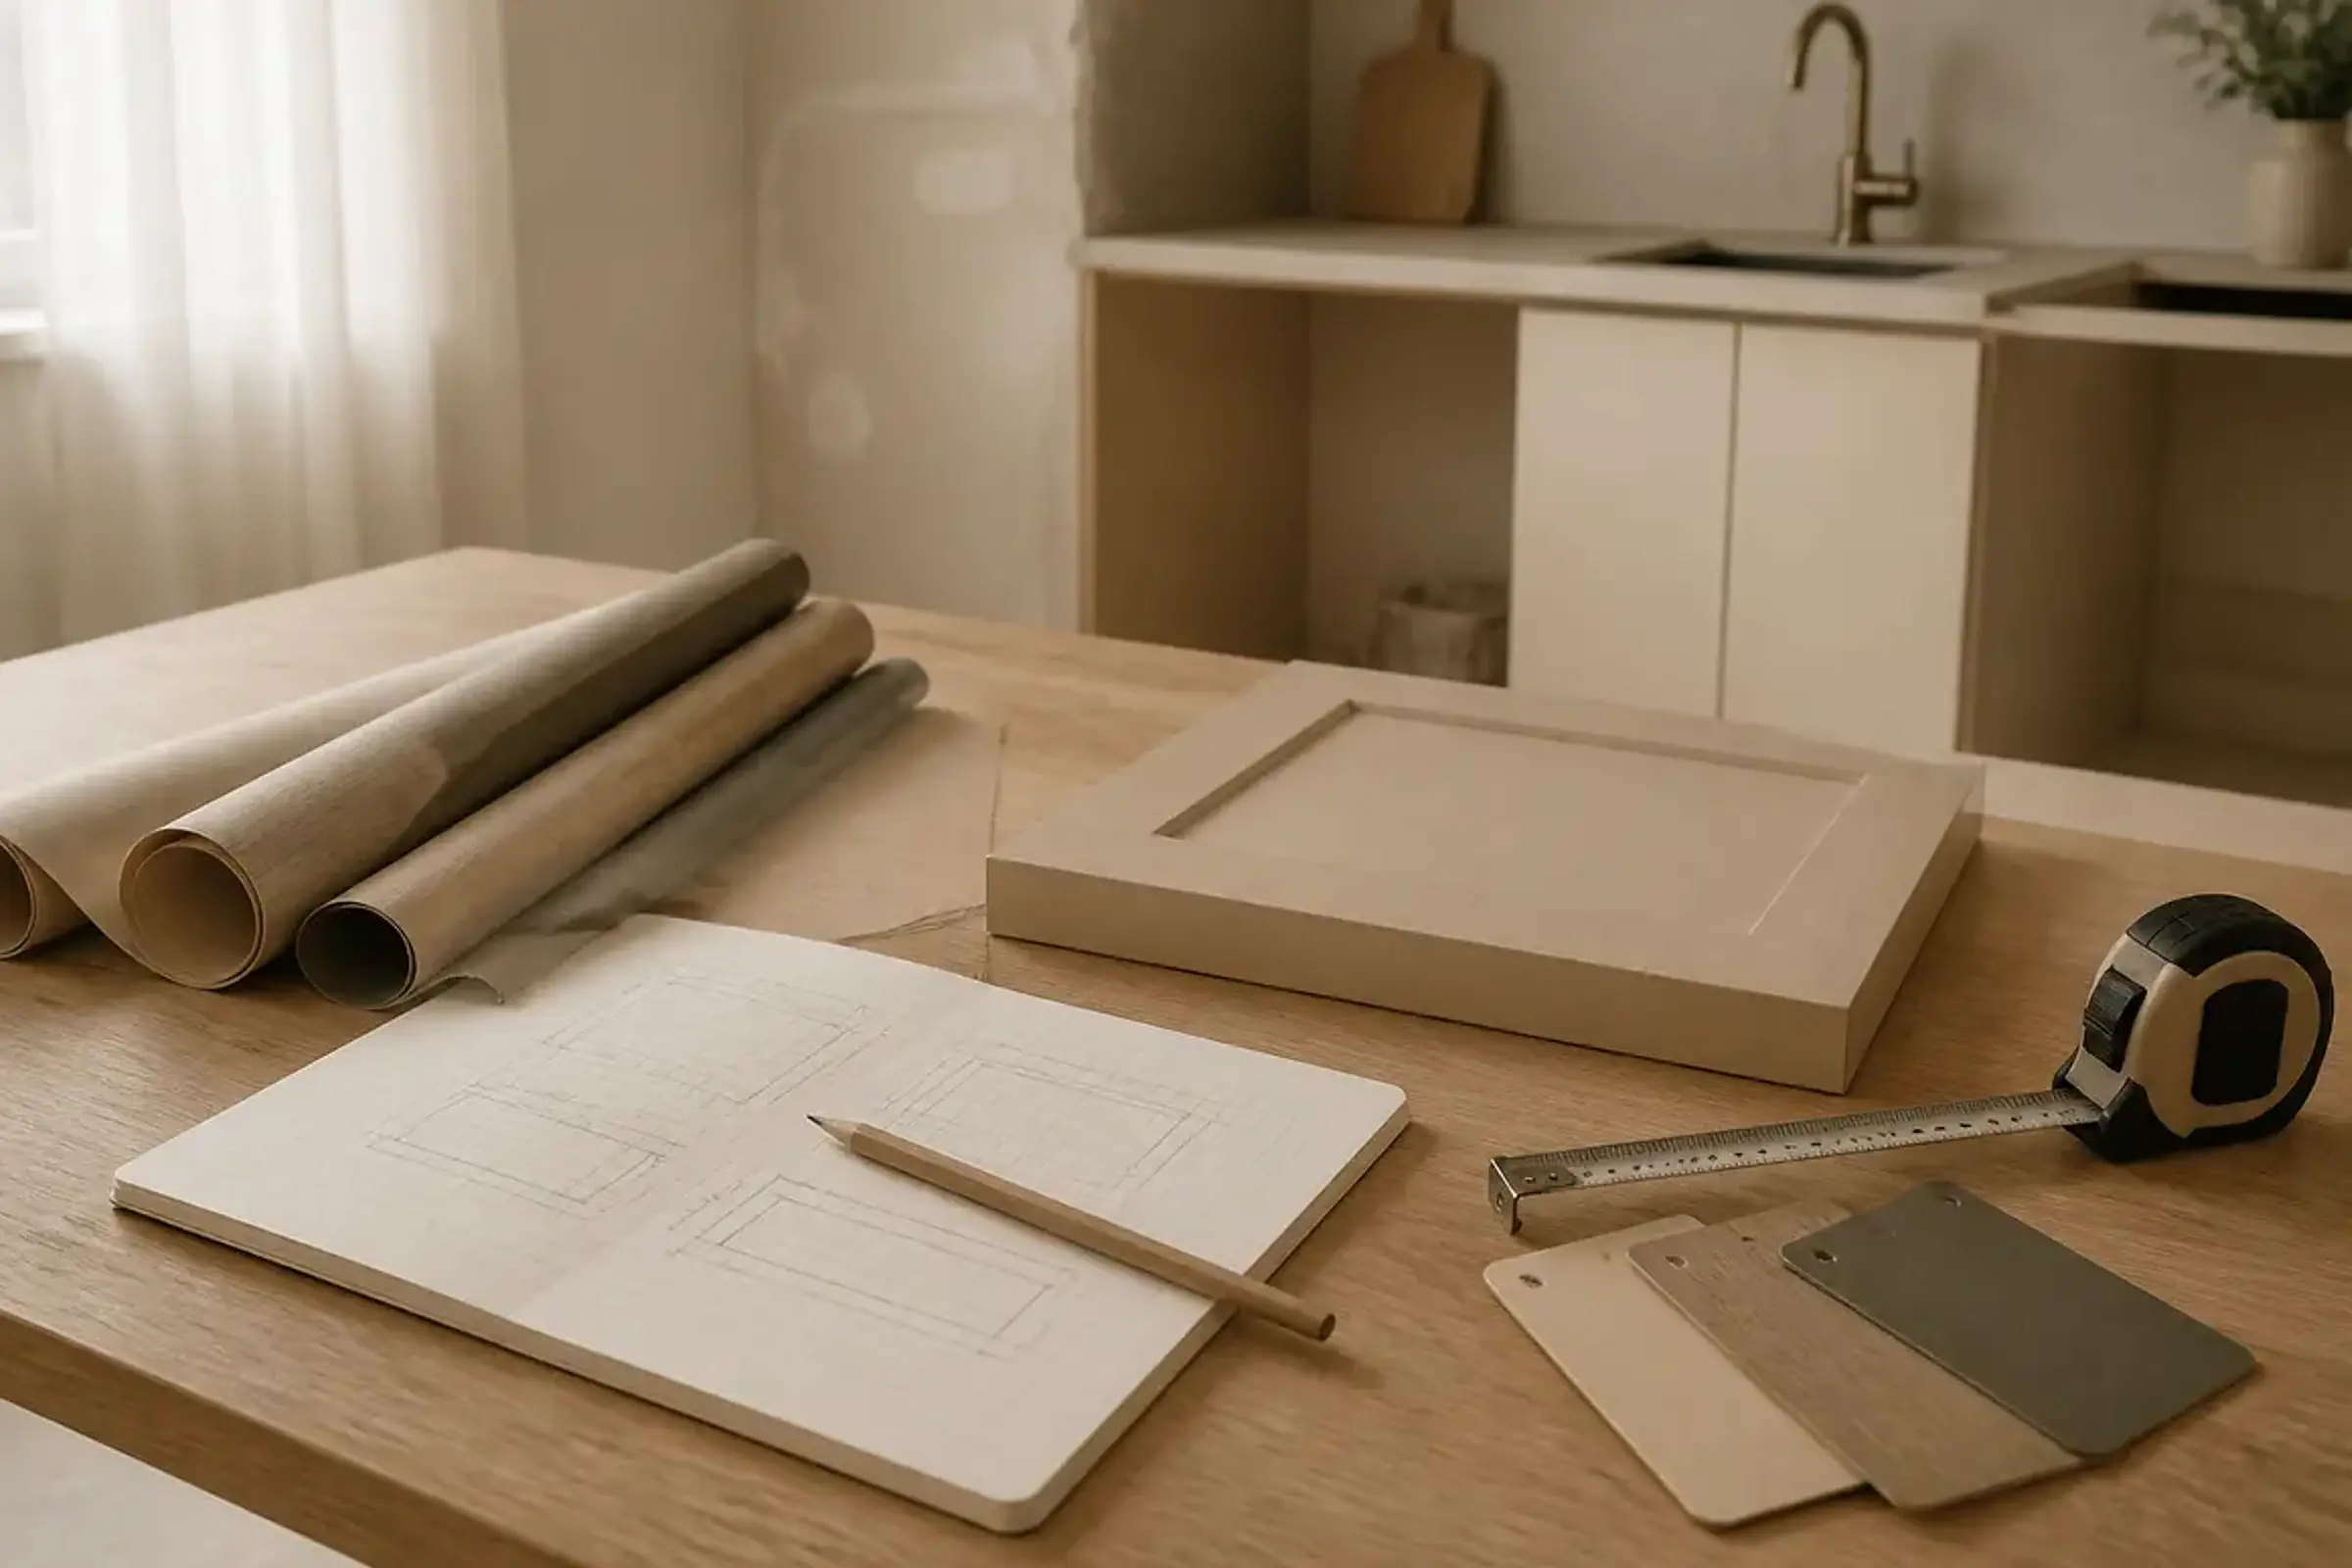
What belongs on the measurement list?
For each surface, note the width, height, position and desired design direction. Add handles, hinges, sockets, curves or other special features.
The actual material requirement depends on the selected product and its dimensions. Therefore, only transfer your surface list into a final cutting plan after selecting the product.
- Give each surface a clear name
- Check the width and height several times
- Record visible edges separately
- Mark the pattern or grain direction
- Check the measurements again before ordering
Suitable Guides and Next Steps
Explore the open questions about your project or go directly to the next suitable application.
Home decor benefits
Easy to apply
A strong result for quick furniture, wall, and decor updates.
Premium quality
Made in the EU with durable materials for everyday interiors.
For furniture and walls
Designed for cabinets, doors, walls, surfaces, and more.
Lasting look
Refresh rooms instead of replacing pieces, with long-lasting style.
Room inspiration
Soft colors and textures for every room concept.