
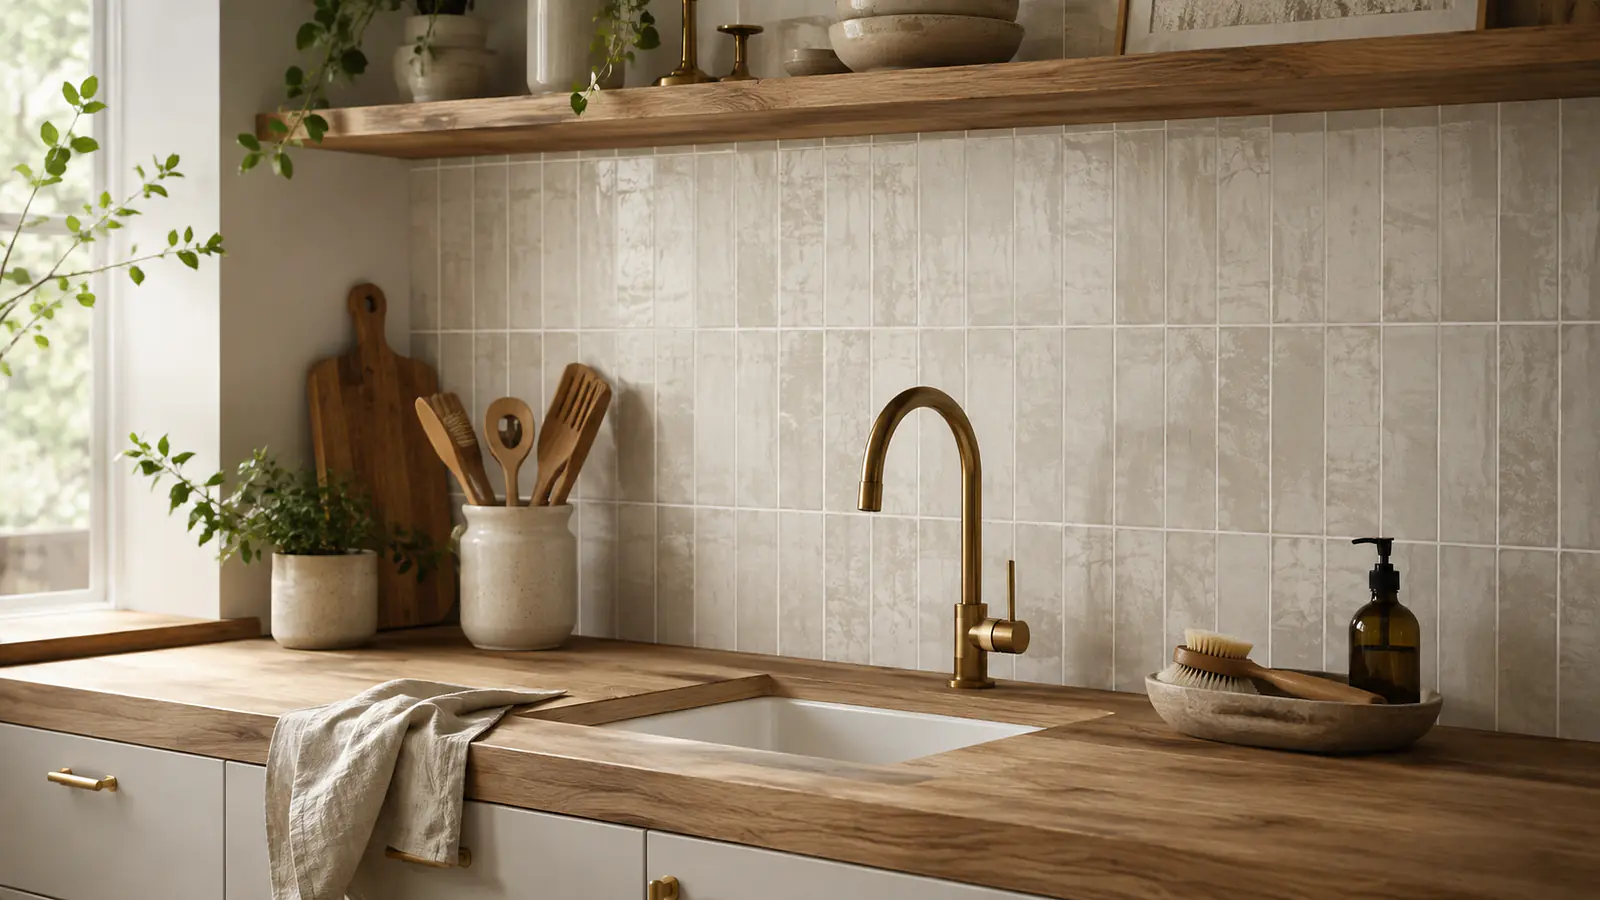
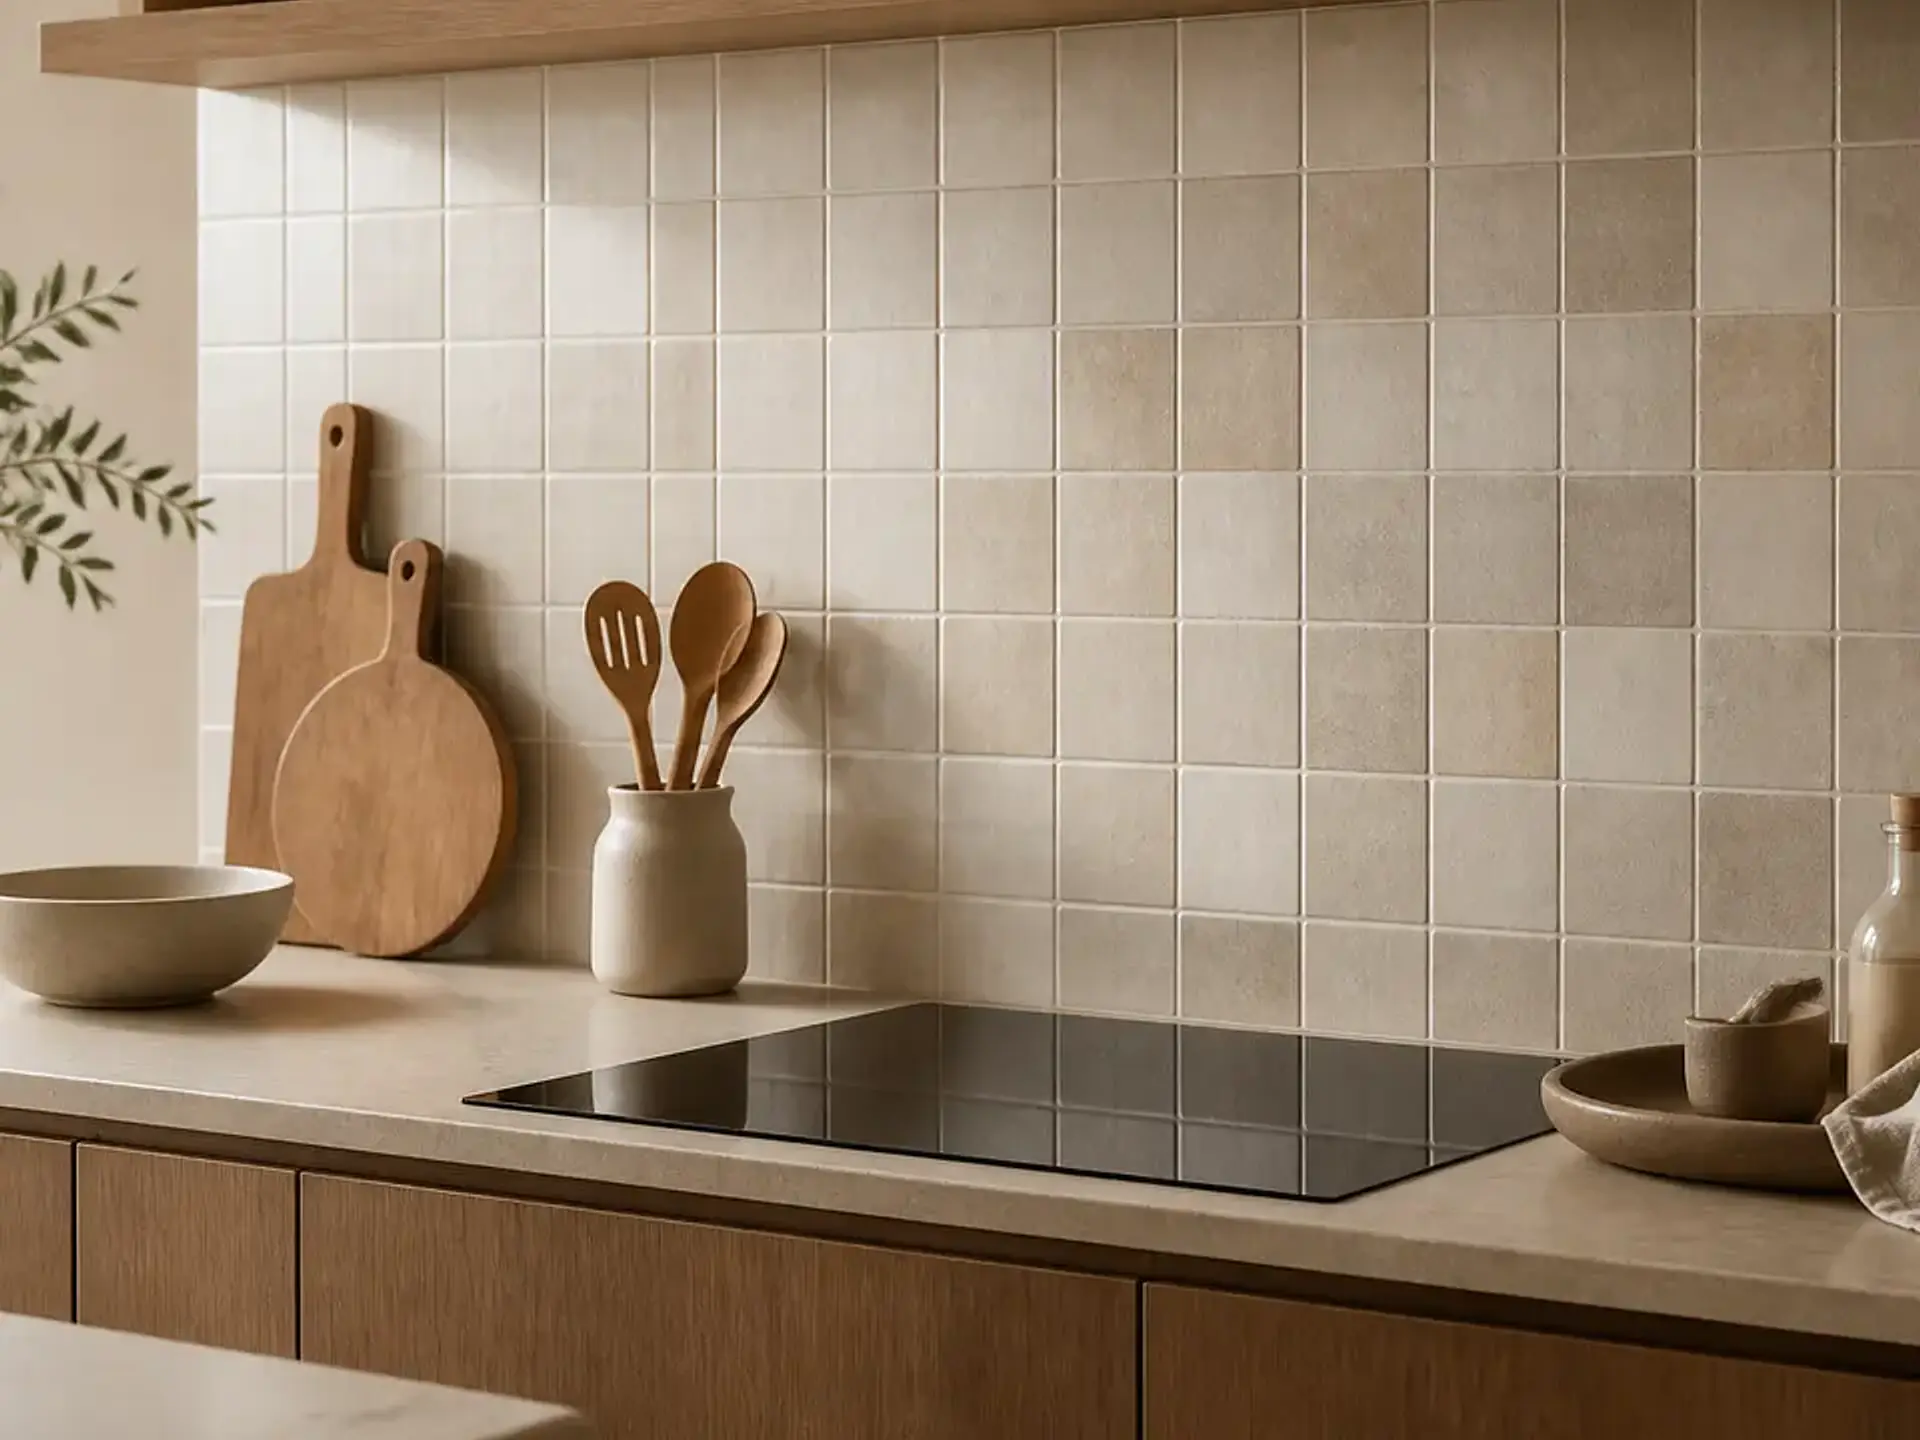
Consider the backsplash as a complete look
Although a backsplash consists of individual tiles, it appears as a horizontal surface. Therefore, pay attention to pattern repetition, grout alignment and the transition to the kitchen fronts and worktop.
Calm stone looks connect existing materials, while zellige and geometric patterns create a striking accent.
Suitable categories for your project
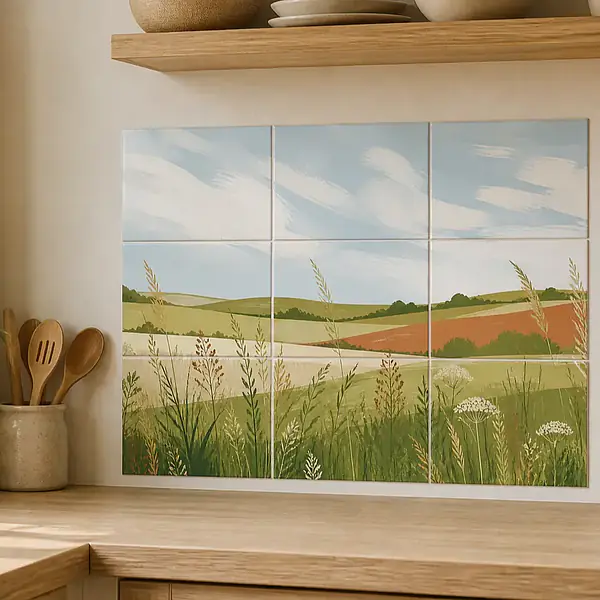
.png "Discover Zellige & Handmade")
.png "Discover Geometric")
.png "Discover Stone & Natural")
.png "Discover Zellige & Handmade")
.png "Discover Geometric")
.png "Discover Stone & Natural")

Consider the backsplash as a complete look: correctly assess the starting point
For tile projects, the grout layout, cuts and transitions determine the final look. Therefore, document not only the overall surface, but also individual tiles, edge areas, sockets and visible connections.
For tile film for the backsplash, the first step specifically means this: The existing surface visually separates the cabinet fronts and worktop from one another. Then define which elements will remain and what change should actually be visible in the room.
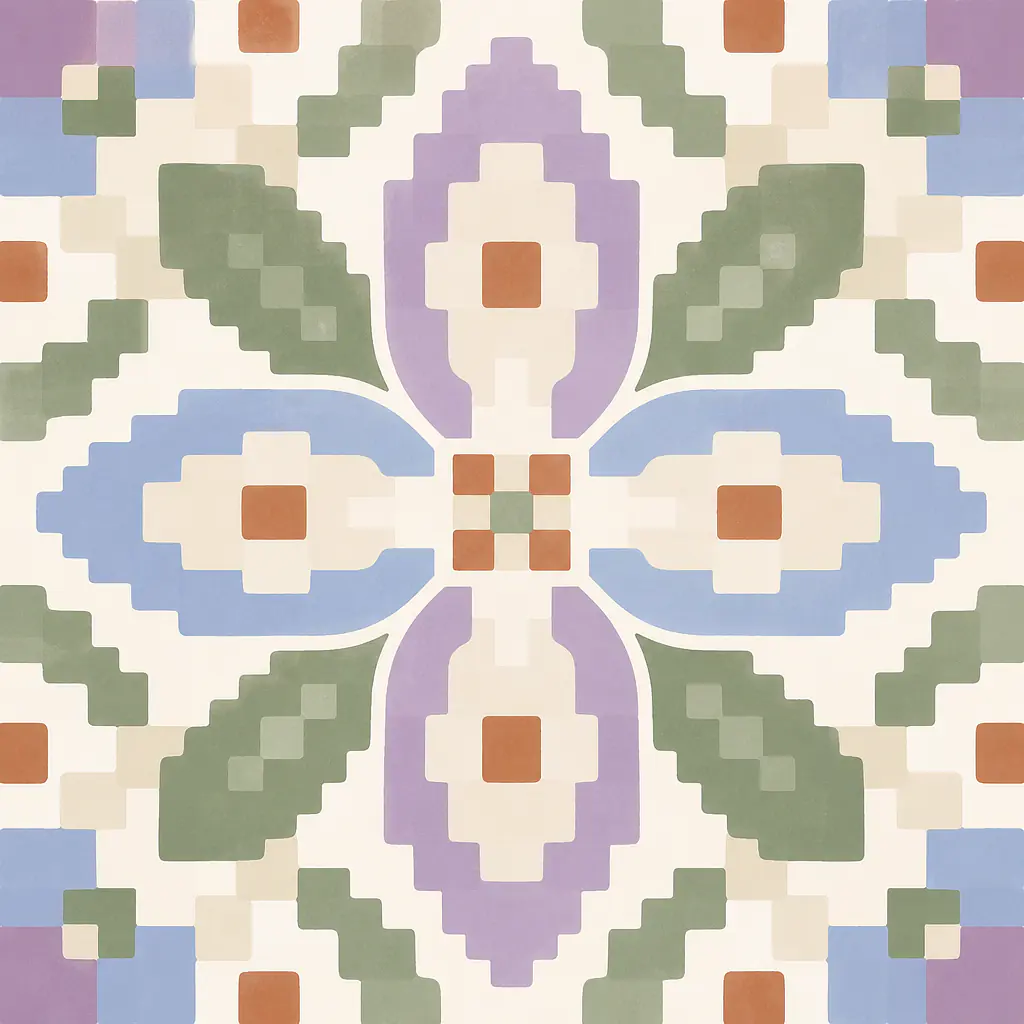
Compare tile films and alternatives effectively
Small patterns can appear much livelier across an entire wall. Therefore, check how often a motif repeats and whether calm surfaces, cabinet fronts or textiles create a suitable counterbalance.
Tile films, Zellige & Handmade, Geometric and Stone & Natural are particularly relevant for this page. Open the categories individually and compare not only colours, but also texture, size options and the details provided for each product.
- Tile films: Compare all designs for the backsplash.
- Zellige & Handmade: Lively tile looks for kitchens full of character.
- Geometric: Clear repetitions for modern kitchen concepts.
- Stone & Natural: Calm mineral looks between the cabinet fronts and worktop.
Backsplash before and after: from detail to complete look
The overall look feels well planned when the film format, grout alignment and pattern direction work together. Check the layout row by row before starting, rather than reacting to discrepancies only during the final cut.
The middle step of the project is this: Coordinate the pattern, grout lines and cut-outs across the entire length of the backsplash. For the desired result, the following applies: The backsplash connects the kitchen as a consciously designed element. Check this vision once again alongside the selected design before finalising the dimensions or quantities.
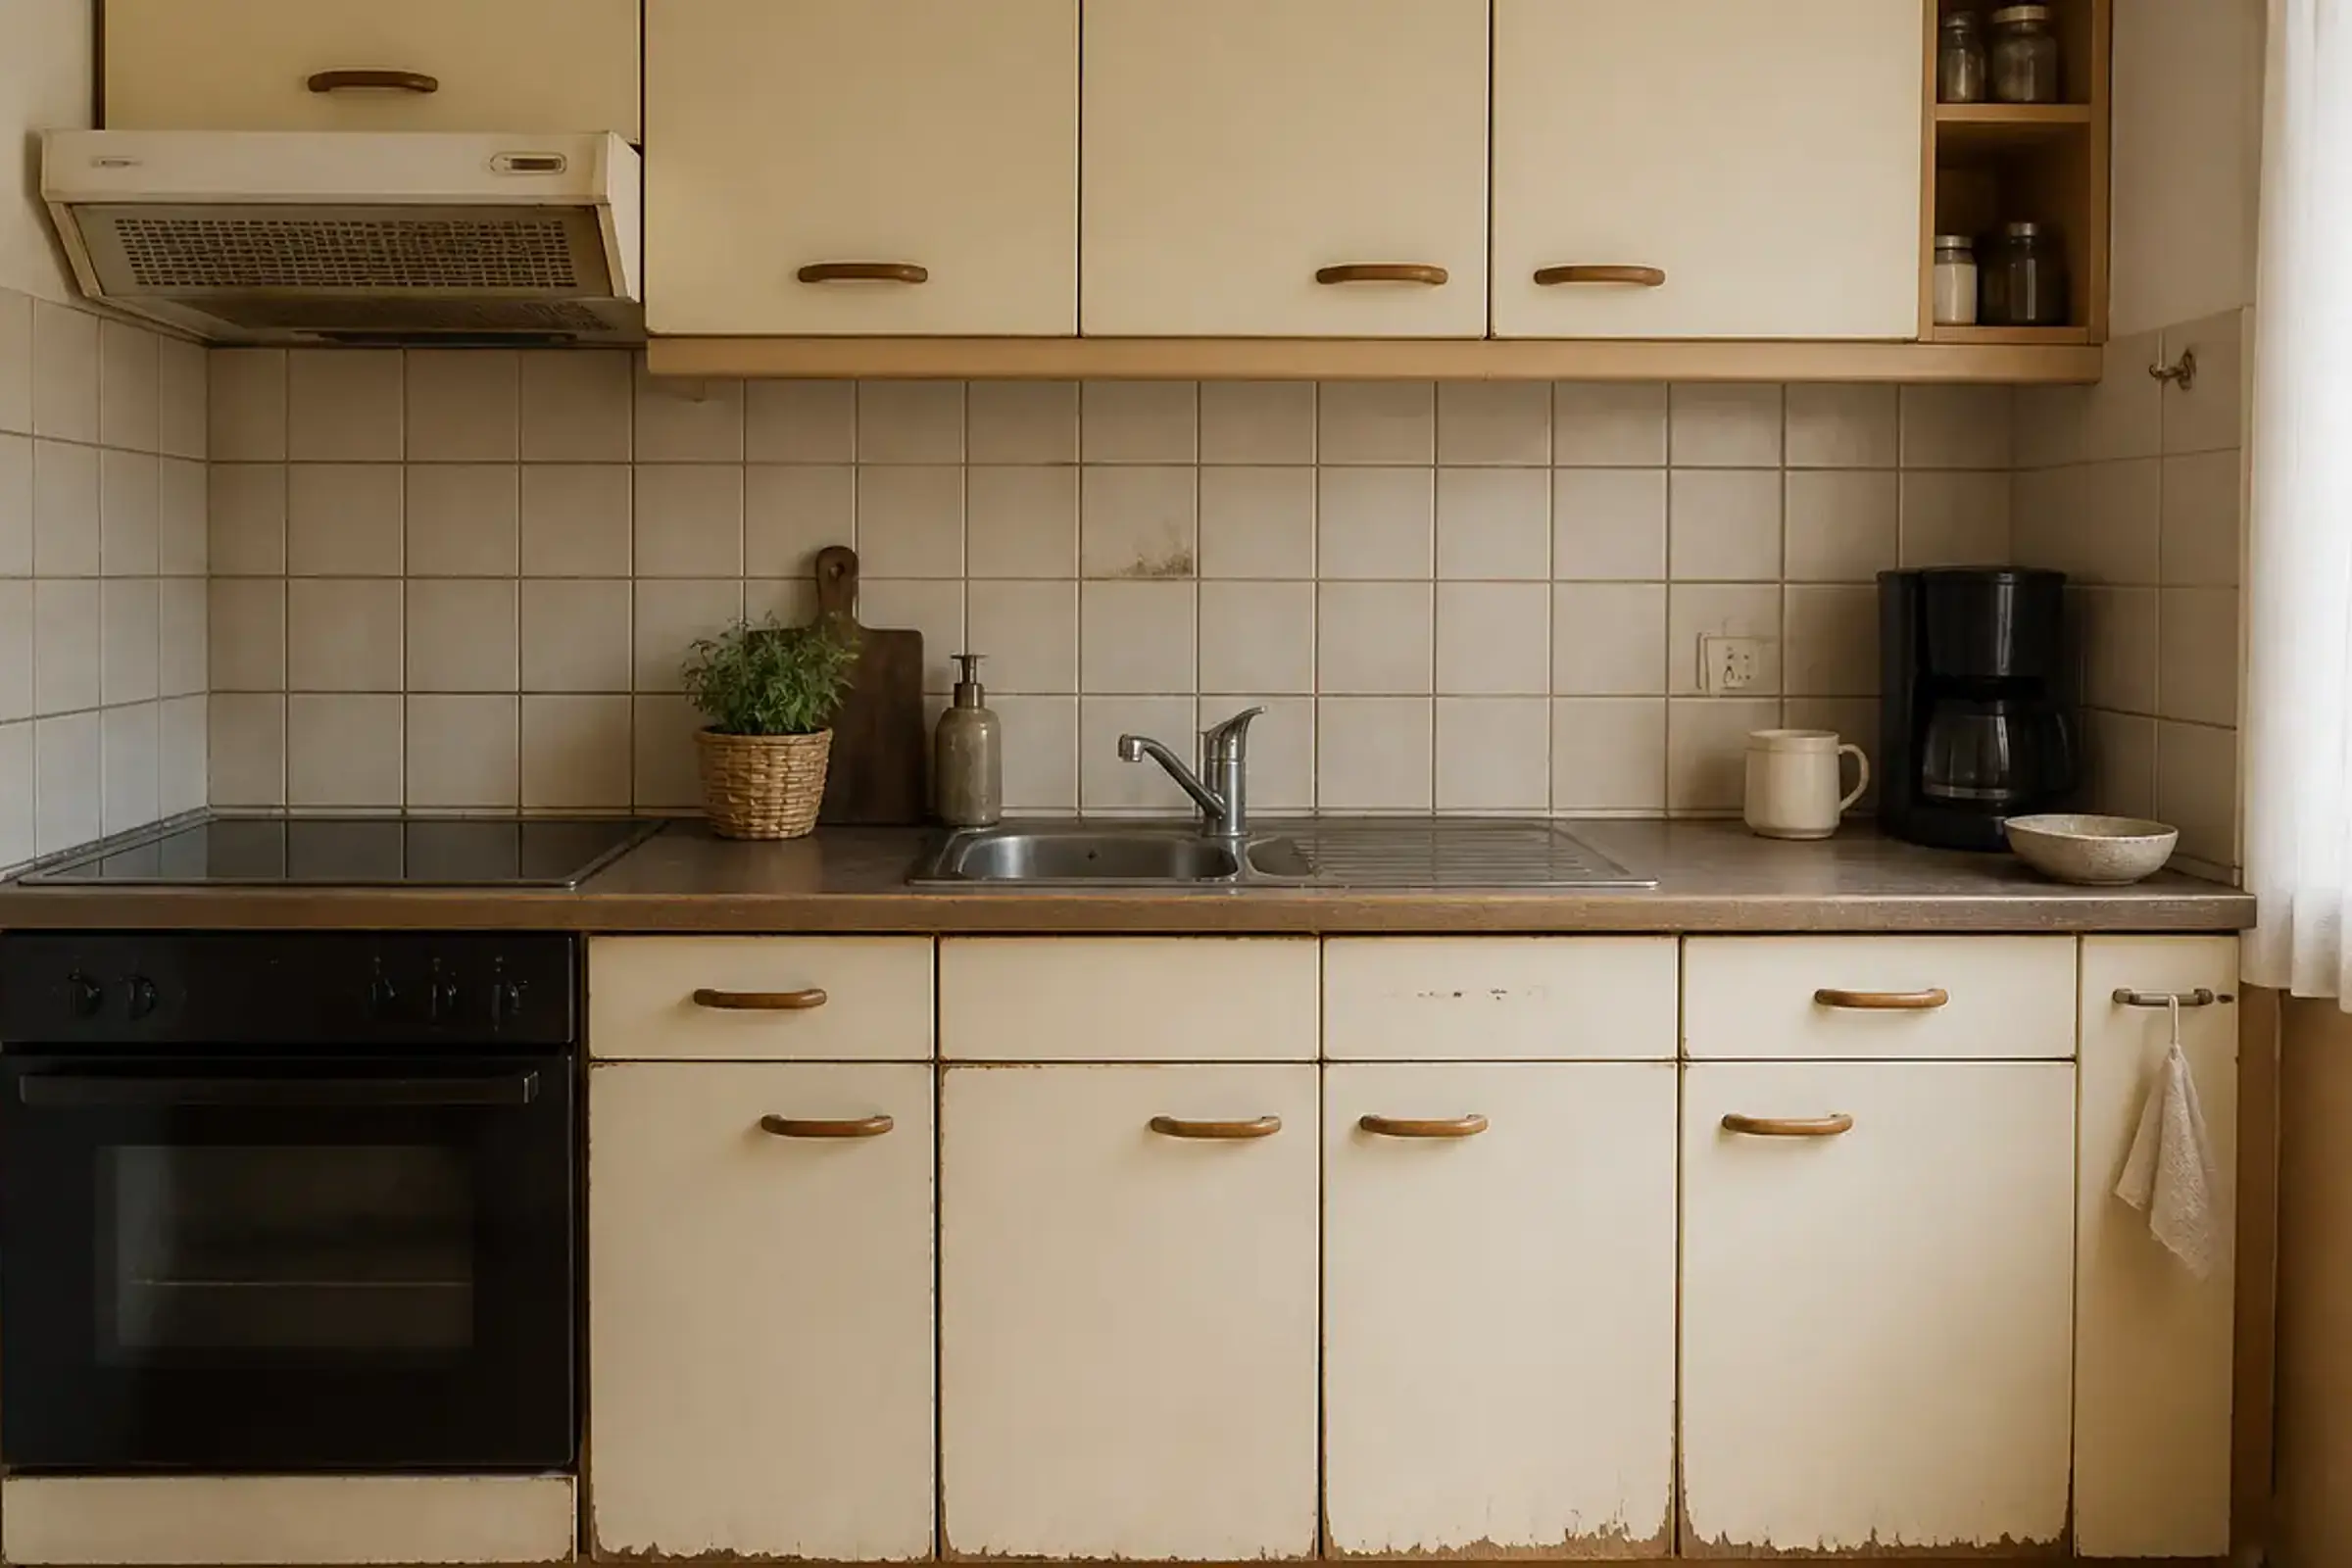
Before
Backsplash before and after
These three steps help you plan the starting point, selection and desired result as one cohesive project.
Before
Backsplash before the redesign
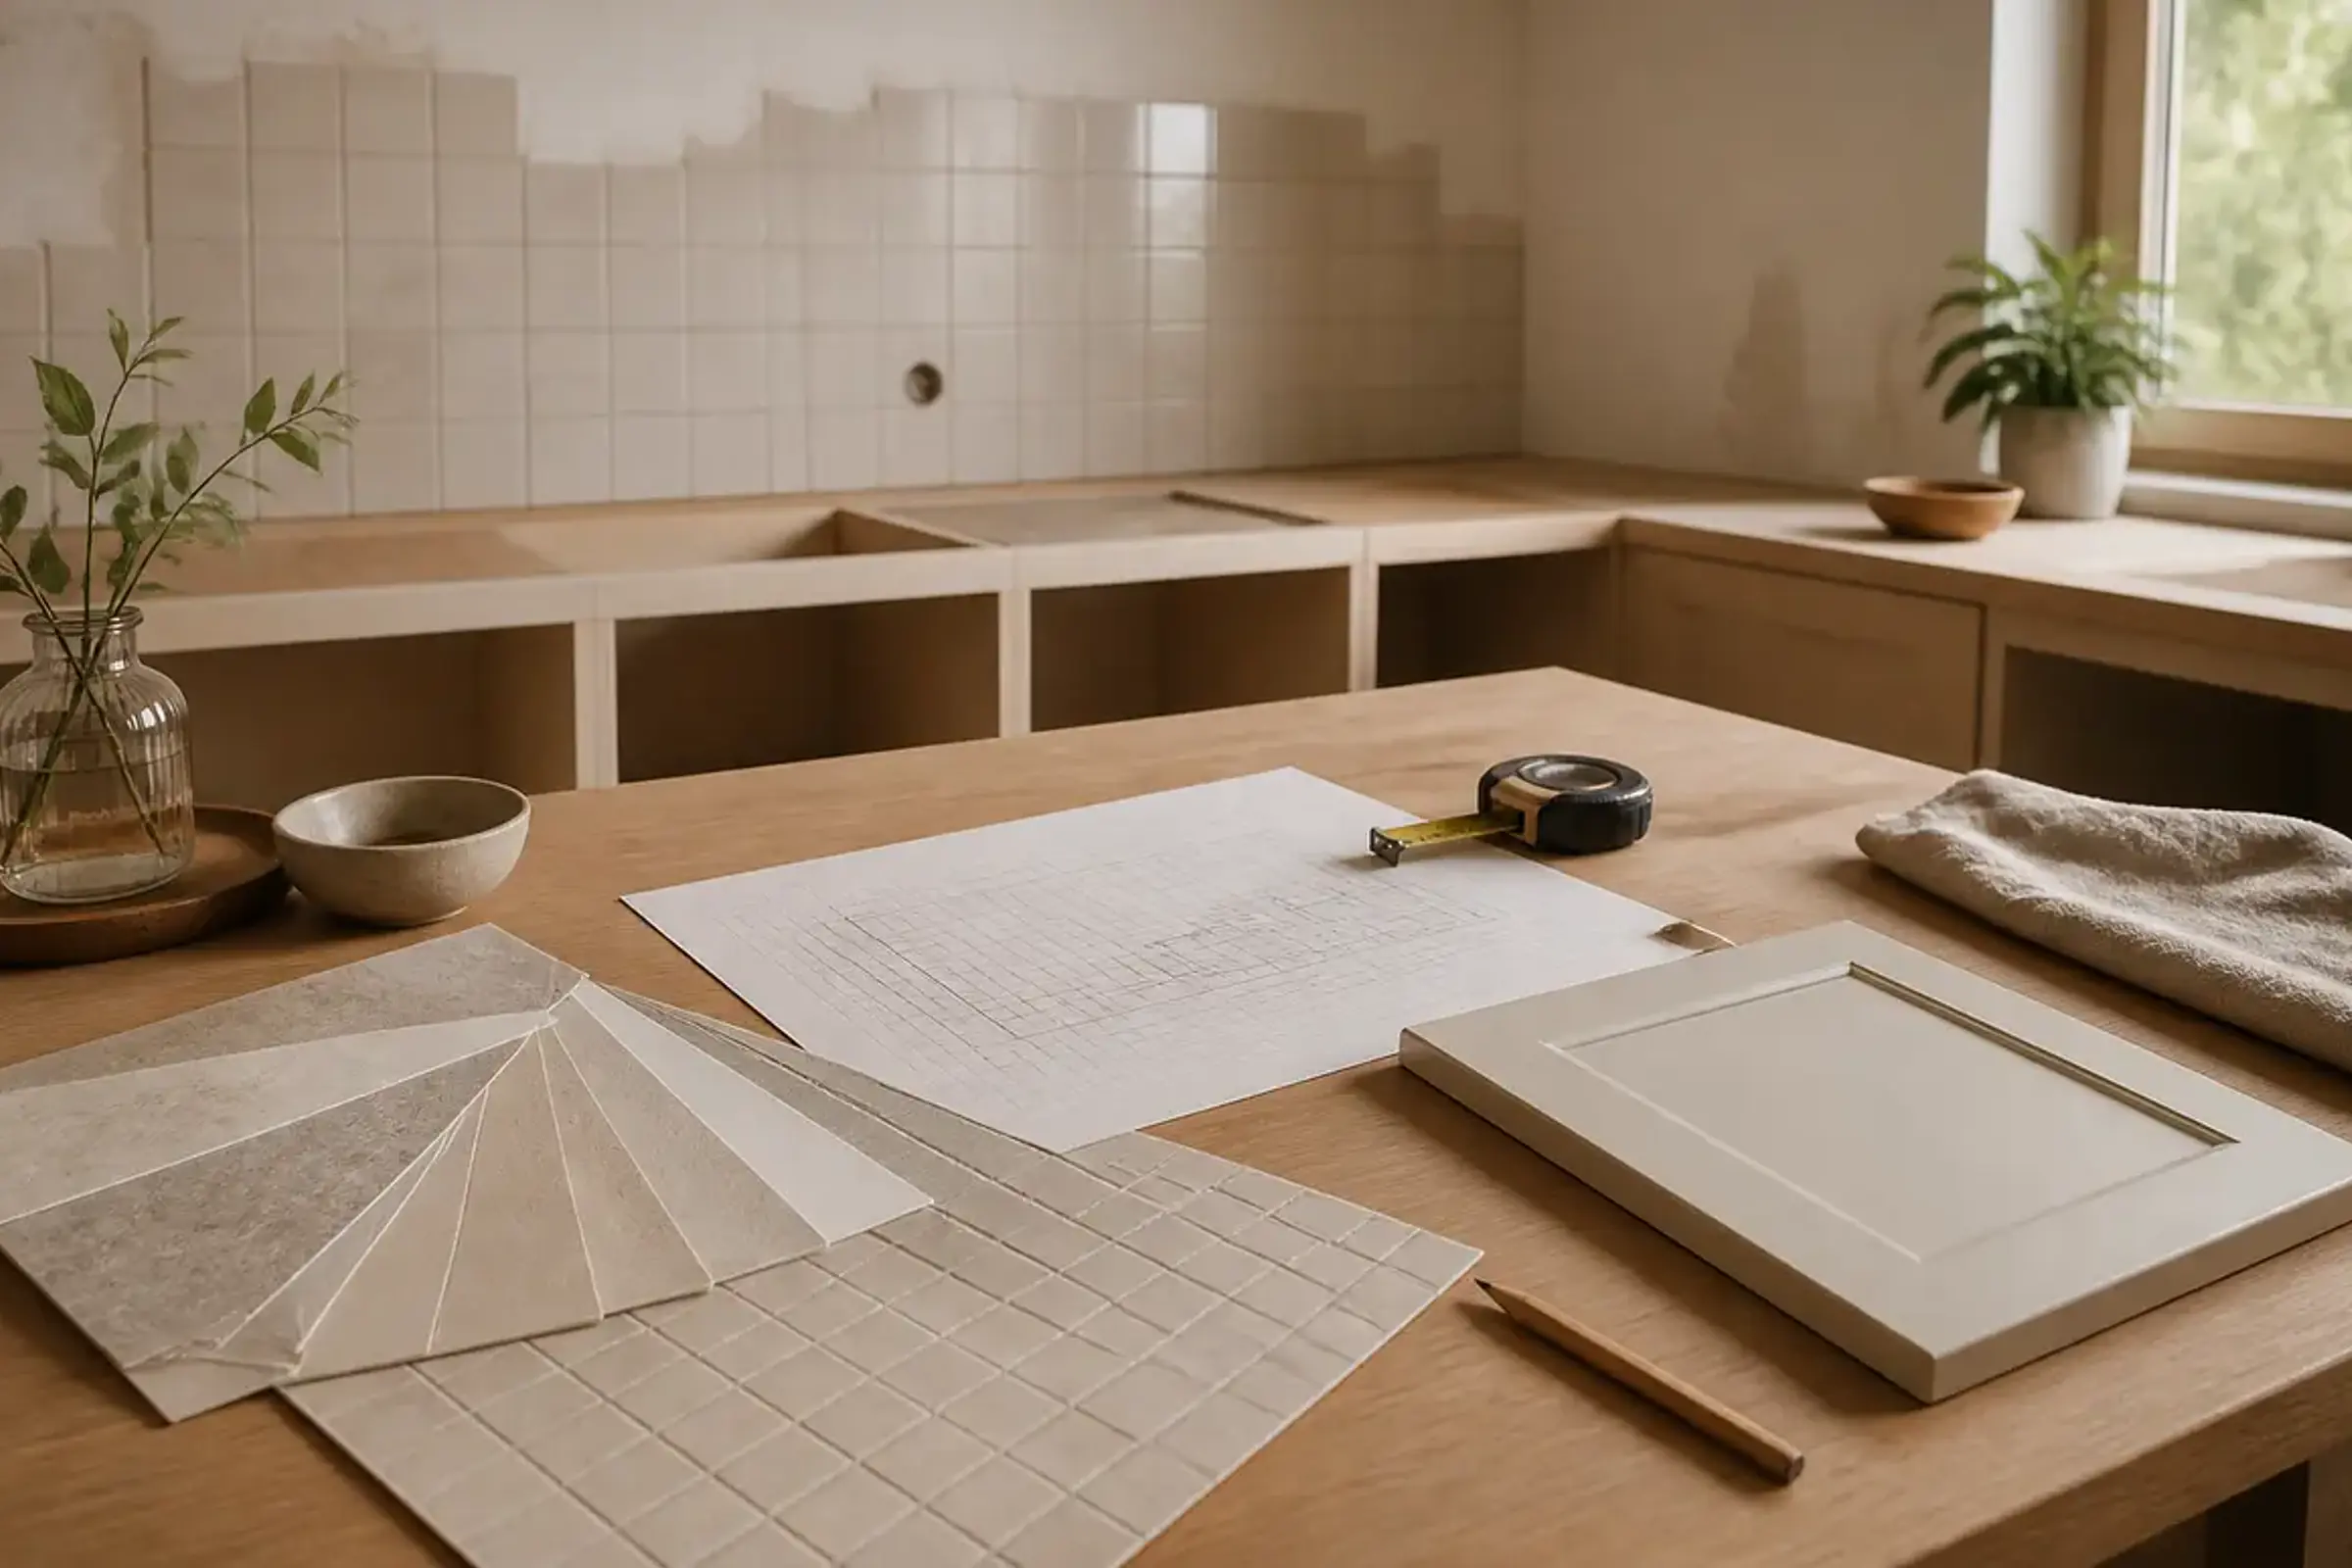
Planning
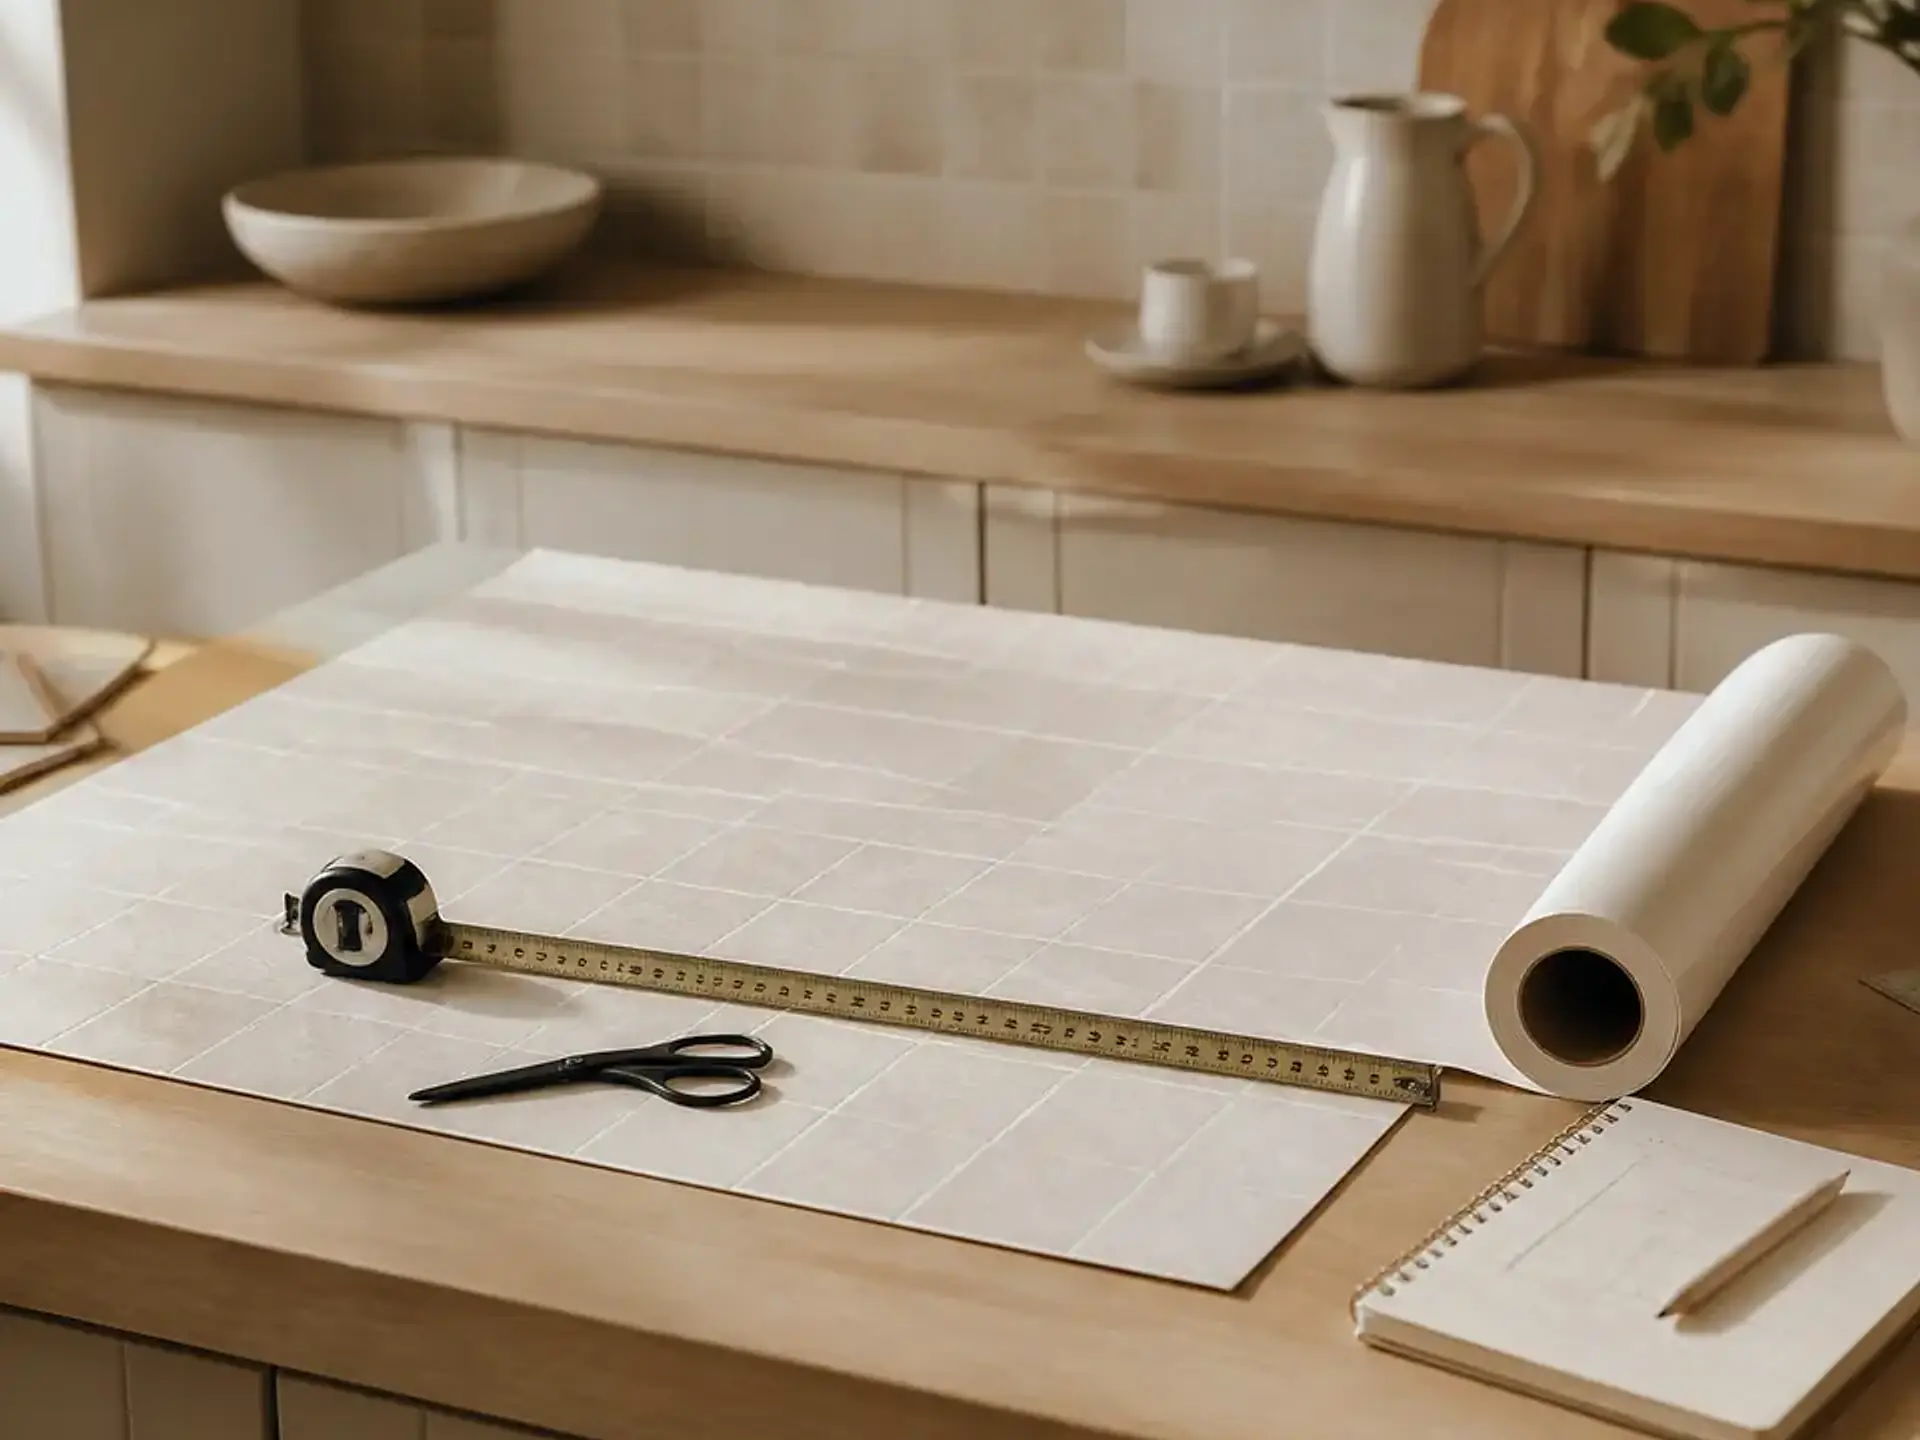
Plan the tile film and cut-outs
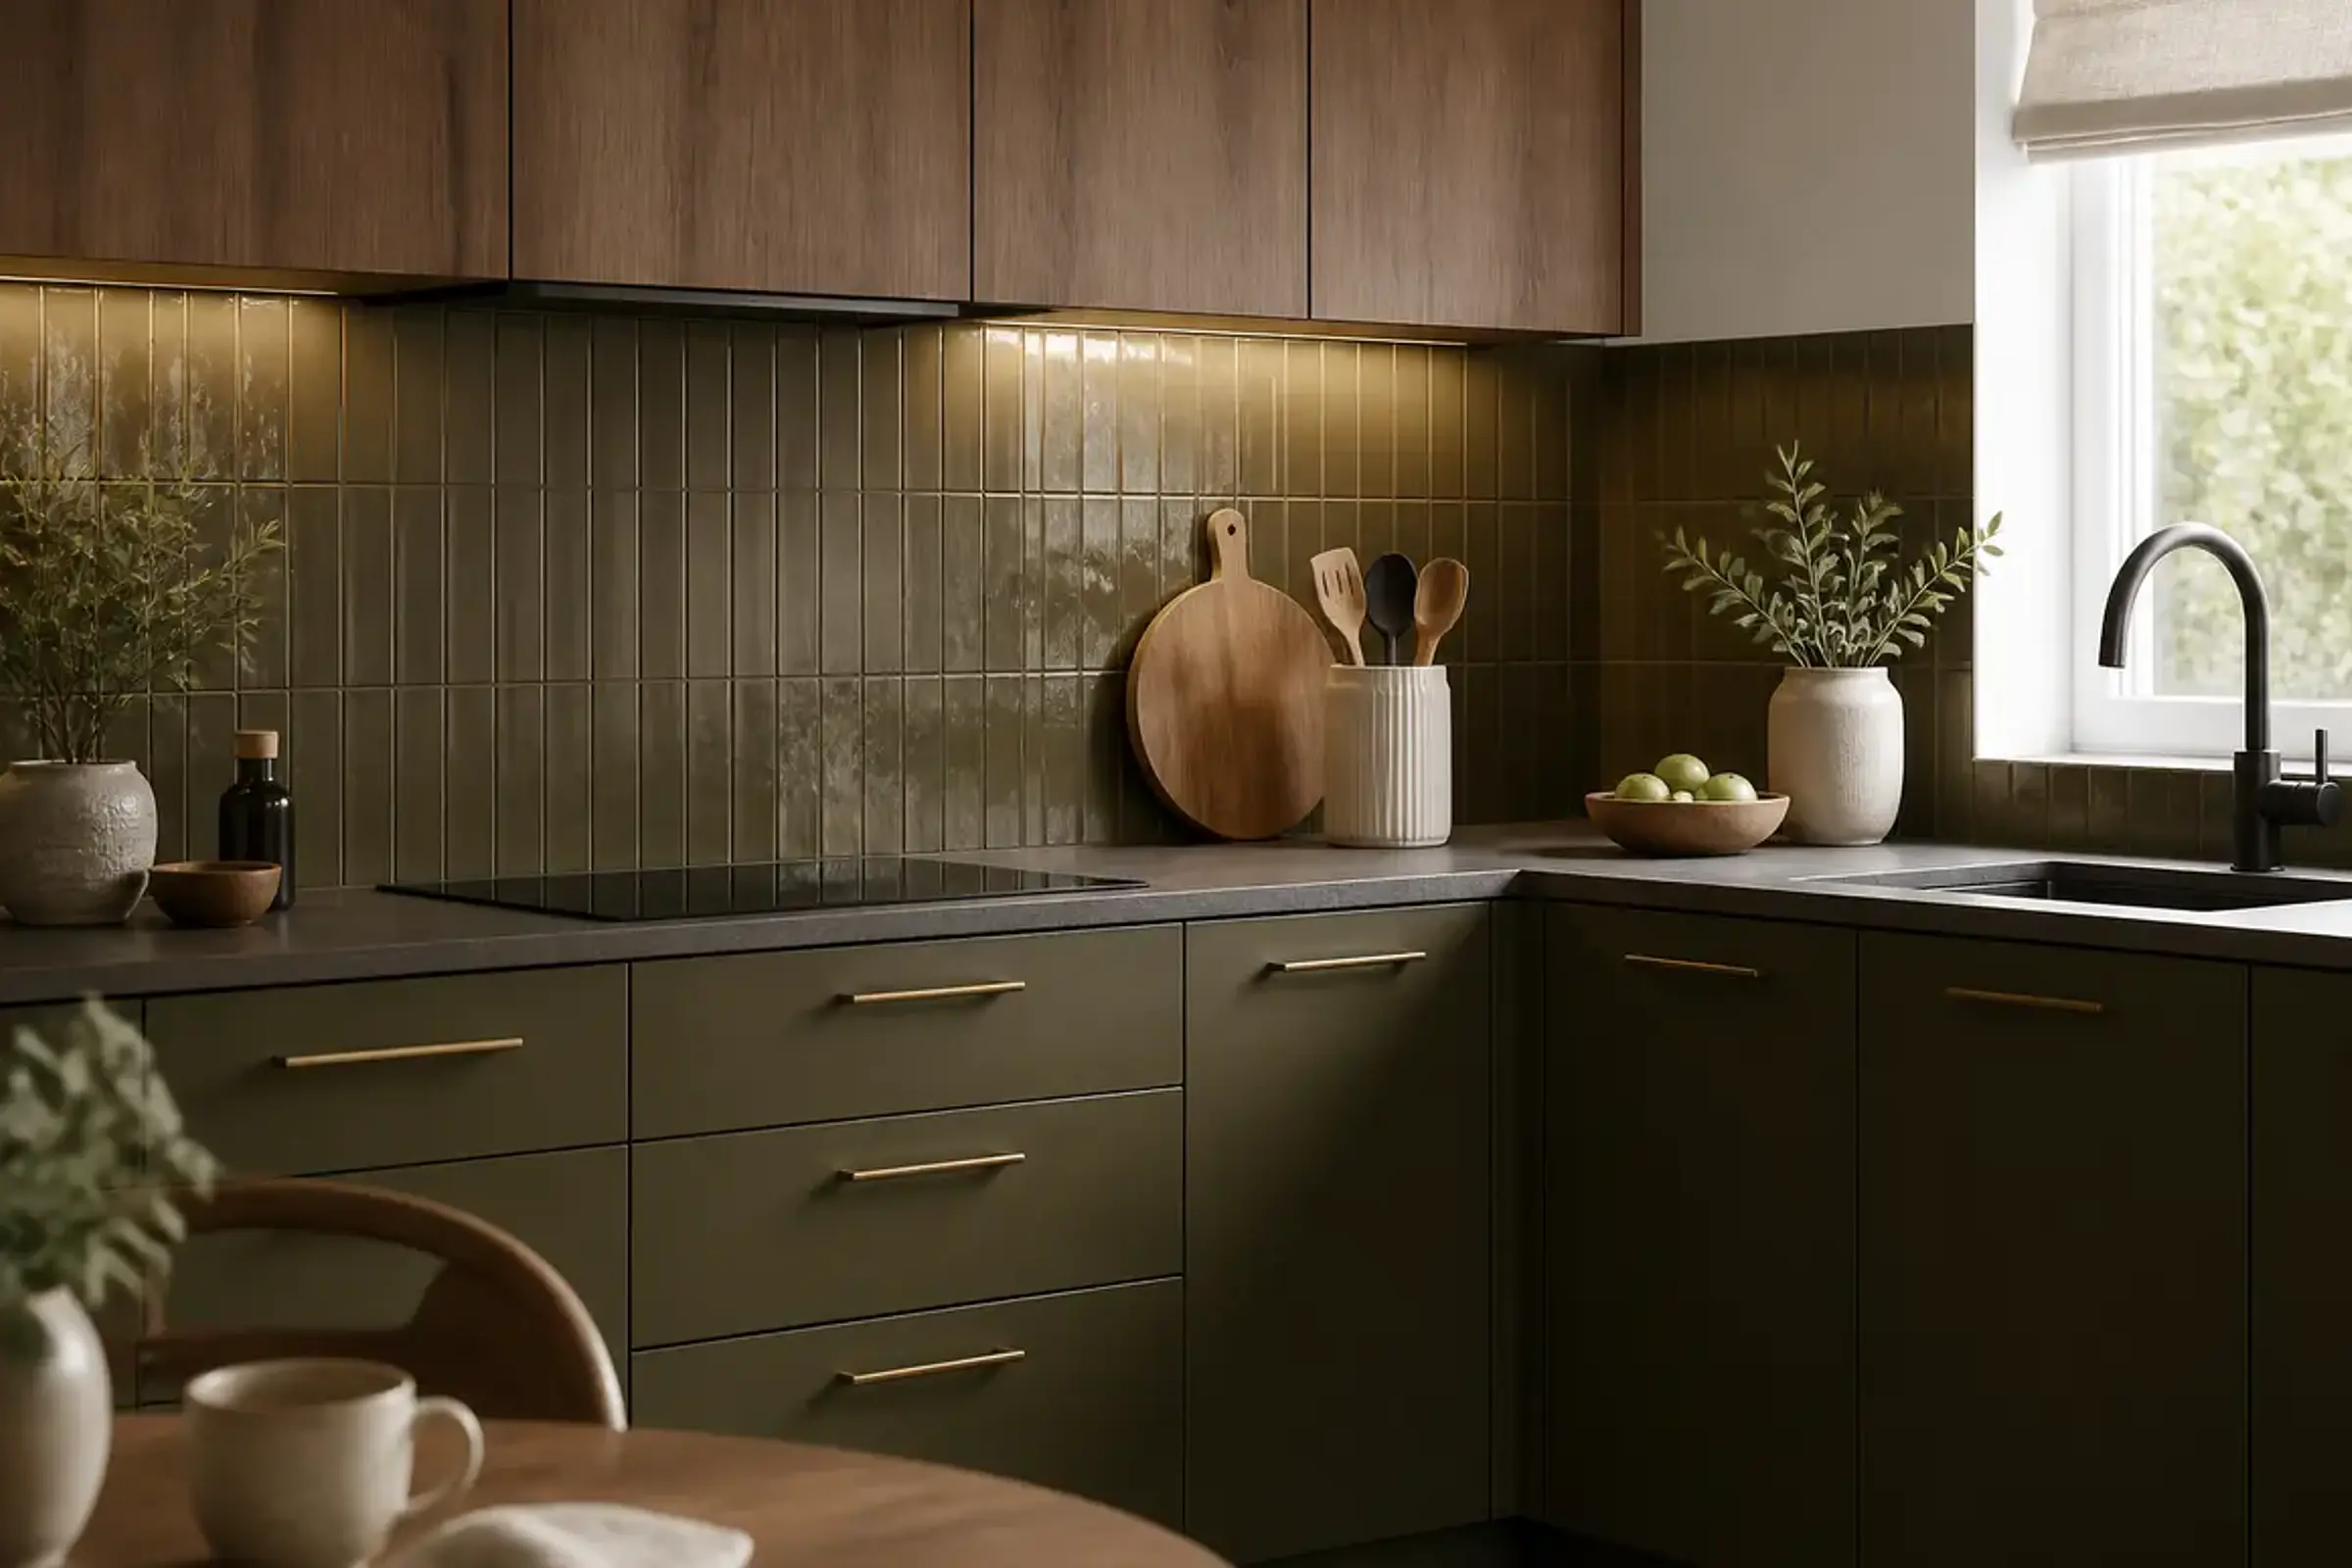
After
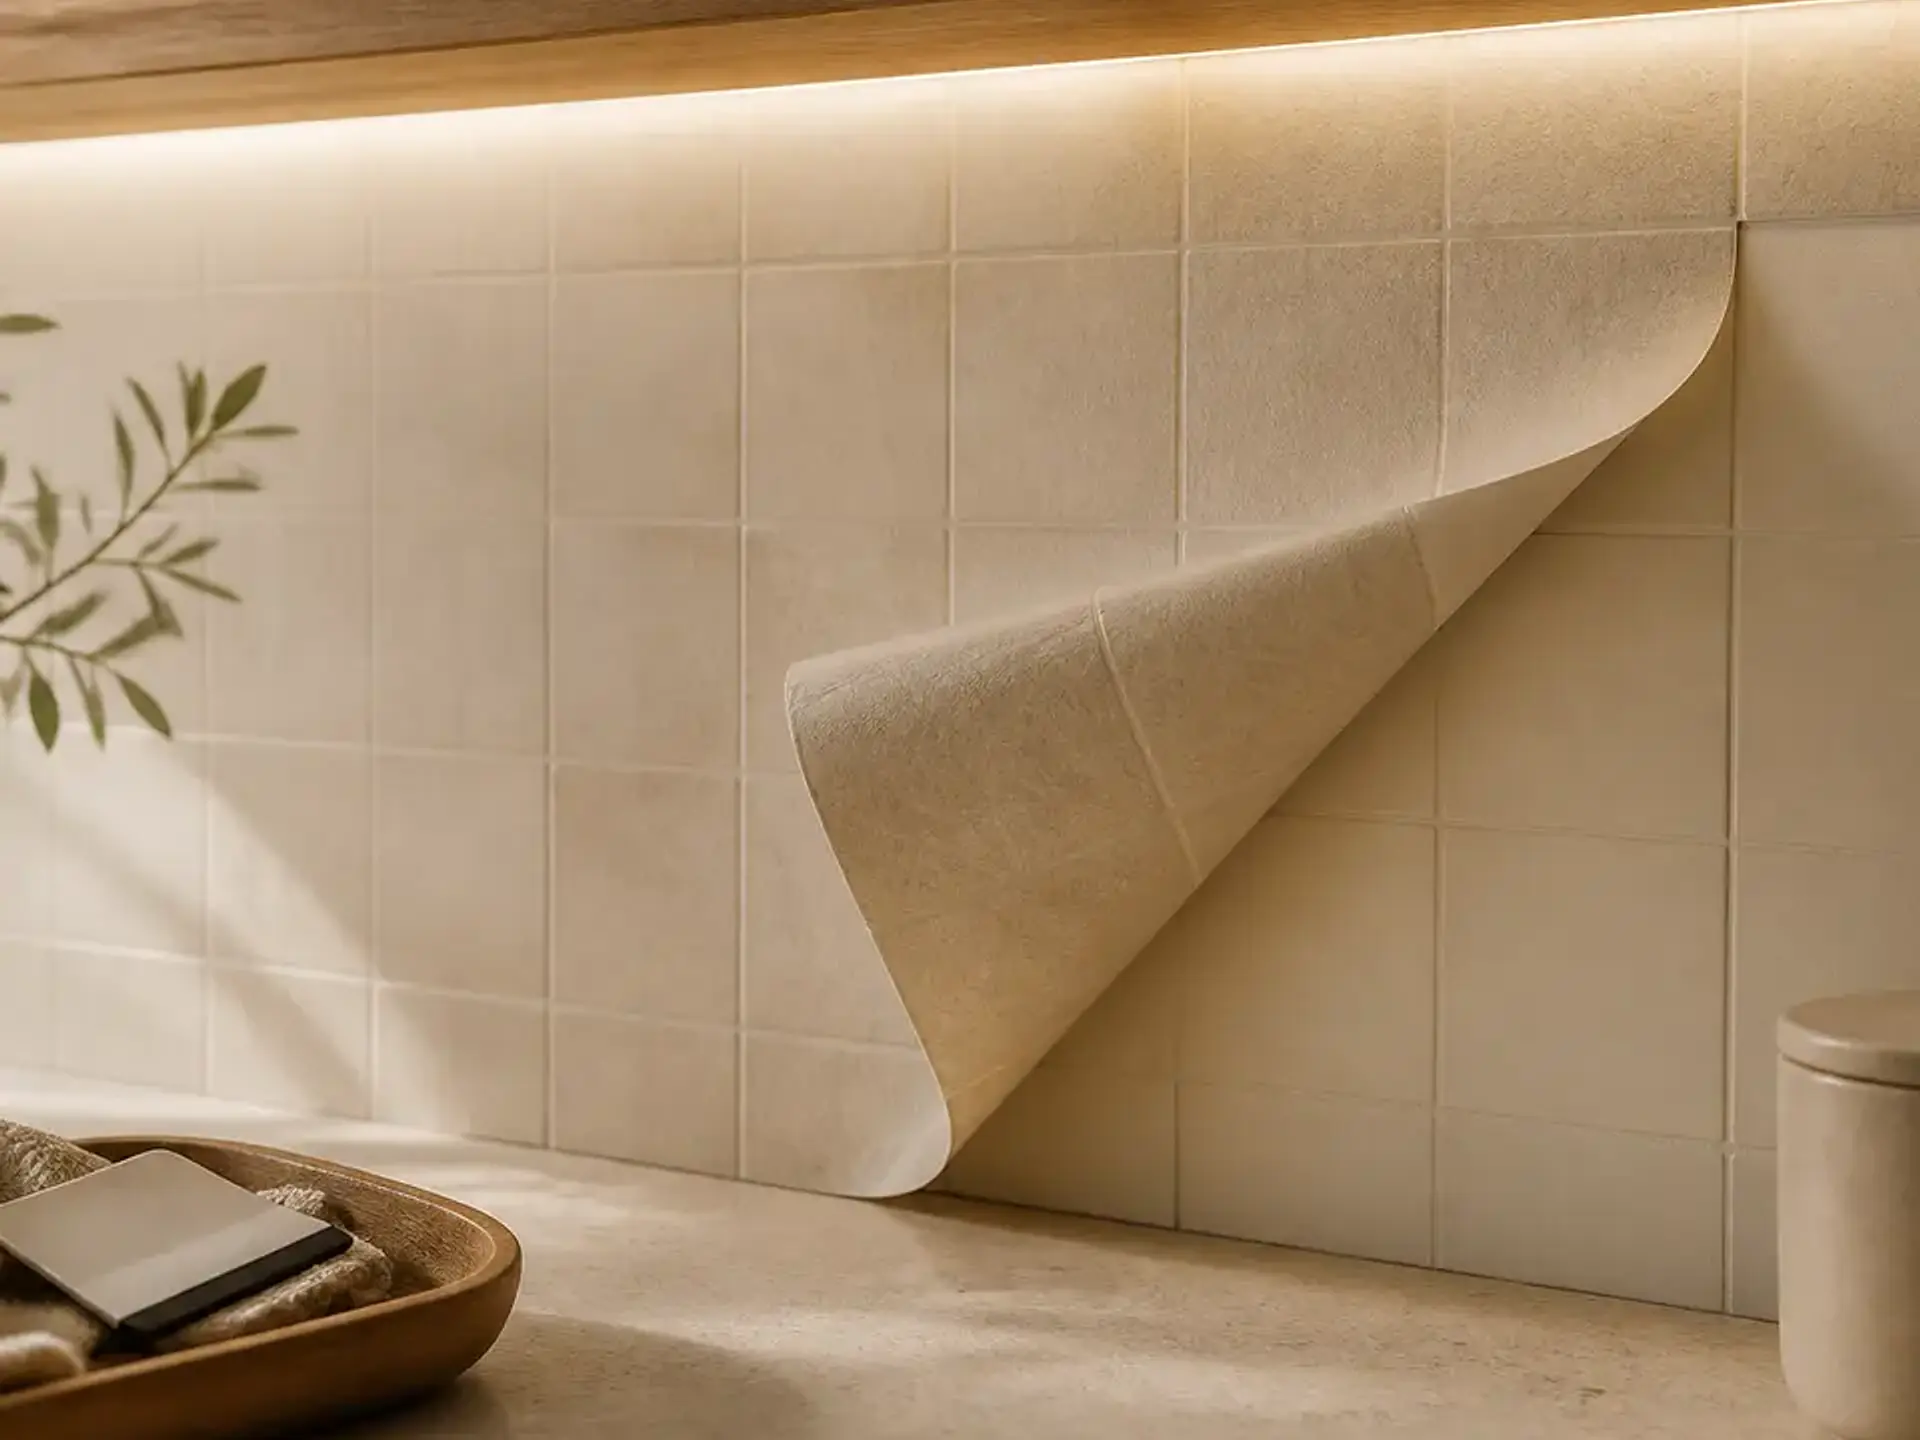
Backsplash after the redesign
Plan for cut-outs and finishing edges
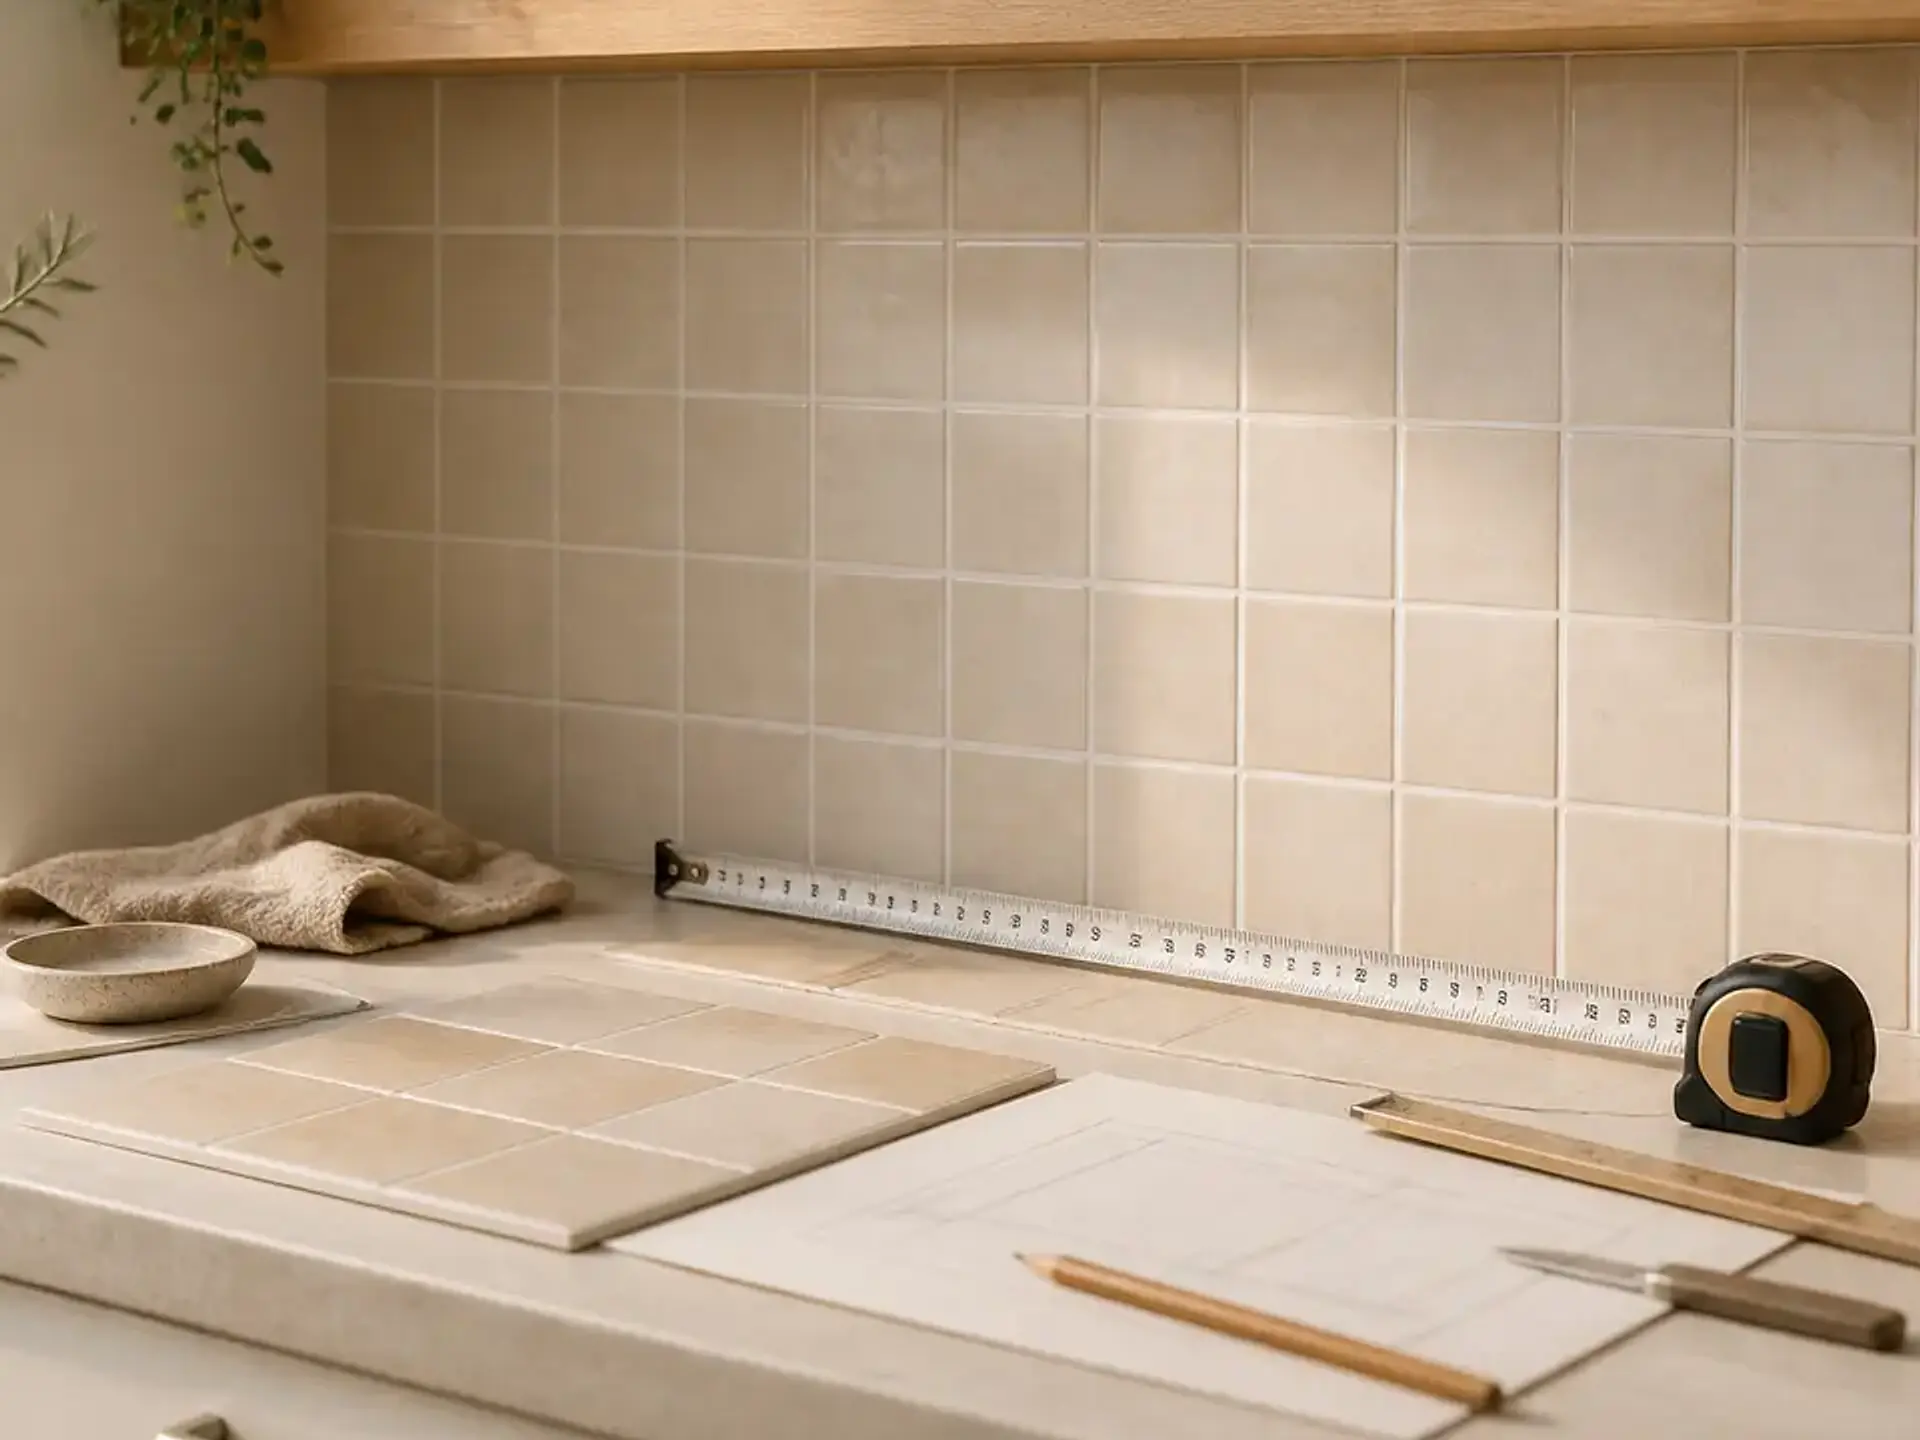
Measure every tile and document sockets, switches, corners and visible finishing edges. With a continuous pattern, the starting position should be determined in advance.
Place the pattern samples next to the cabinet front and worktop. This makes it easier to assess the look than when viewing them in isolation on a table.
- Record the total length and tile format
- Mark sockets and corners
- Define the starting point of the pattern
- Check the colour effect next to the cabinet fronts and worktop
Suitable guides and next steps
Explore the outstanding questions for your project in more depth or go directly to the next suitable application.

Home decor benefits
Easy to apply
A strong result for quick furniture, wall, and decor updates.
Premium quality
Made in the EU with durable materials for everyday interiors.
For furniture and walls
Designed for cabinets, doors, walls, surfaces, and more.
Lasting look
Refresh rooms instead of replacing pieces, with long-lasting style.
Room inspiration
Soft colors and textures for every room concept.