
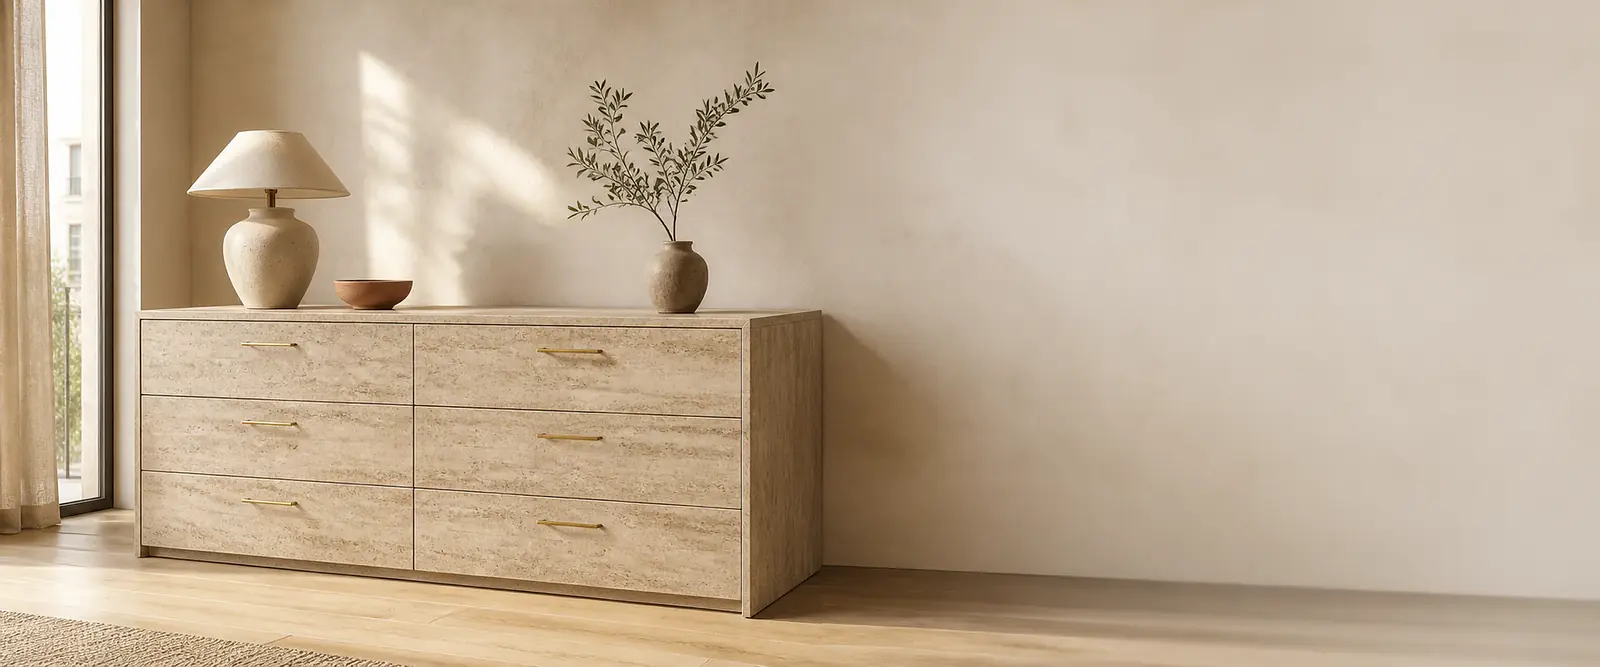
Reimagine Existing Furniture
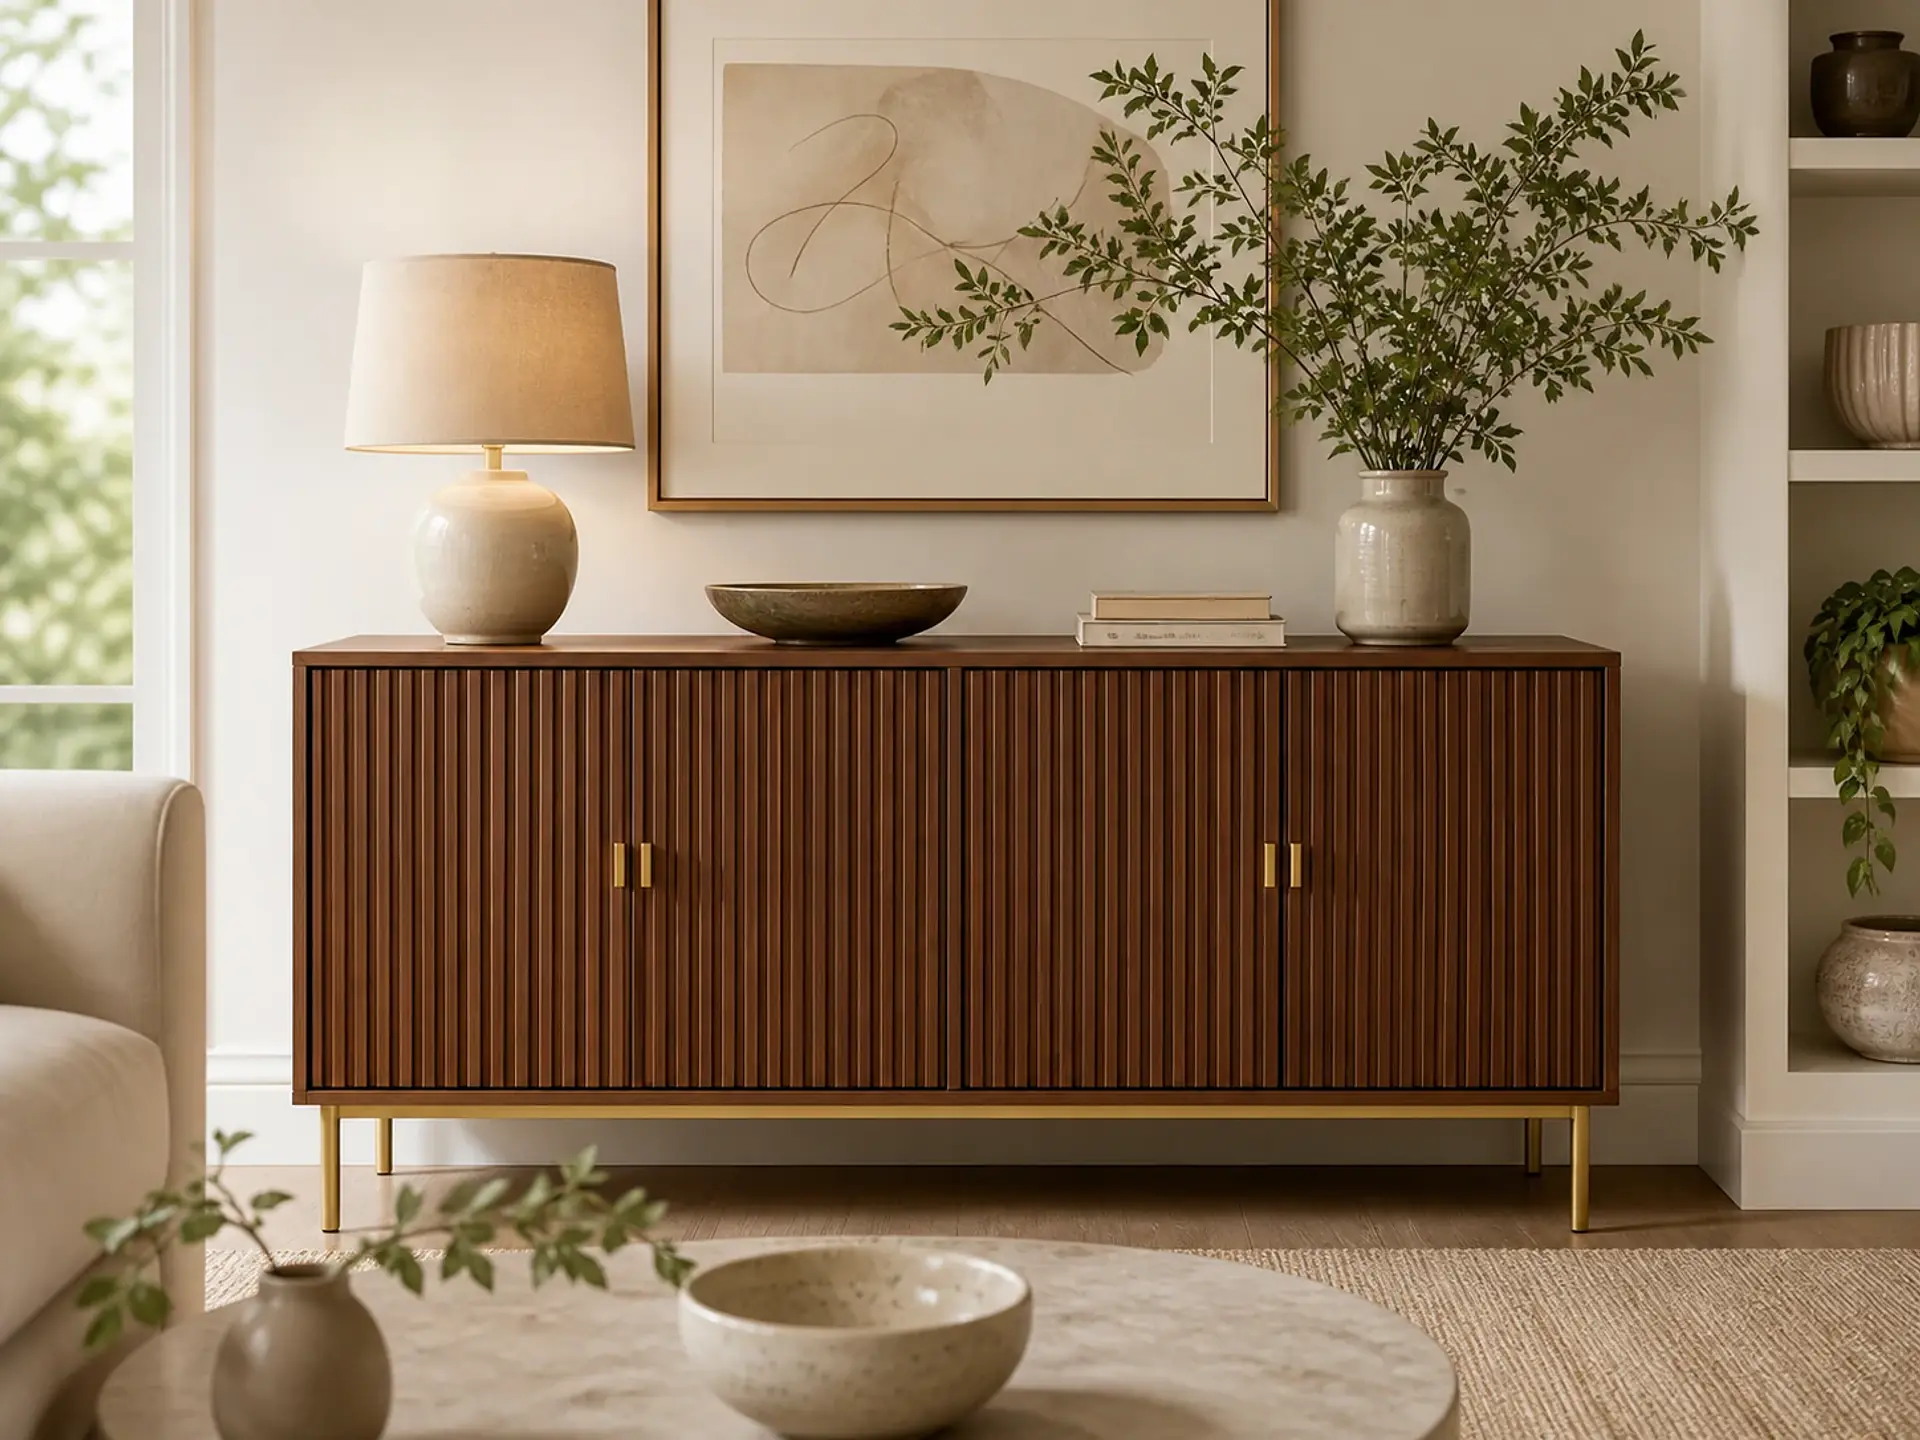
With dressers and sideboards, individual surfaces can be highlighted selectively: just the fronts, the top panel or the entire carcass. This allows the furniture to be integrated calmly into the room or deliberately designed as an accent.
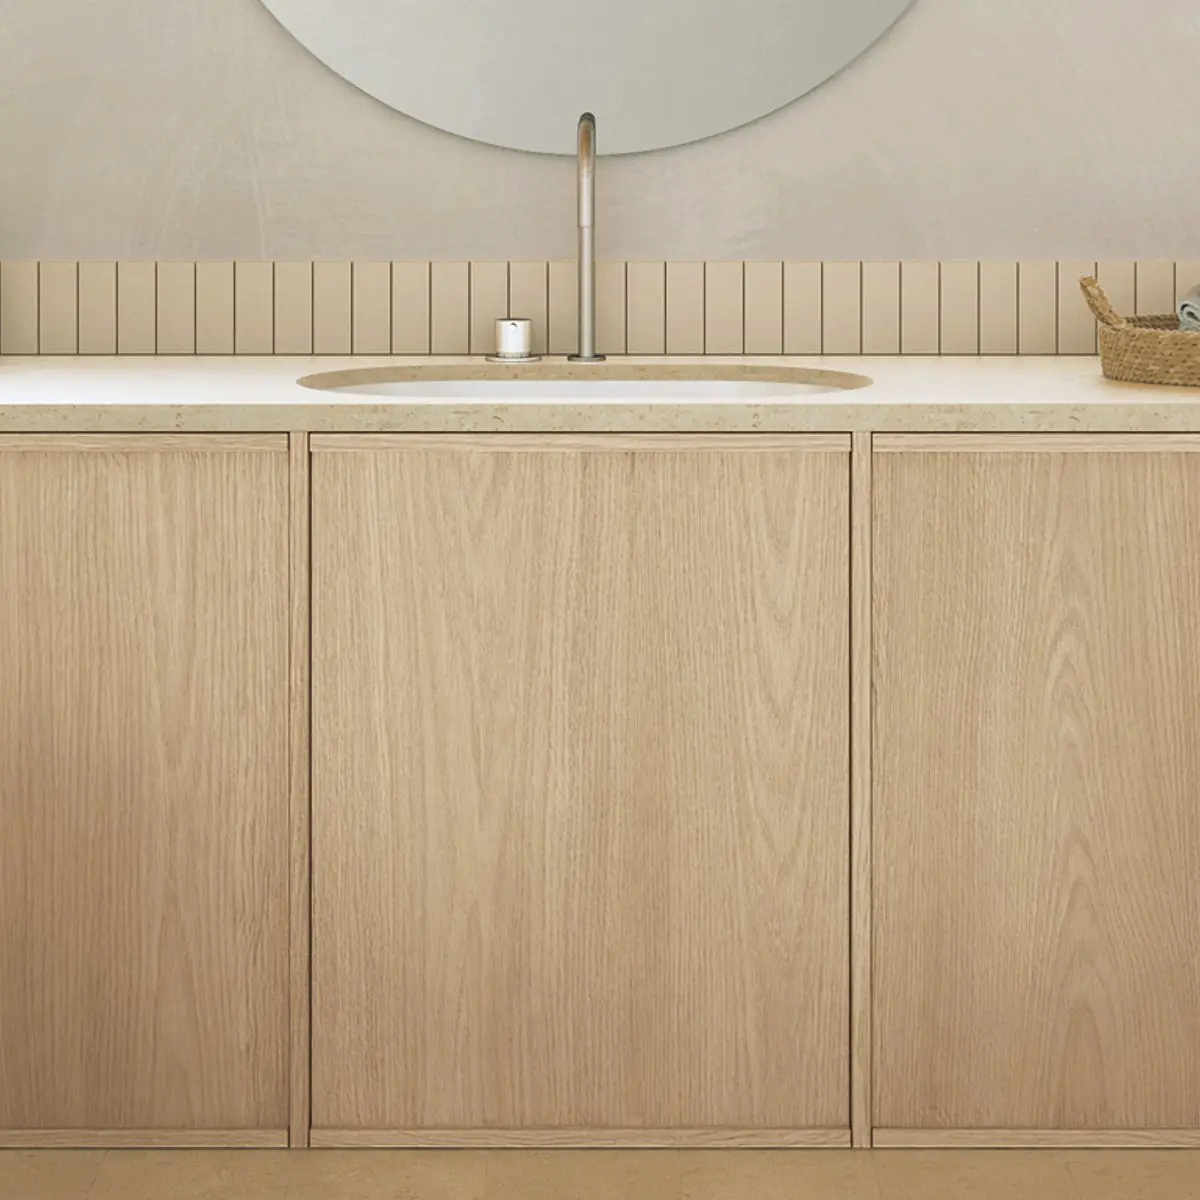
Before making your selection, consider which elements should remain. Wood looks create warmth, mineral designs add a clear contrast and statement patterns turn a simple form into a distinctive piece of furniture.
Suitable Categories for Your Project
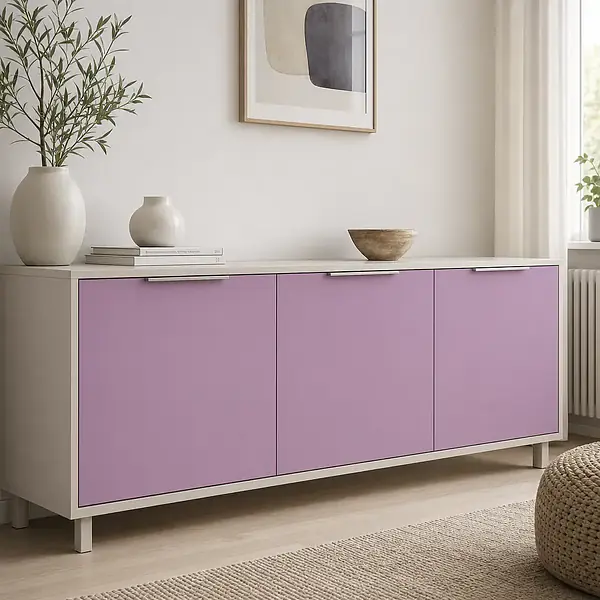
%20(1).png "Explore Wood")
%20(1).png "Explore Stone & Mineral")
%20(1).png "Explore Statement")
%20(1).png "Explore Wood")
%20(1).png "Explore Stone & Mineral")
%20(1).png "Explore Statement")
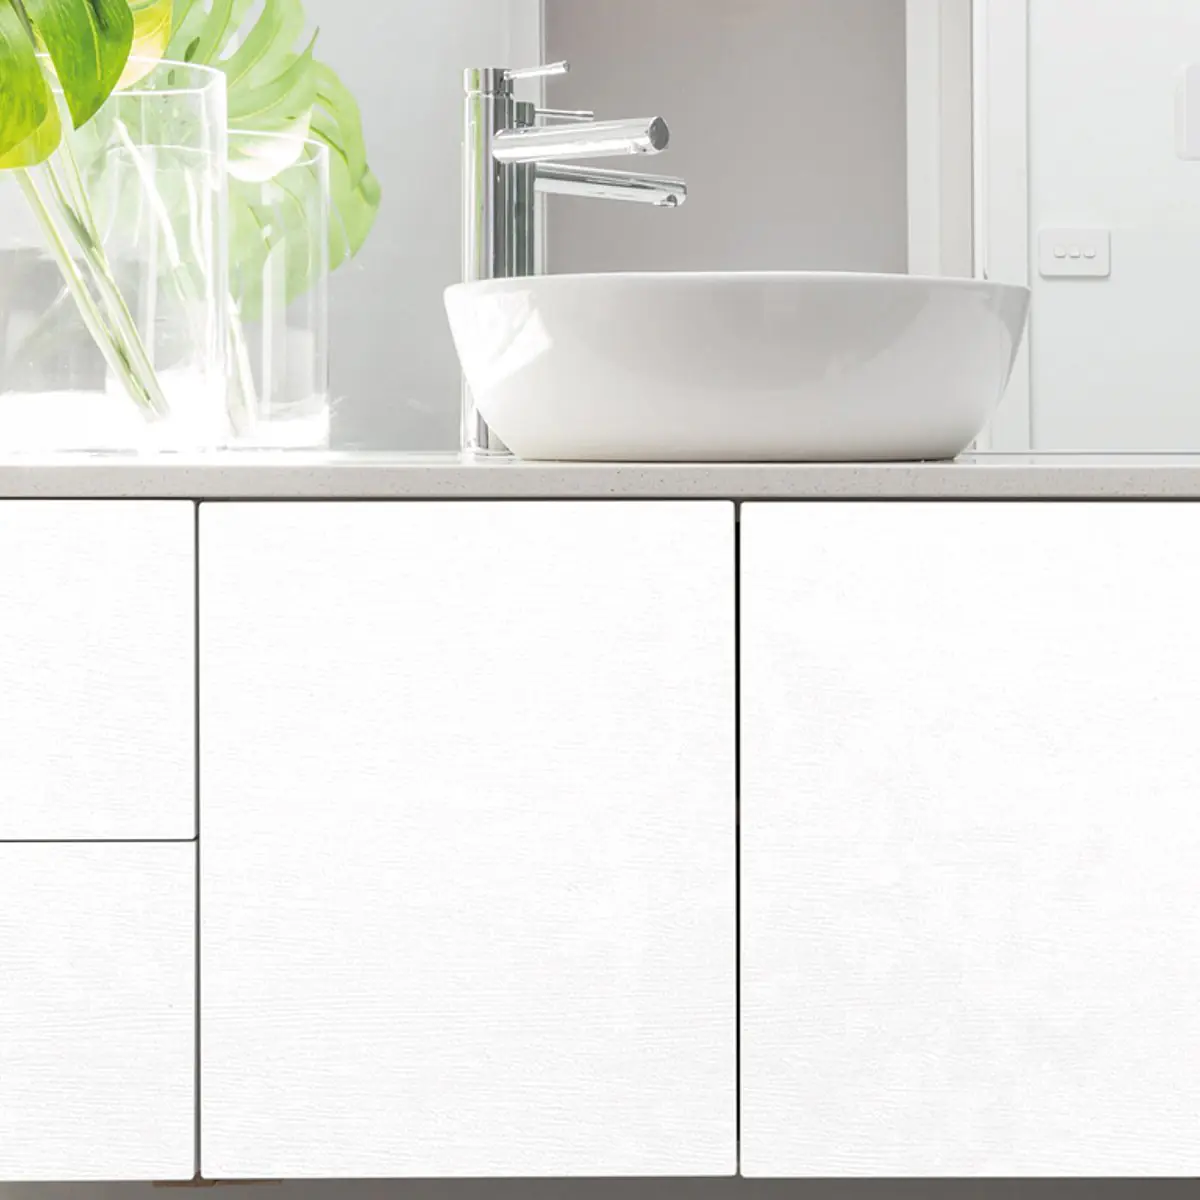
Reimagine Existing Furniture: Read the Starting Point Correctly
First, consider the fronts, sides, top panel and visible edges as individual design surfaces. Only then decide whether a continuous design or a combination of subtle and accentuated areas is a better fit for the furniture.
For furniture film for dresser & sideboard, the first step means specifically: The furniture still serves its purpose, but no longer matches the room visually. Then define which elements should remain and what change should actually be visible in the room.

Compare Furniture Films and Alternatives Effectively
A design looks different on a large piece of furniture than on a small sample. Therefore, compare the colour and texture in daylight and in the actual surroundings with the floor, wall, handles and adjacent furniture.
For this page, furniture films, wood, stone & mineral and statement are especially relevant. Open the categories individually and compare not only colours, but also texture, size options and the details of the respective product.
- Furniture films: All designs for your furniture makeover.
- Wood: Warm designs for natural and timeless sideboards.
- Stone & Mineral: Striking surfaces for top panels and fronts.
- Statement: Expressive patterns for a distinctive standalone piece.
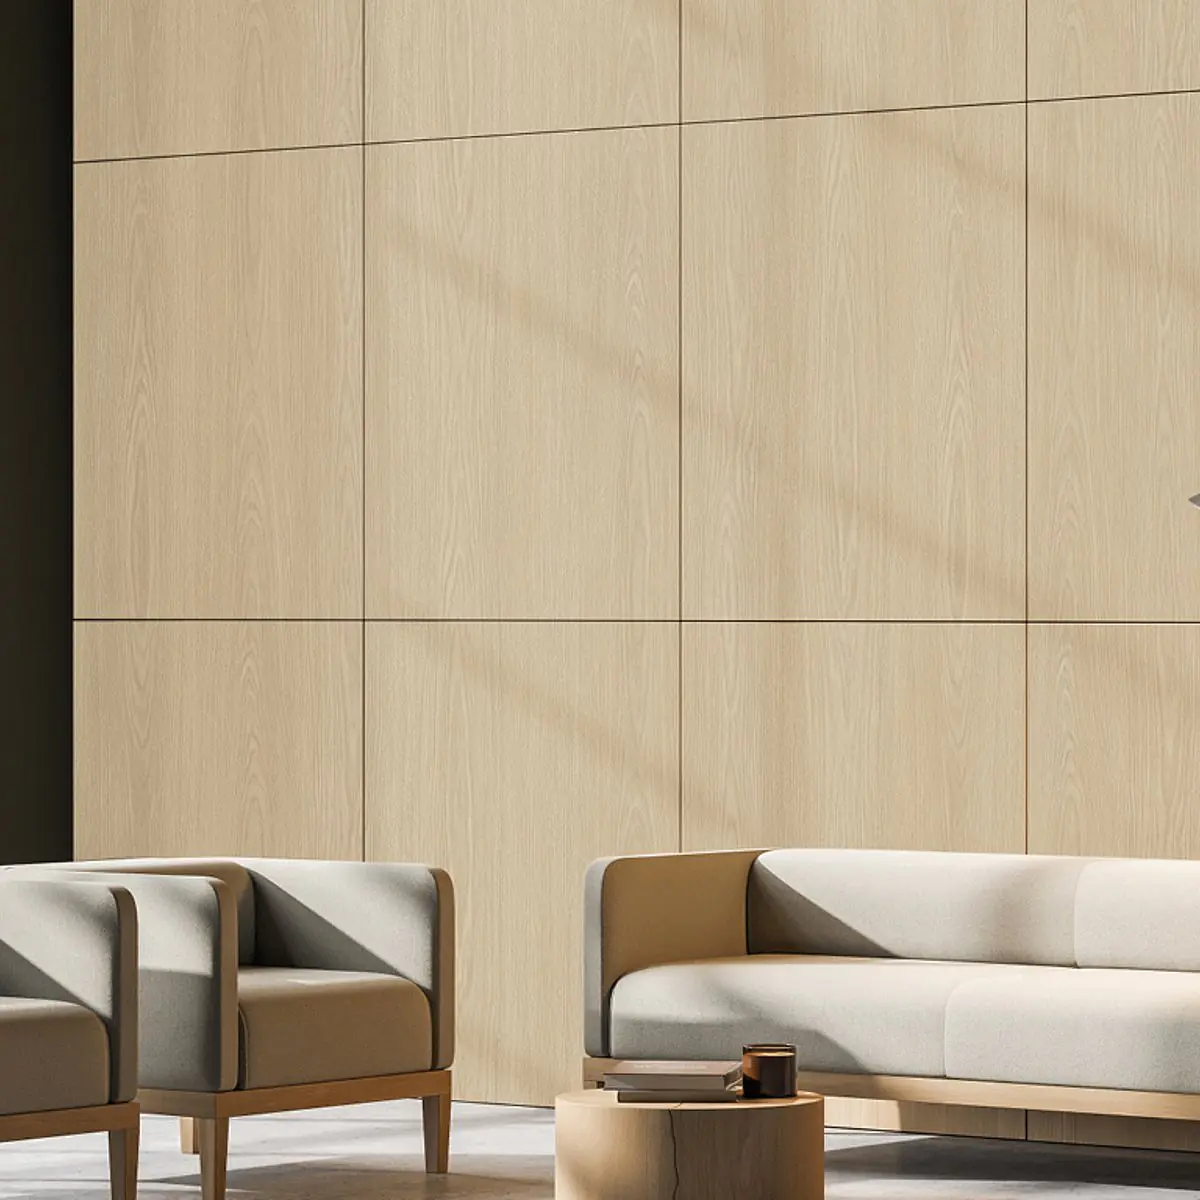
From Existing Furniture to a New Favourite Piece: From Detail to Overall Look
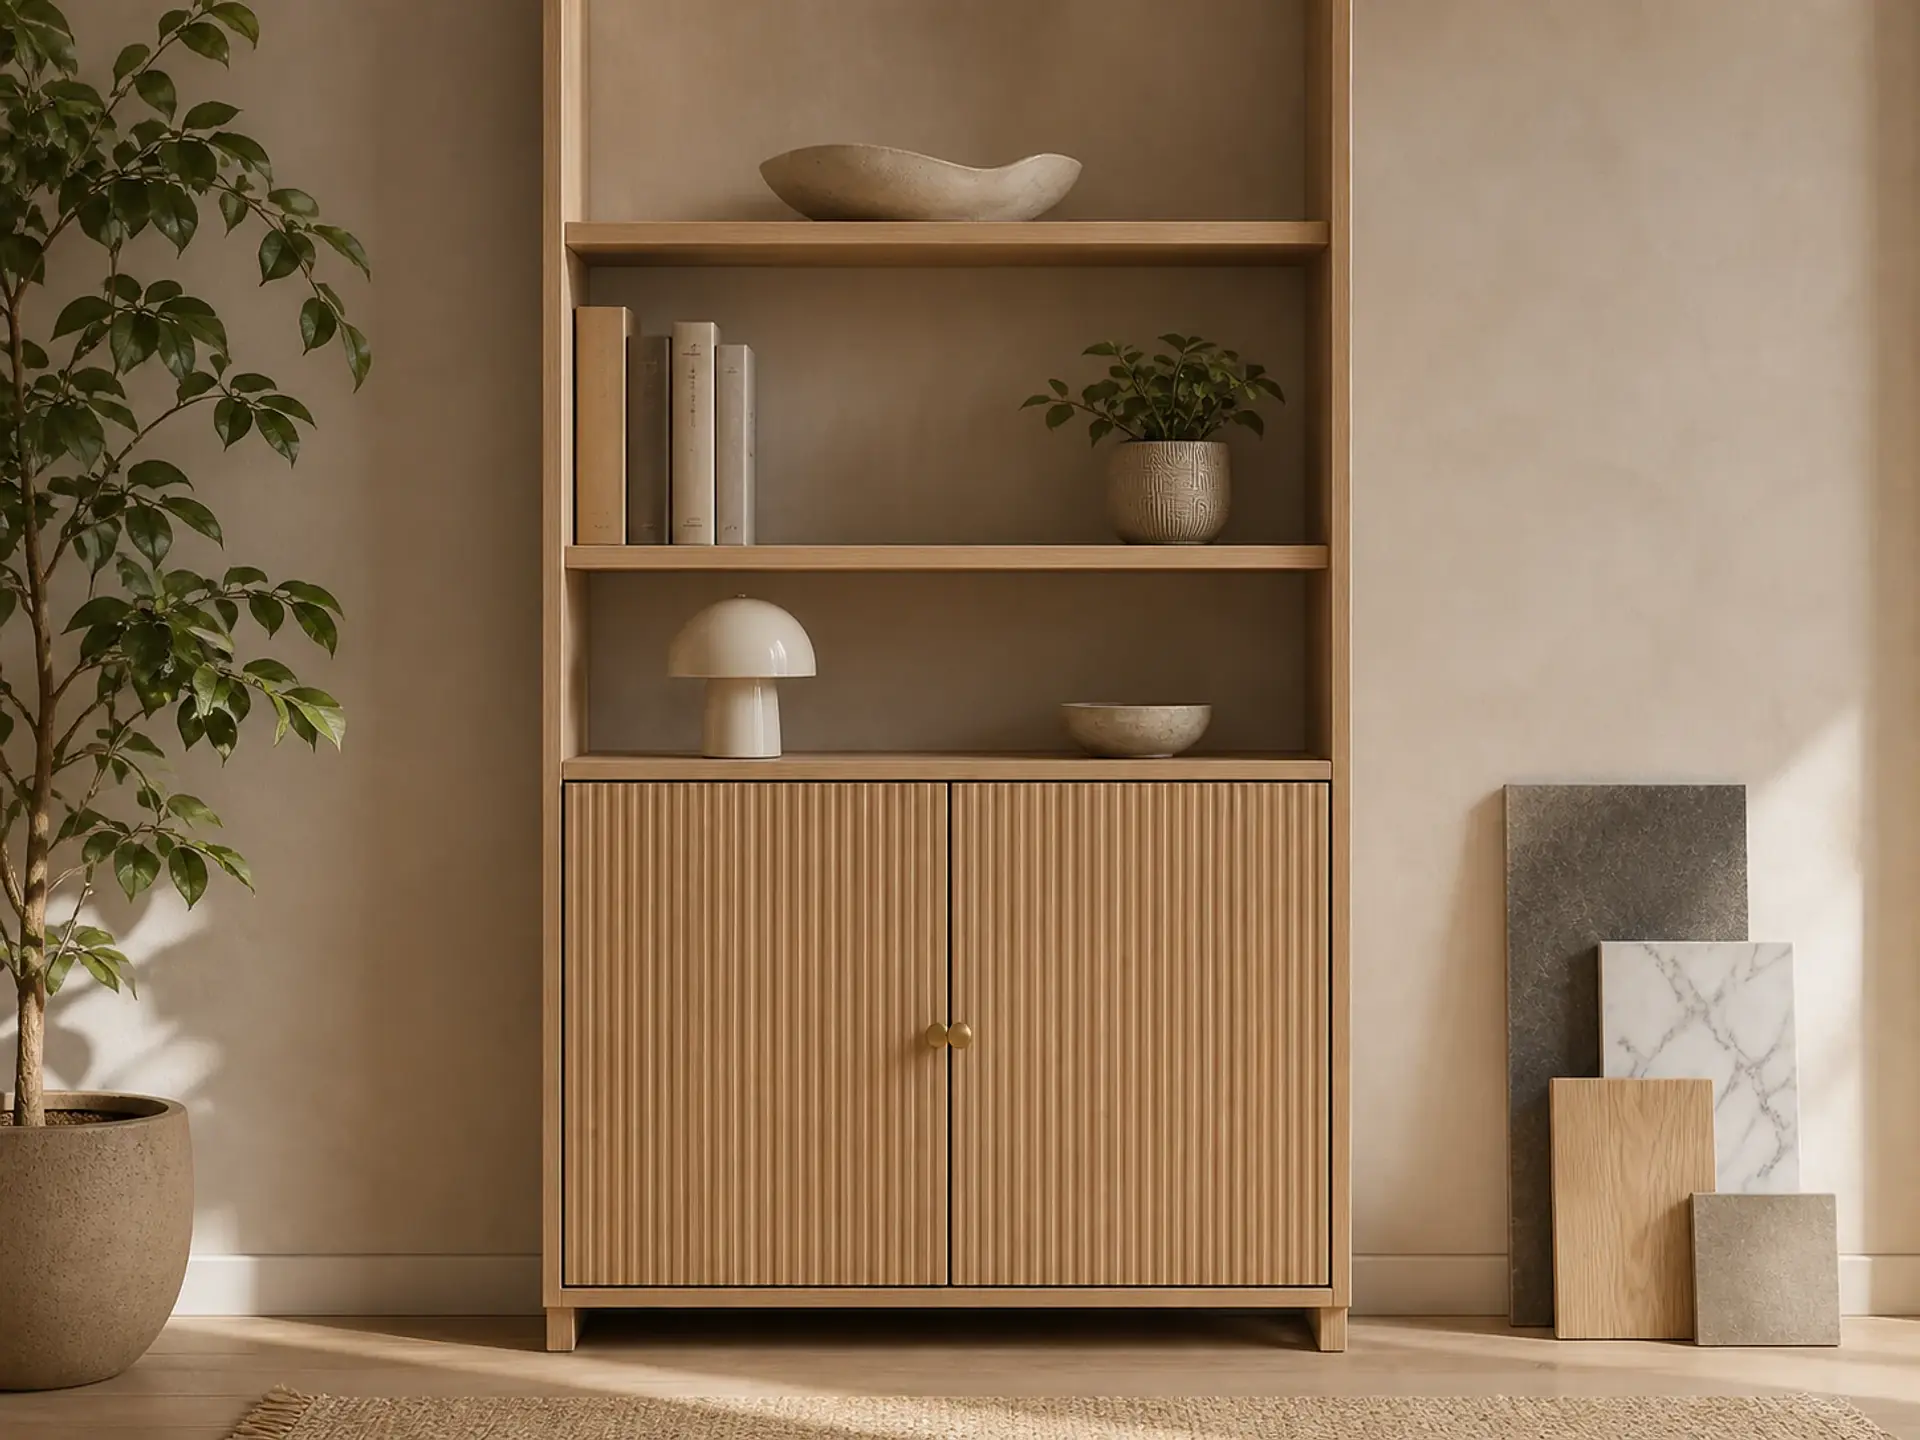
A convincing makeover is not created by the film alone. Clean proportions, a deliberately chosen design direction and recurring colours connect the updated furniture with the rest of the room.
The middle project step here is to plan the fronts, carcass and top panel as separate surfaces and combine designs deliberately. The desired result is a cohesive piece of furniture that reflects the room’s colour, material world and style. Check this vision once again alongside the selected design before finalising the measurements or quantities.
Your Journey of Transformation
From Existing Furniture to a New Favourite Piece
These three steps will help you plan the starting point, selection and desired result as one cohesive project.
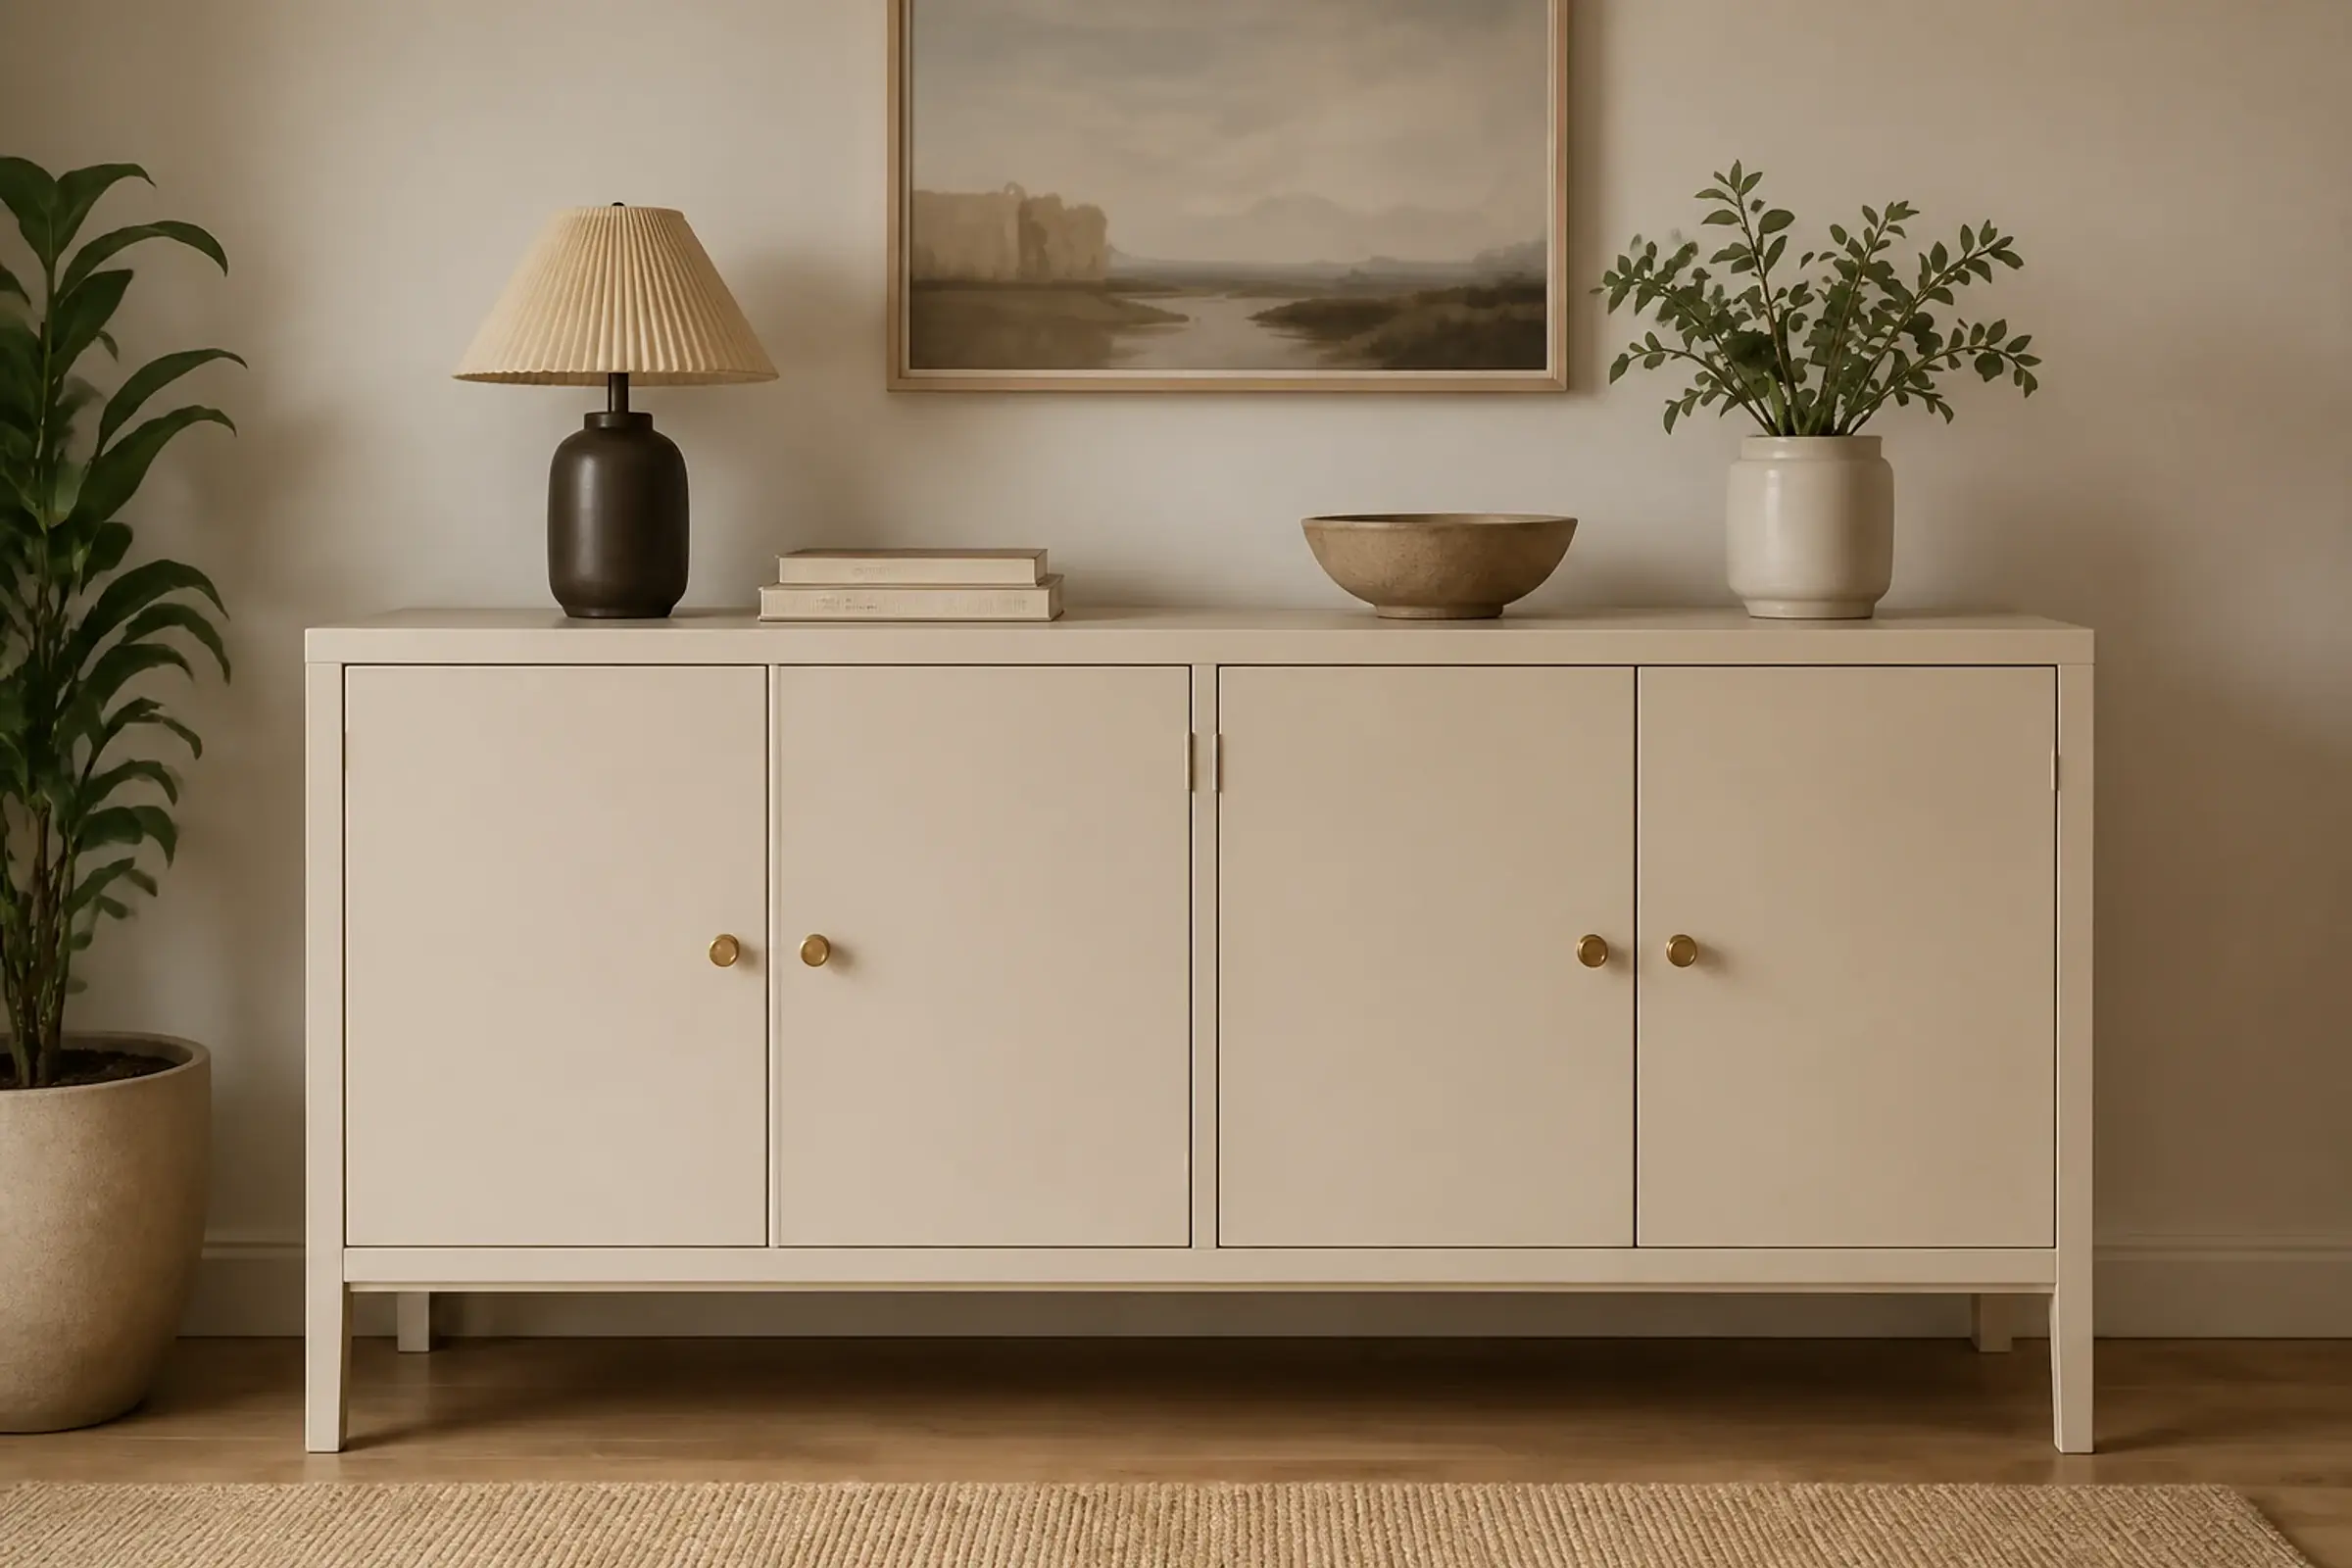
Before
Start with What You Have
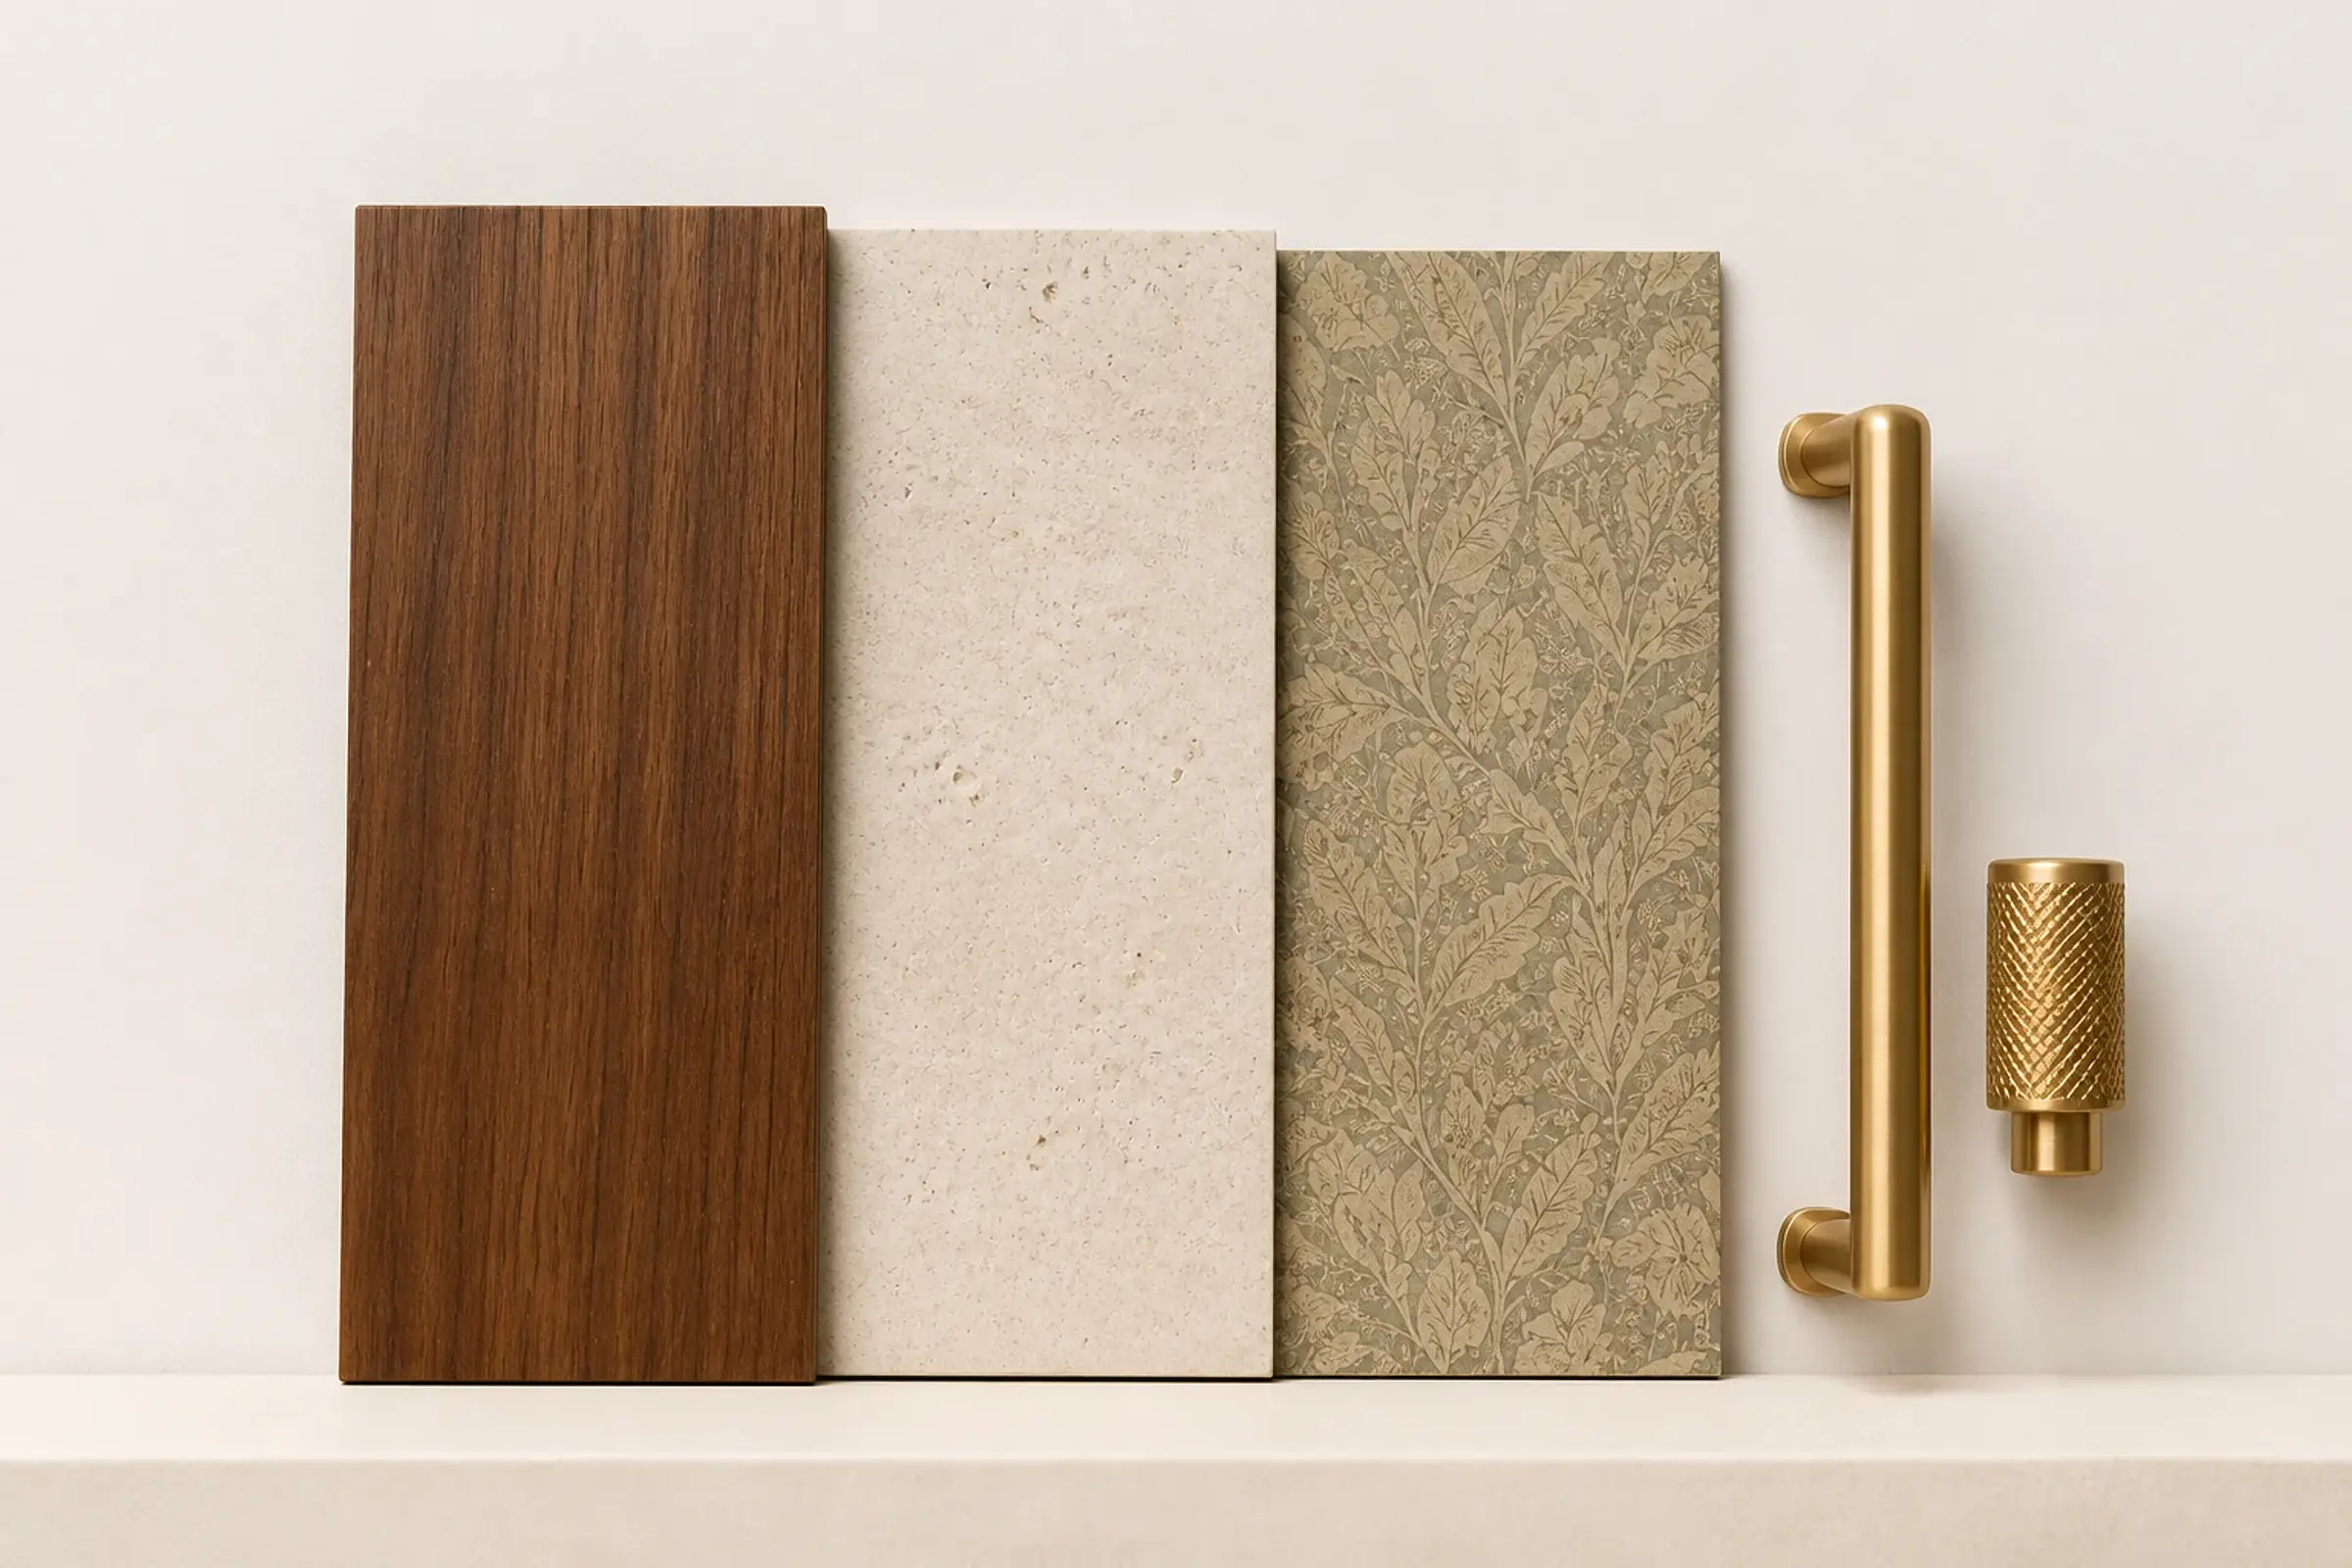
Select
Choose Your Surface Finish
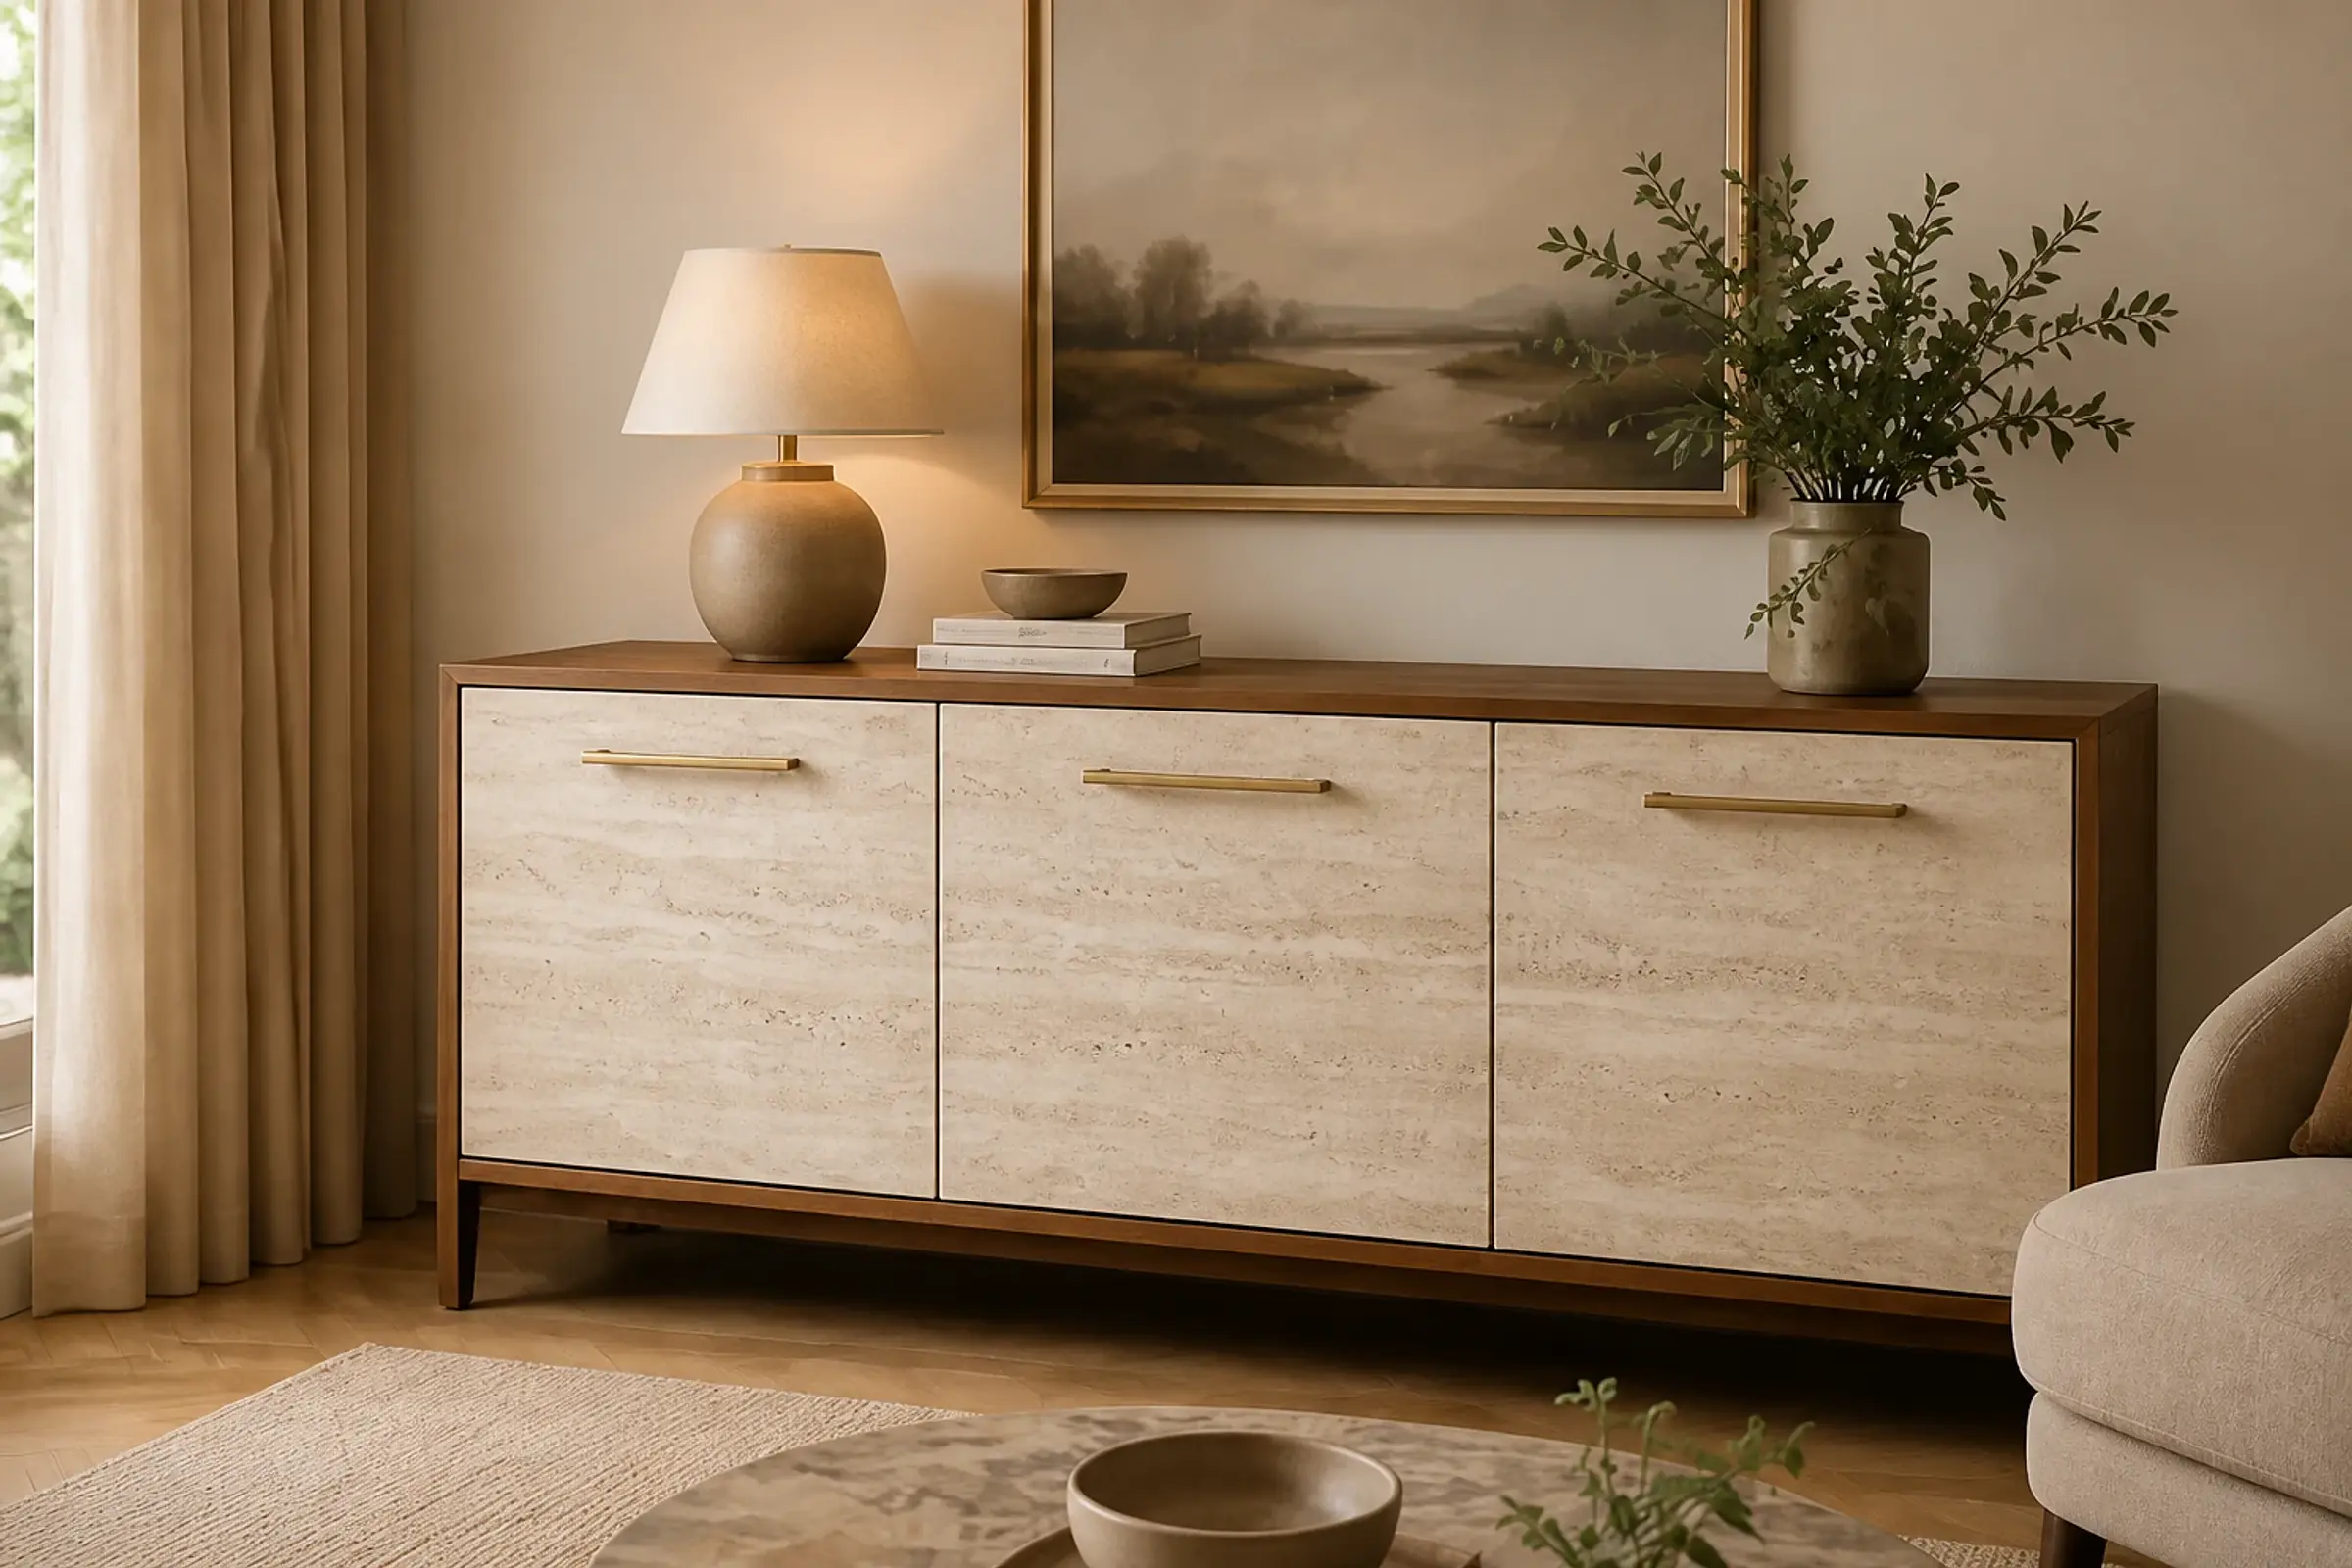
Make it your own
See the Room Take Shape
Prepare Your Dresser and Sideboard Properly
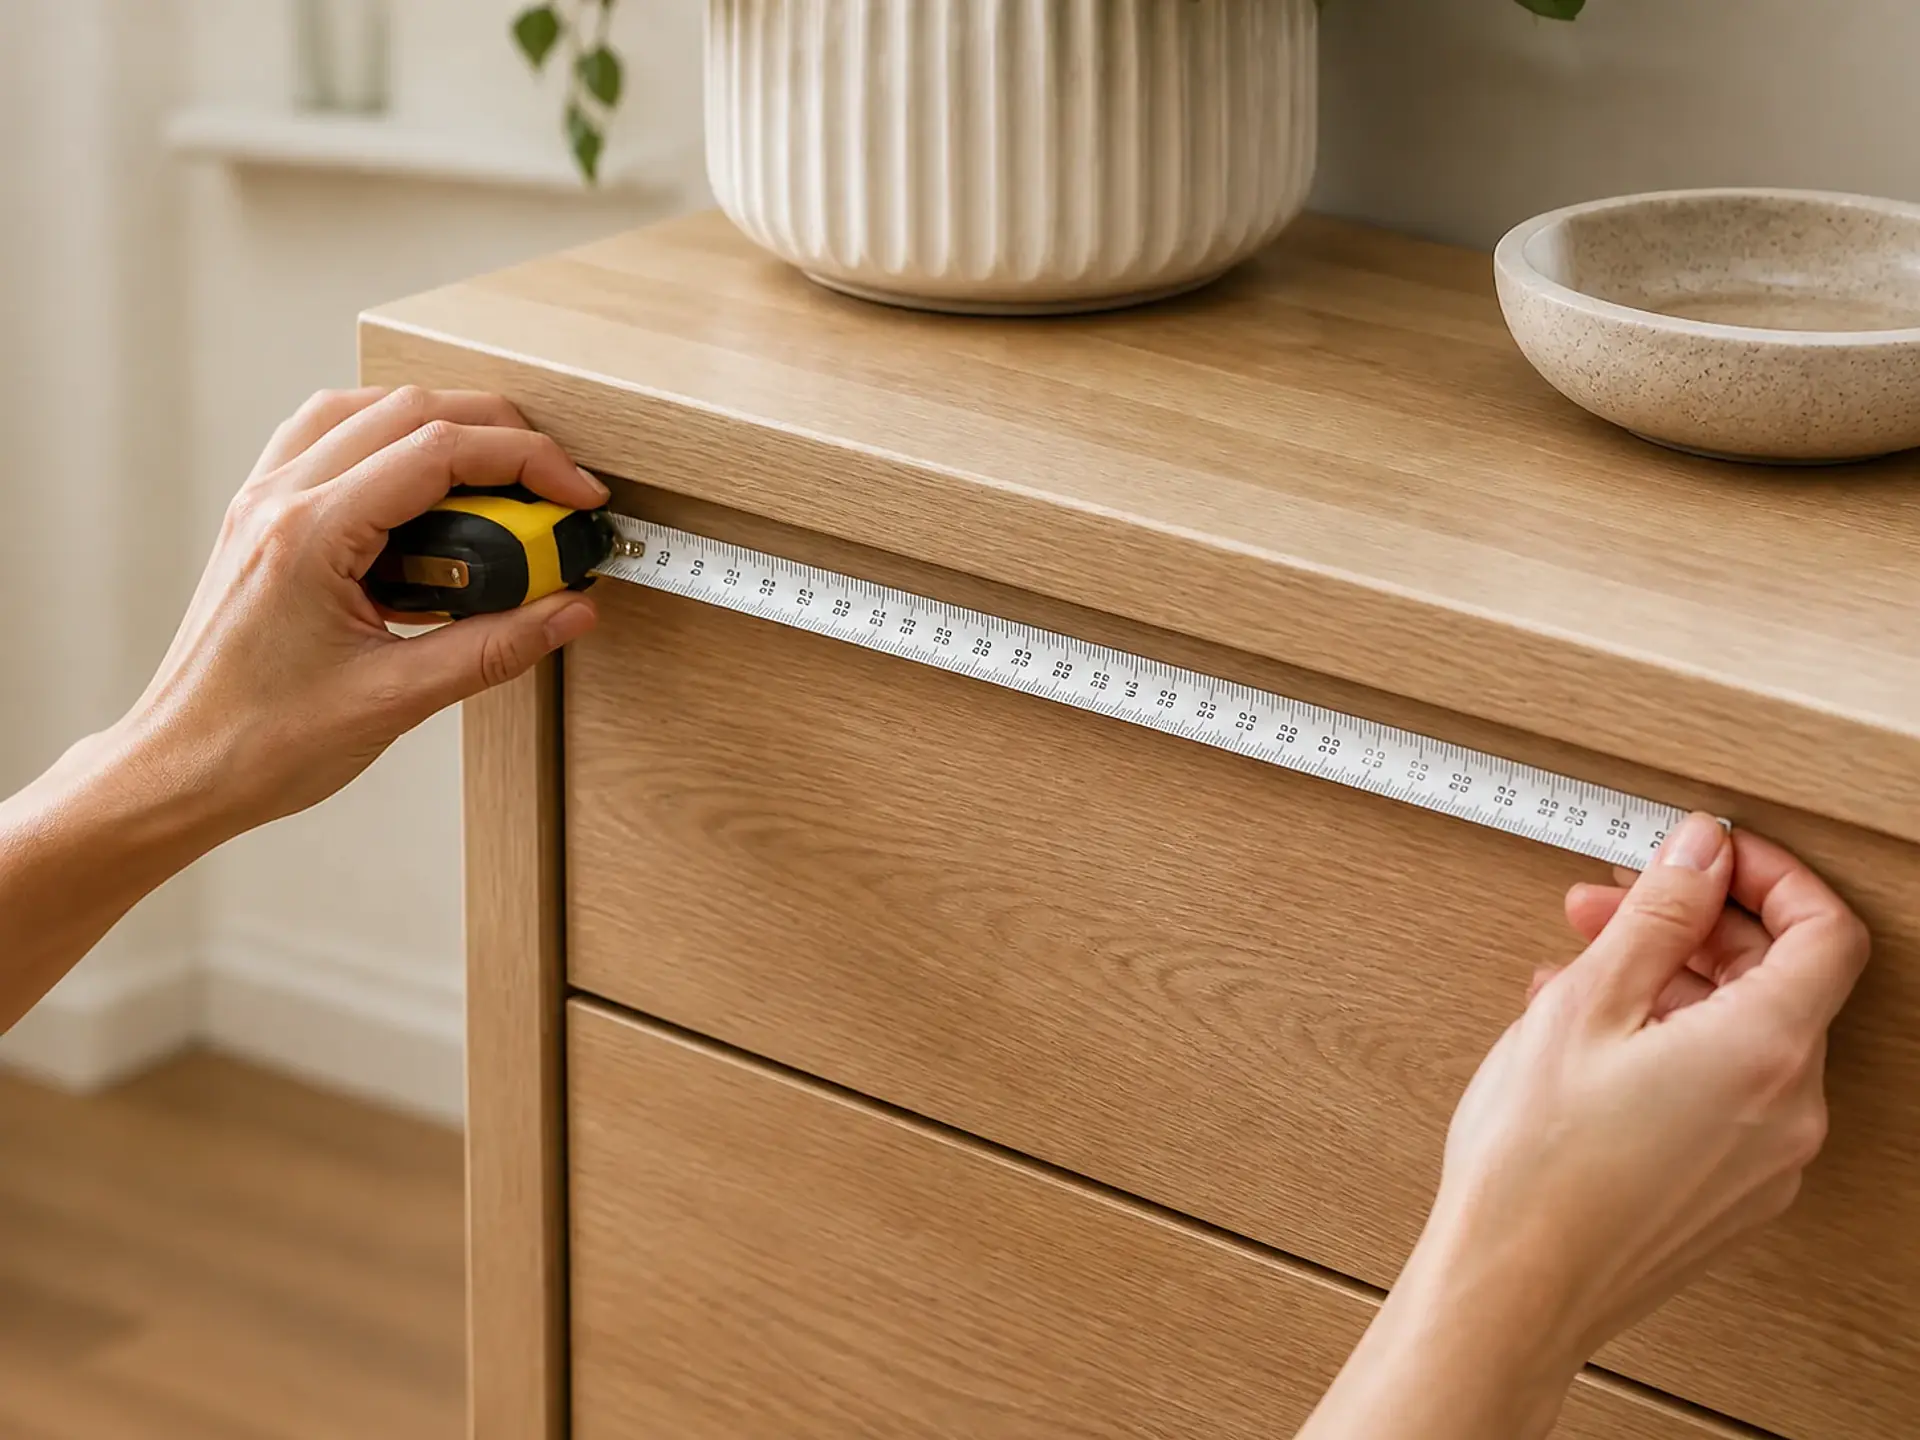
Measure each visible surface individually and note which edges should be included in the design. Drawers and doors should still be able to move freely after application.
A sample helps you assess the effect alongside the floor, wall colour and existing furniture. For a calm result, the design direction should remain consistent across connected fronts.
- Label fronts and drawers
- Include handles and fittings in the planning
- Determine the design direction before cutting
- Start with an easily accessible surface
Continue with your project
Suitable Guides and Next Steps
Explore your project’s remaining questions in greater depth or go directly to the next suitable application.
Home decor benefits
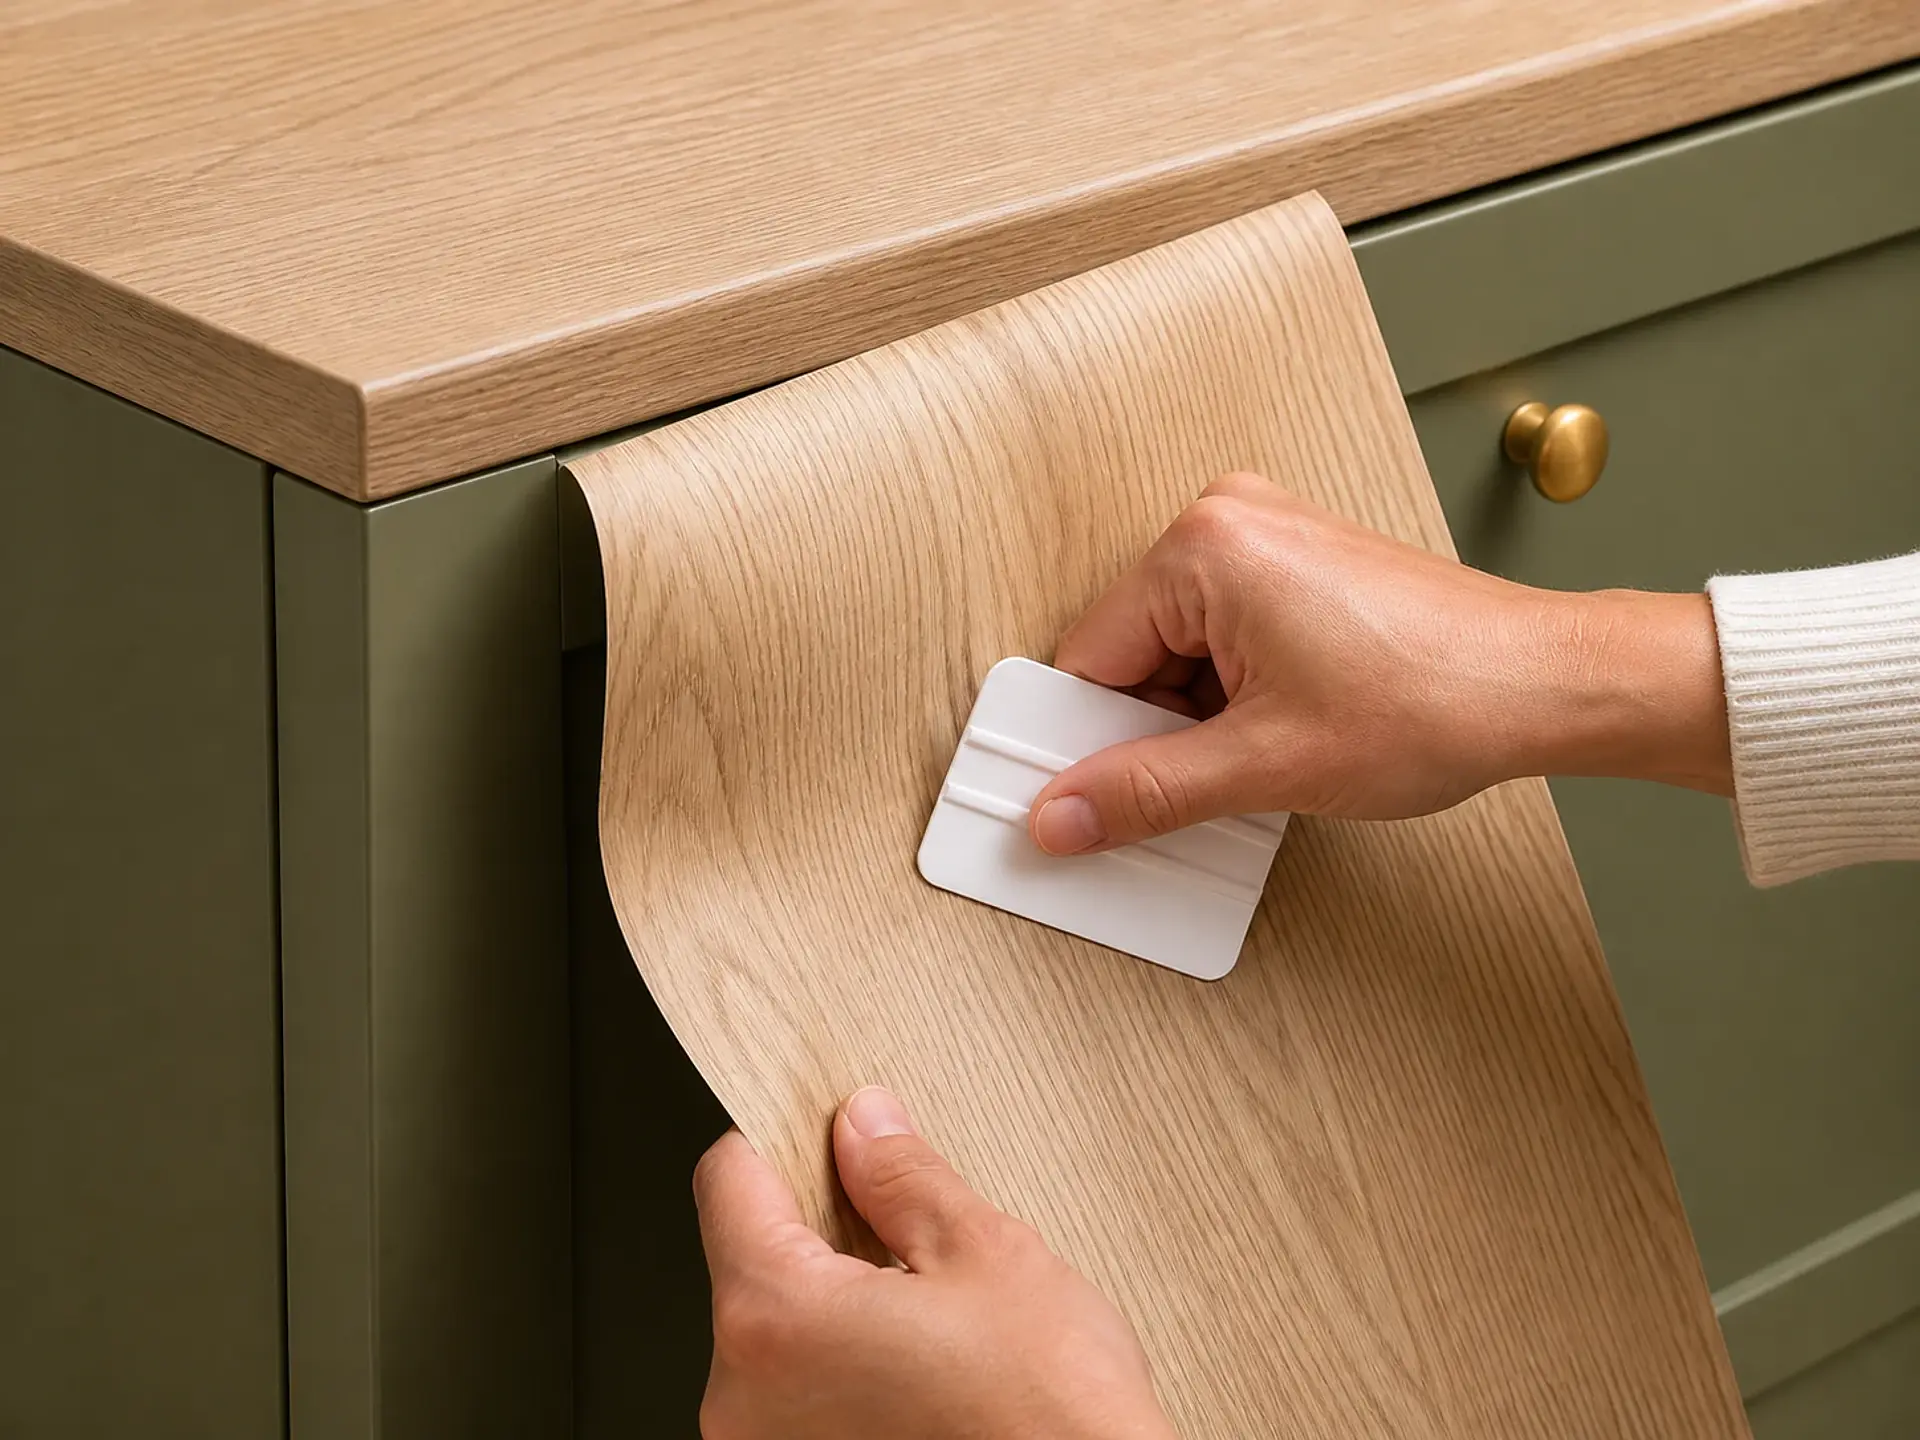
Easy to apply
A strong result for quick furniture, wall, and decor updates.
Premium quality
Made in the EU with durable materials for everyday interiors.
For furniture and walls
Designed for cabinets, doors, walls, surfaces, and more.
Lasting look
Refresh rooms instead of replacing pieces, with long-lasting style.
Room inspiration
Soft colors and textures for every room concept.